Warning: Undefined array key "file" in /home/mm8ryu/mkimono.tv/public_html/wp-includes/media.php on line 1745
This is a method of attaching a thread instead of a snap attached to the Hiro-eri (collar) of a kimono. This time, I will show you how the collar can be secured in two different places.
The nice thing about “Hiki-ito” is that it does not rust.
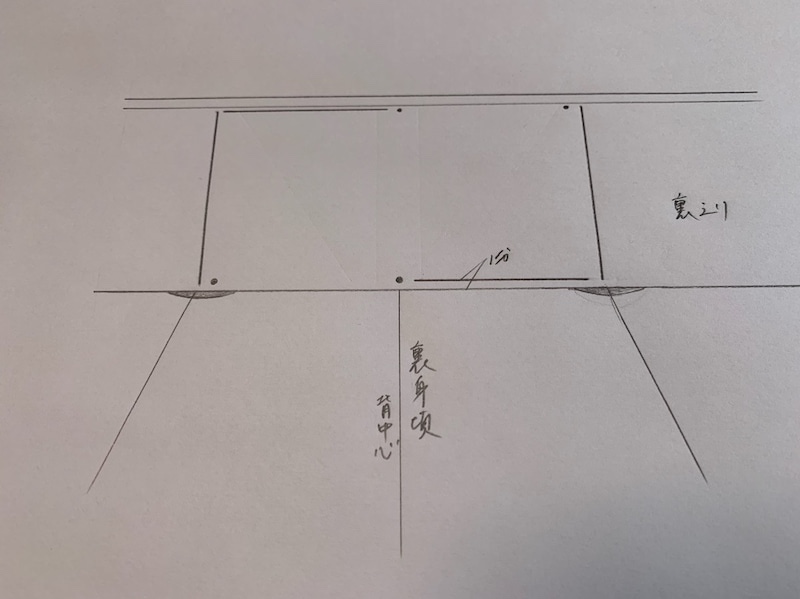
How to attach a Hiki-ito
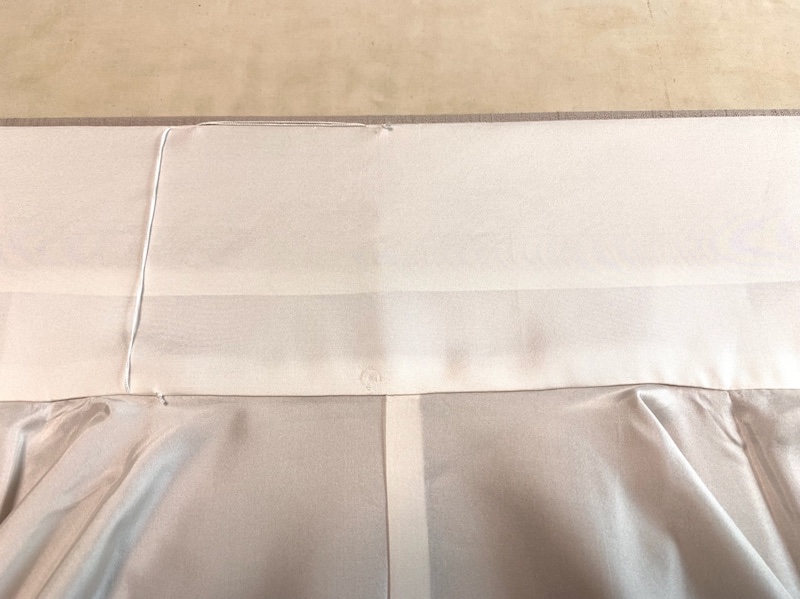
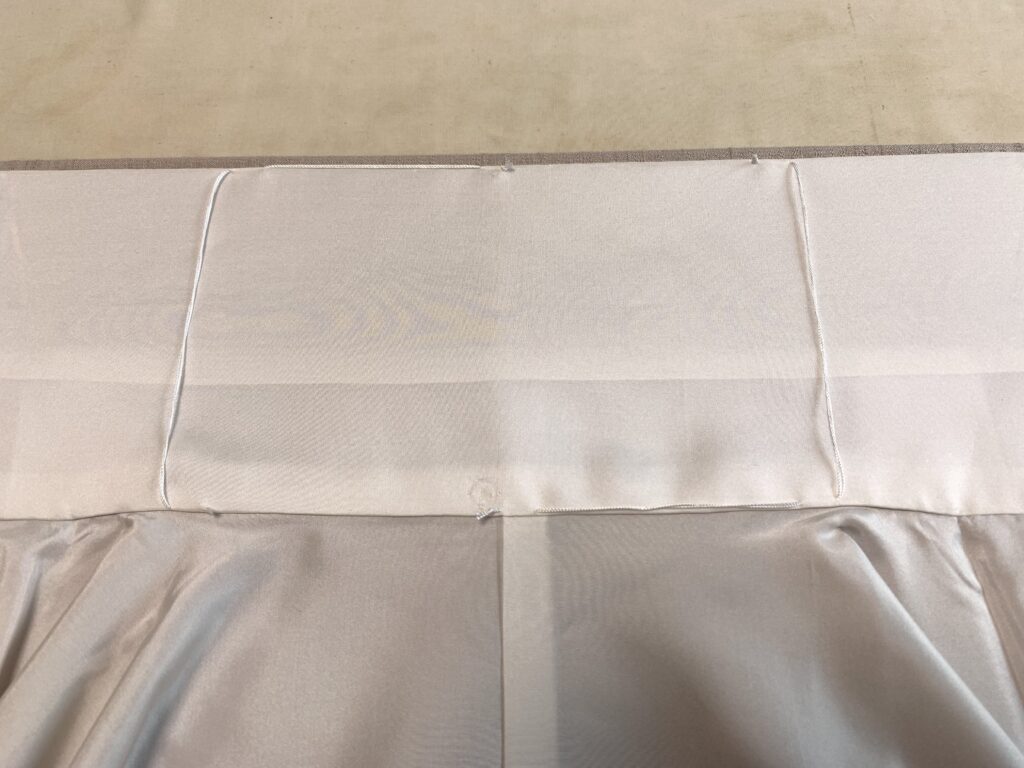
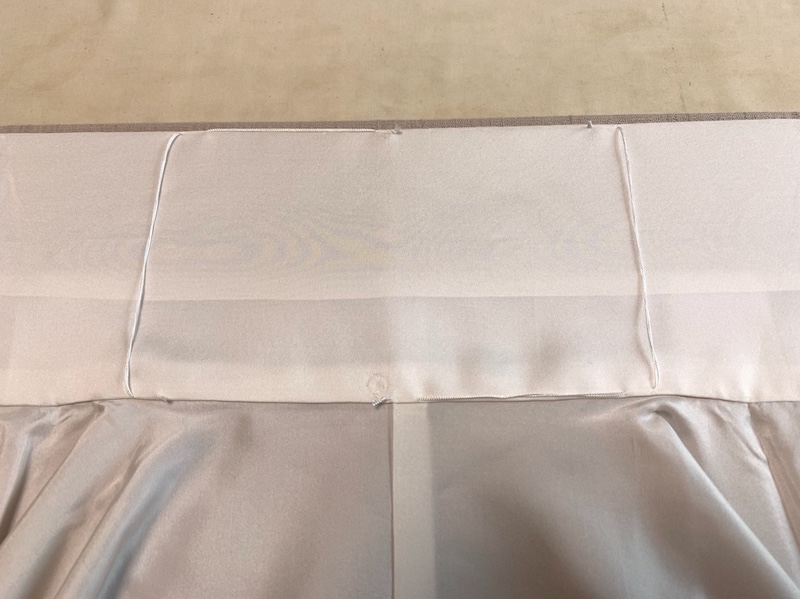
This is a method of attaching the thread in a L-shape to the extension of the center of the back.
It is a good idea to make sure that the thread across around the Kata-Aki.
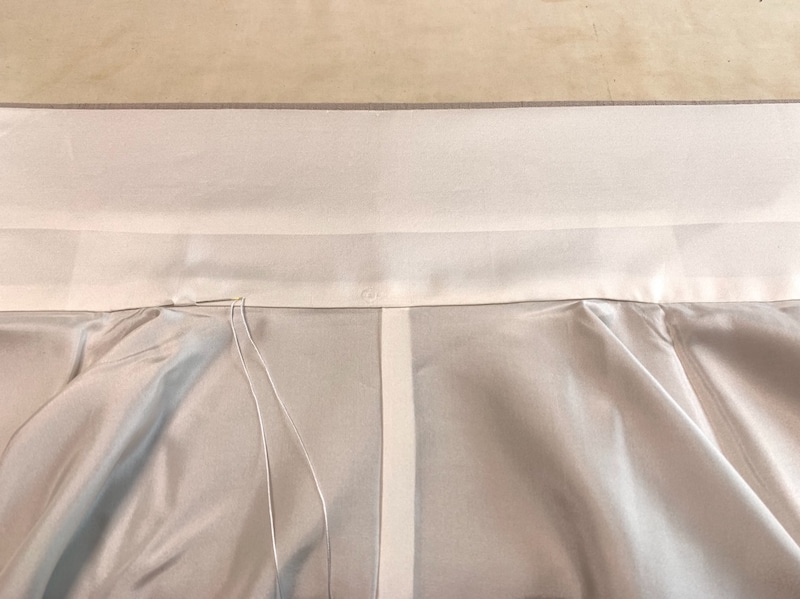
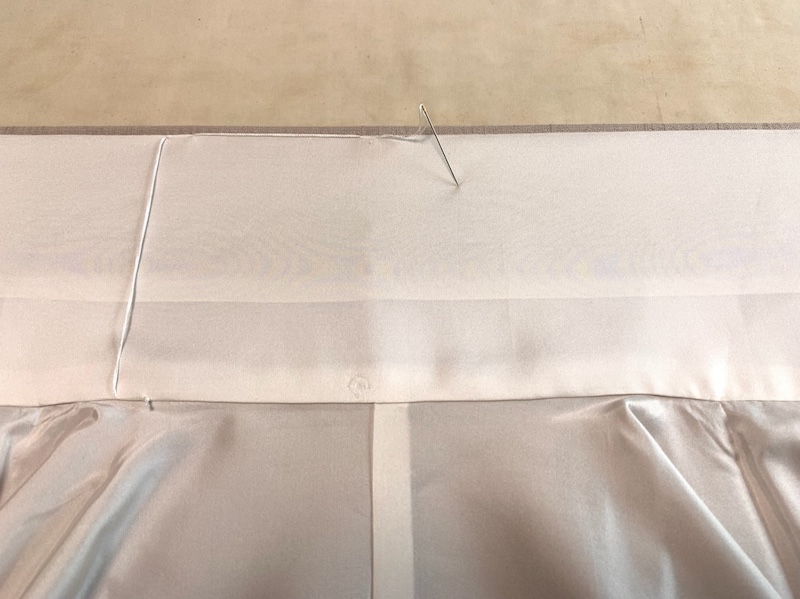
Below is a step-by-step procedure with photos.

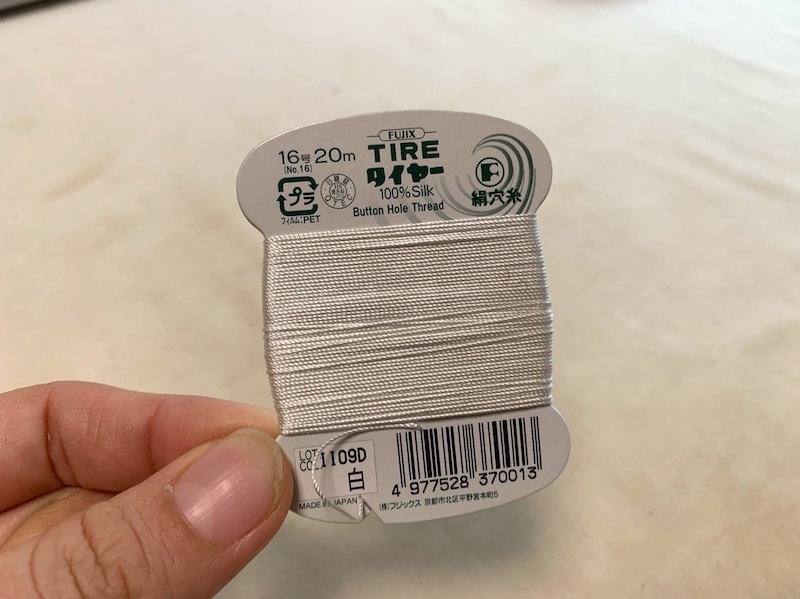
Thread to be used
フジックス タイヤー 絹穴糸16号
(Fujix Tire Silk “Anaito” 16)
Use double strands of this thread.
Since this is a thick thread, it is recommended to use one with a large needle hole.
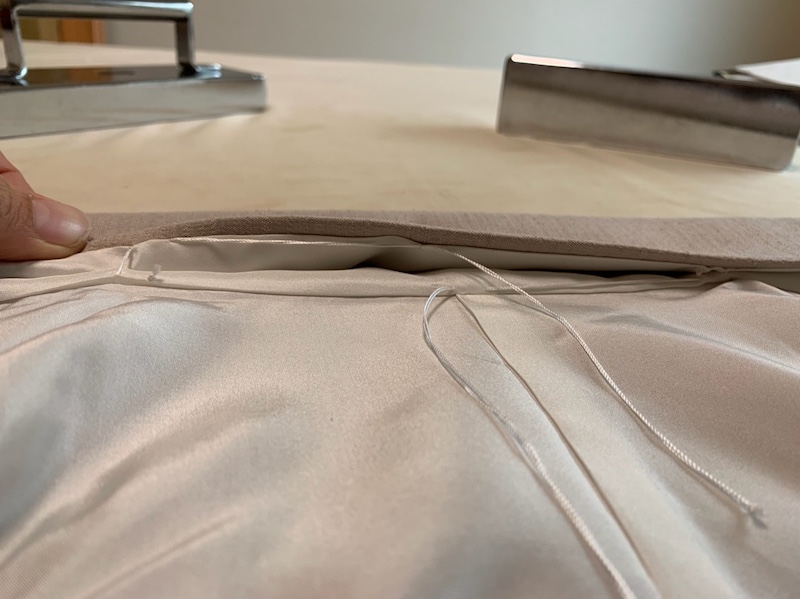
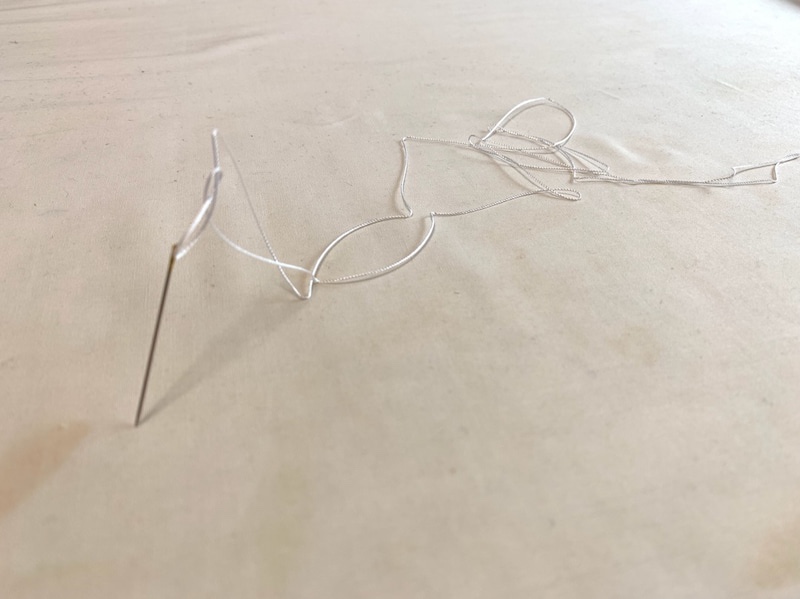
How to stretch threads with fold marks
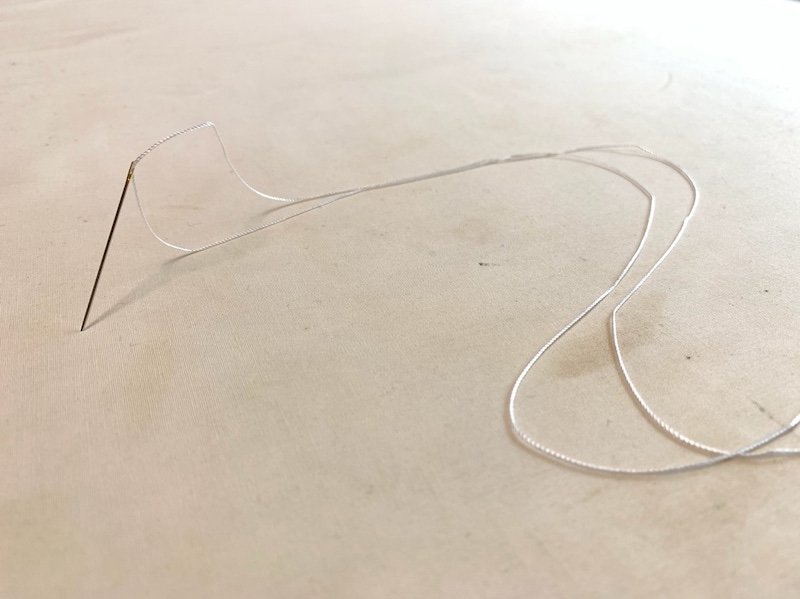
Iron the wrinkled threads.
It stretches nicely.
Related Articles
-
 Basic sewing method
How to attach a “Hiki-ito” that can be used in place of a snap button Part 3
This is a method of attaching a thread instead of a snap attached to the Hiro-eri (collar) of a kimono. This t […]-
 M KIMONO
-
-
 Basic sewing method
How to attach a “Hiki-ito” that can be used in place of a snap button Part 2
This is a method of attaching a thread instead of a snap attached to the Hiro-eri (collar) of a kimono. This t […]-
M KIMONO
-
-
 Basic sewing method
How to attach a “Hiki-ito” that can be used in place of a snap button Part 1
This is a method of attaching a thread instead of a snap attached to the Hiro-eri (collar) of a kimono. This t […]-
M KIMONO
-
Video Collection
When sewing a kimono, the entire process is sewn by hand.
Basic hand sewing practice and partial stitches method can be viewed free of charge.