This page introduces how to practice the basic Japanese sewing technique “ Kuke “.
In yukata and Hitoe-kimono, kuke is used for seam allowance. It is similar to blind stitch, but kuke is characterized by the fact that the thread is not visible on the reverse side. If you are conscious of small stitches and regular spacing, you can sew with beautiful kuke stitches.
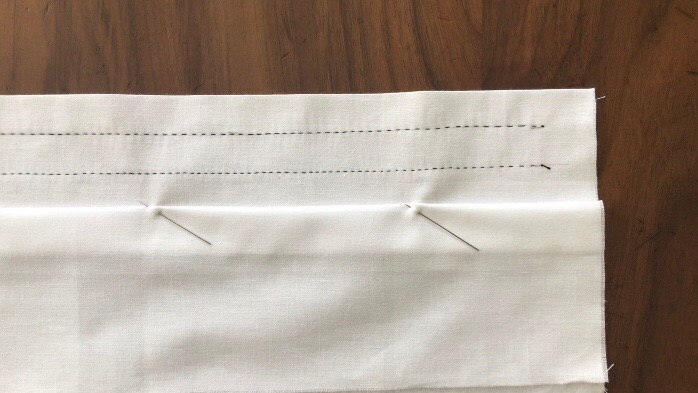
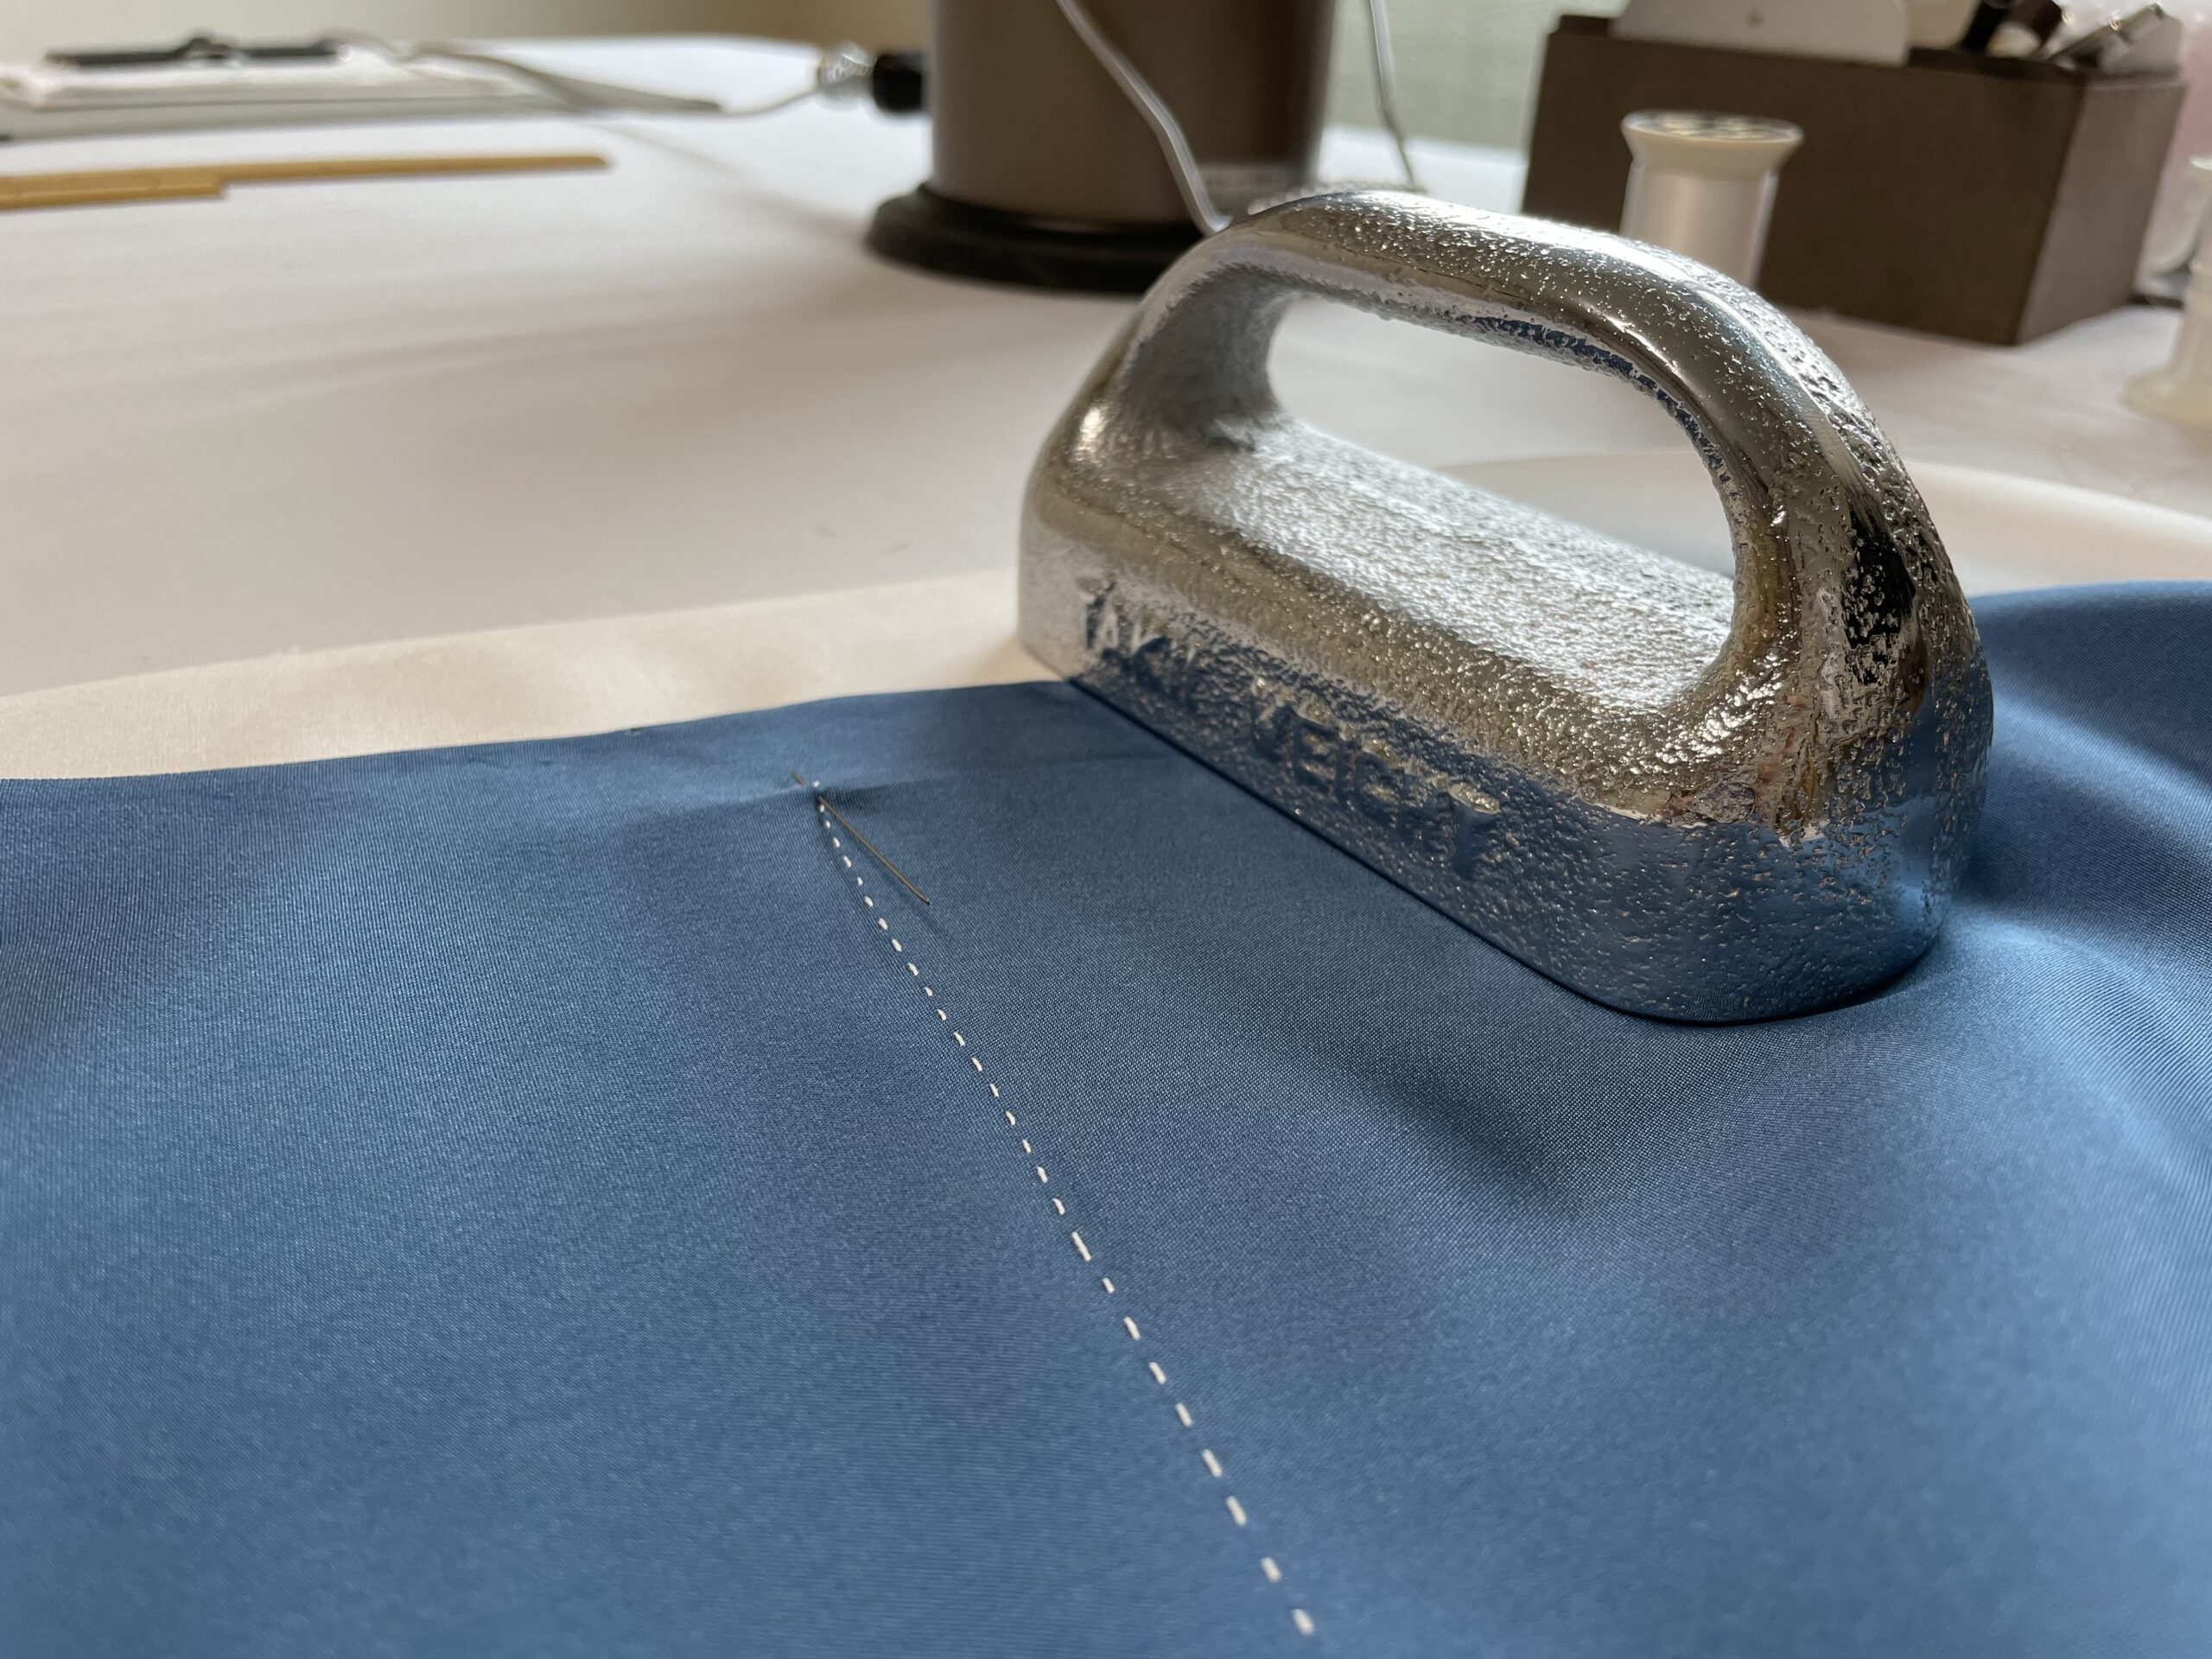
Preparation of cloth for Kuke practice
The bottom row of the Unshin practice is for the kuke practice.
2 overlapping pieces are used, so fold the top one as shown in the photo and fasten it with pins.
How to do a Kuke stitch
Kuke is sewn while looking at the seam allowance. In the case of a kimono, this means sewing while looking at the reverse side. The needle passes through the seam allowance, and…

Sew so that a small seam appears on the front side. Since you want the stitches to be small, make sure the needle tip hits the index finger of the left hand, and then immediately move the needle back into the seam allowance on the back side.
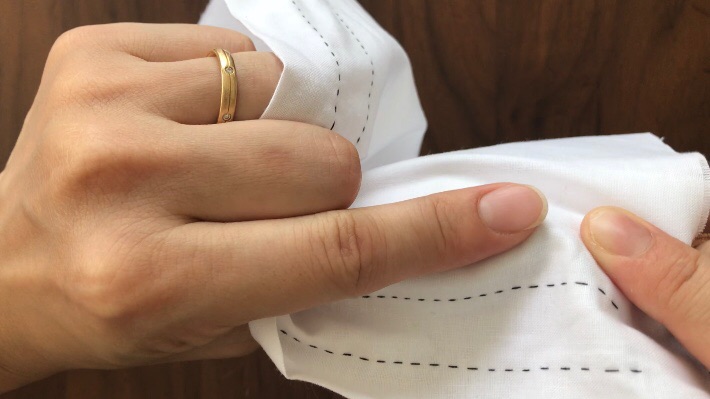
The seam on the back side is not visible because the needle goes through the seam allowance….

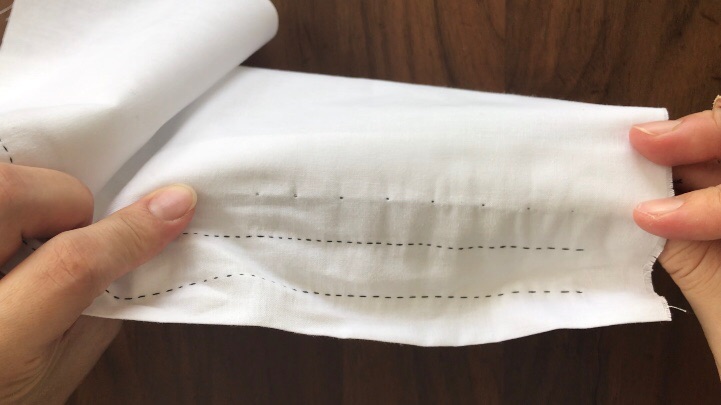
When turned over, a small seam appears. Stitches will appear on the front side of the kimono.
Tips for good stitching
- The way to hold the needle is the same as Unshin stitch.
- The movement of the thumb and index finger is also the same.
- The amount of sttich that appears on the surface is checked with the middle finger of the left hand.
More Sewing Techniques
-
 Basic sewing method
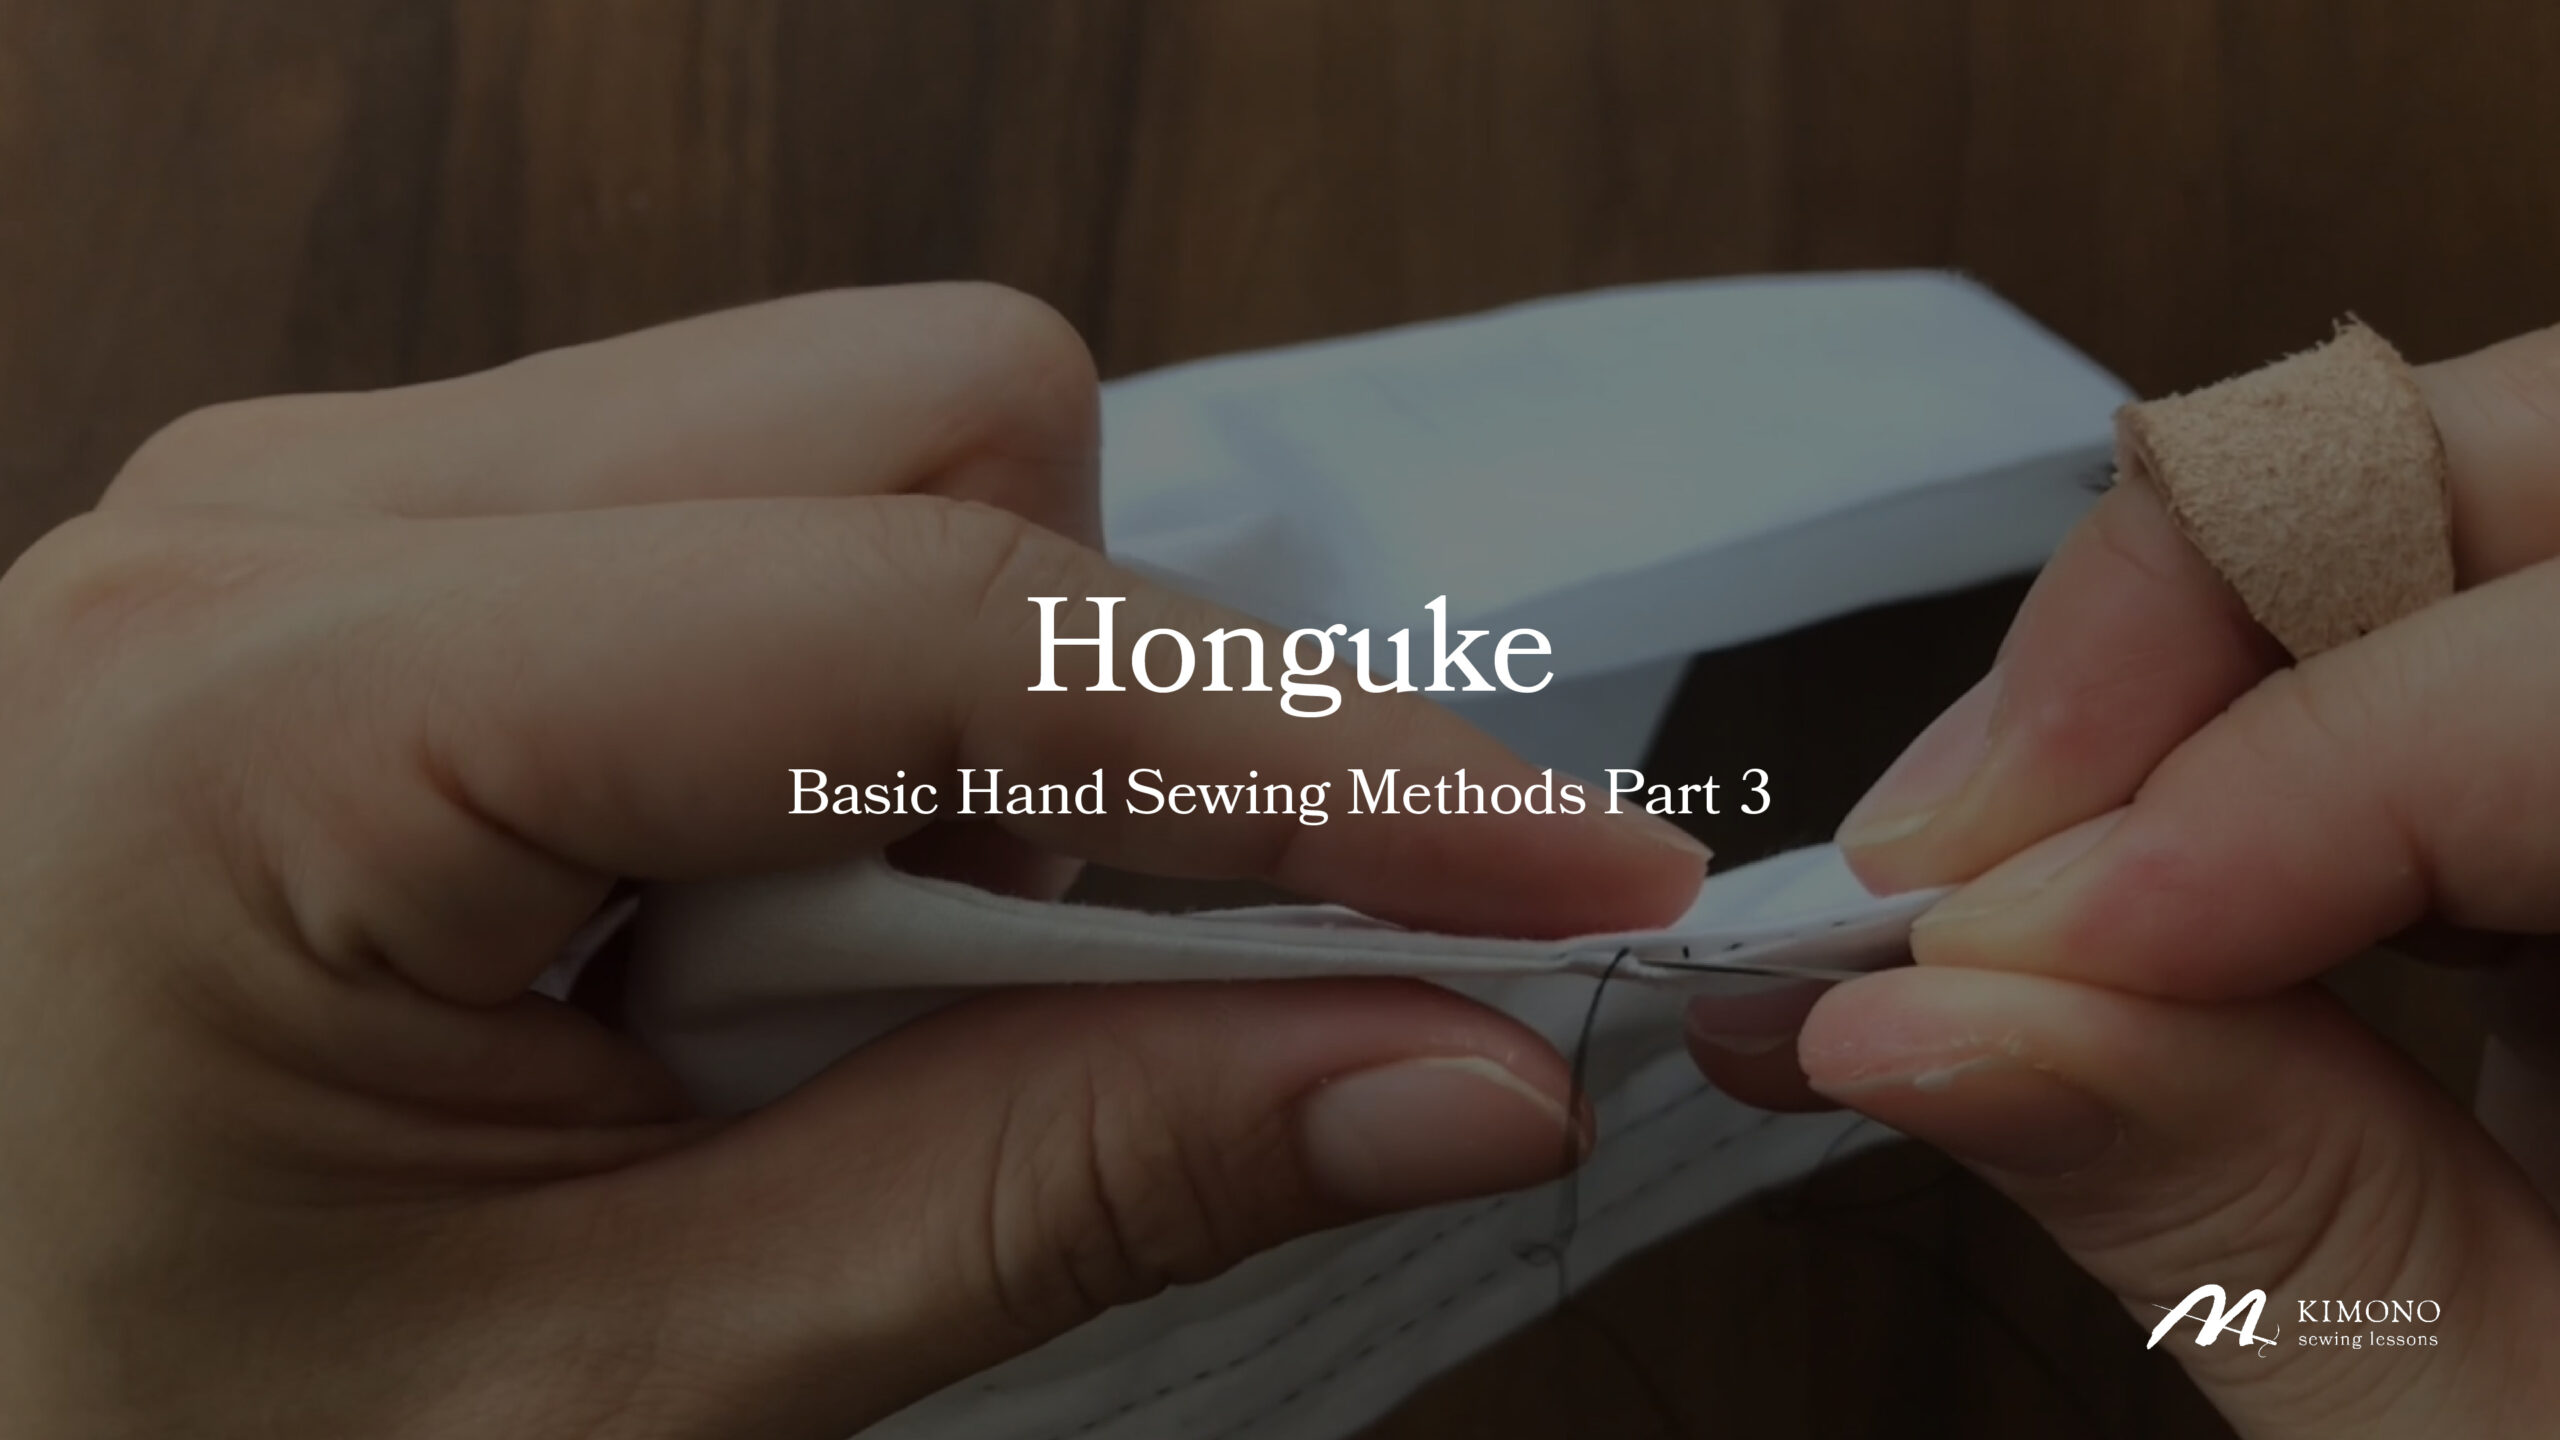
HONGUKE – Basic Sewing Techniques
The third basic sewing technique is “Honguke”.When sewing a yukata or a hitoe kimono, “honguke” is done at the […]-
 M KIMONO
-
-
 Basic sewing method
KUKE – Basic Sewing Techniques
This page introduces how to practice the basic Japanese sewing technique ” Kuke “.In yukata and Hitoe-kimono, […]-
M KIMONO
-
-
 Basic sewing method
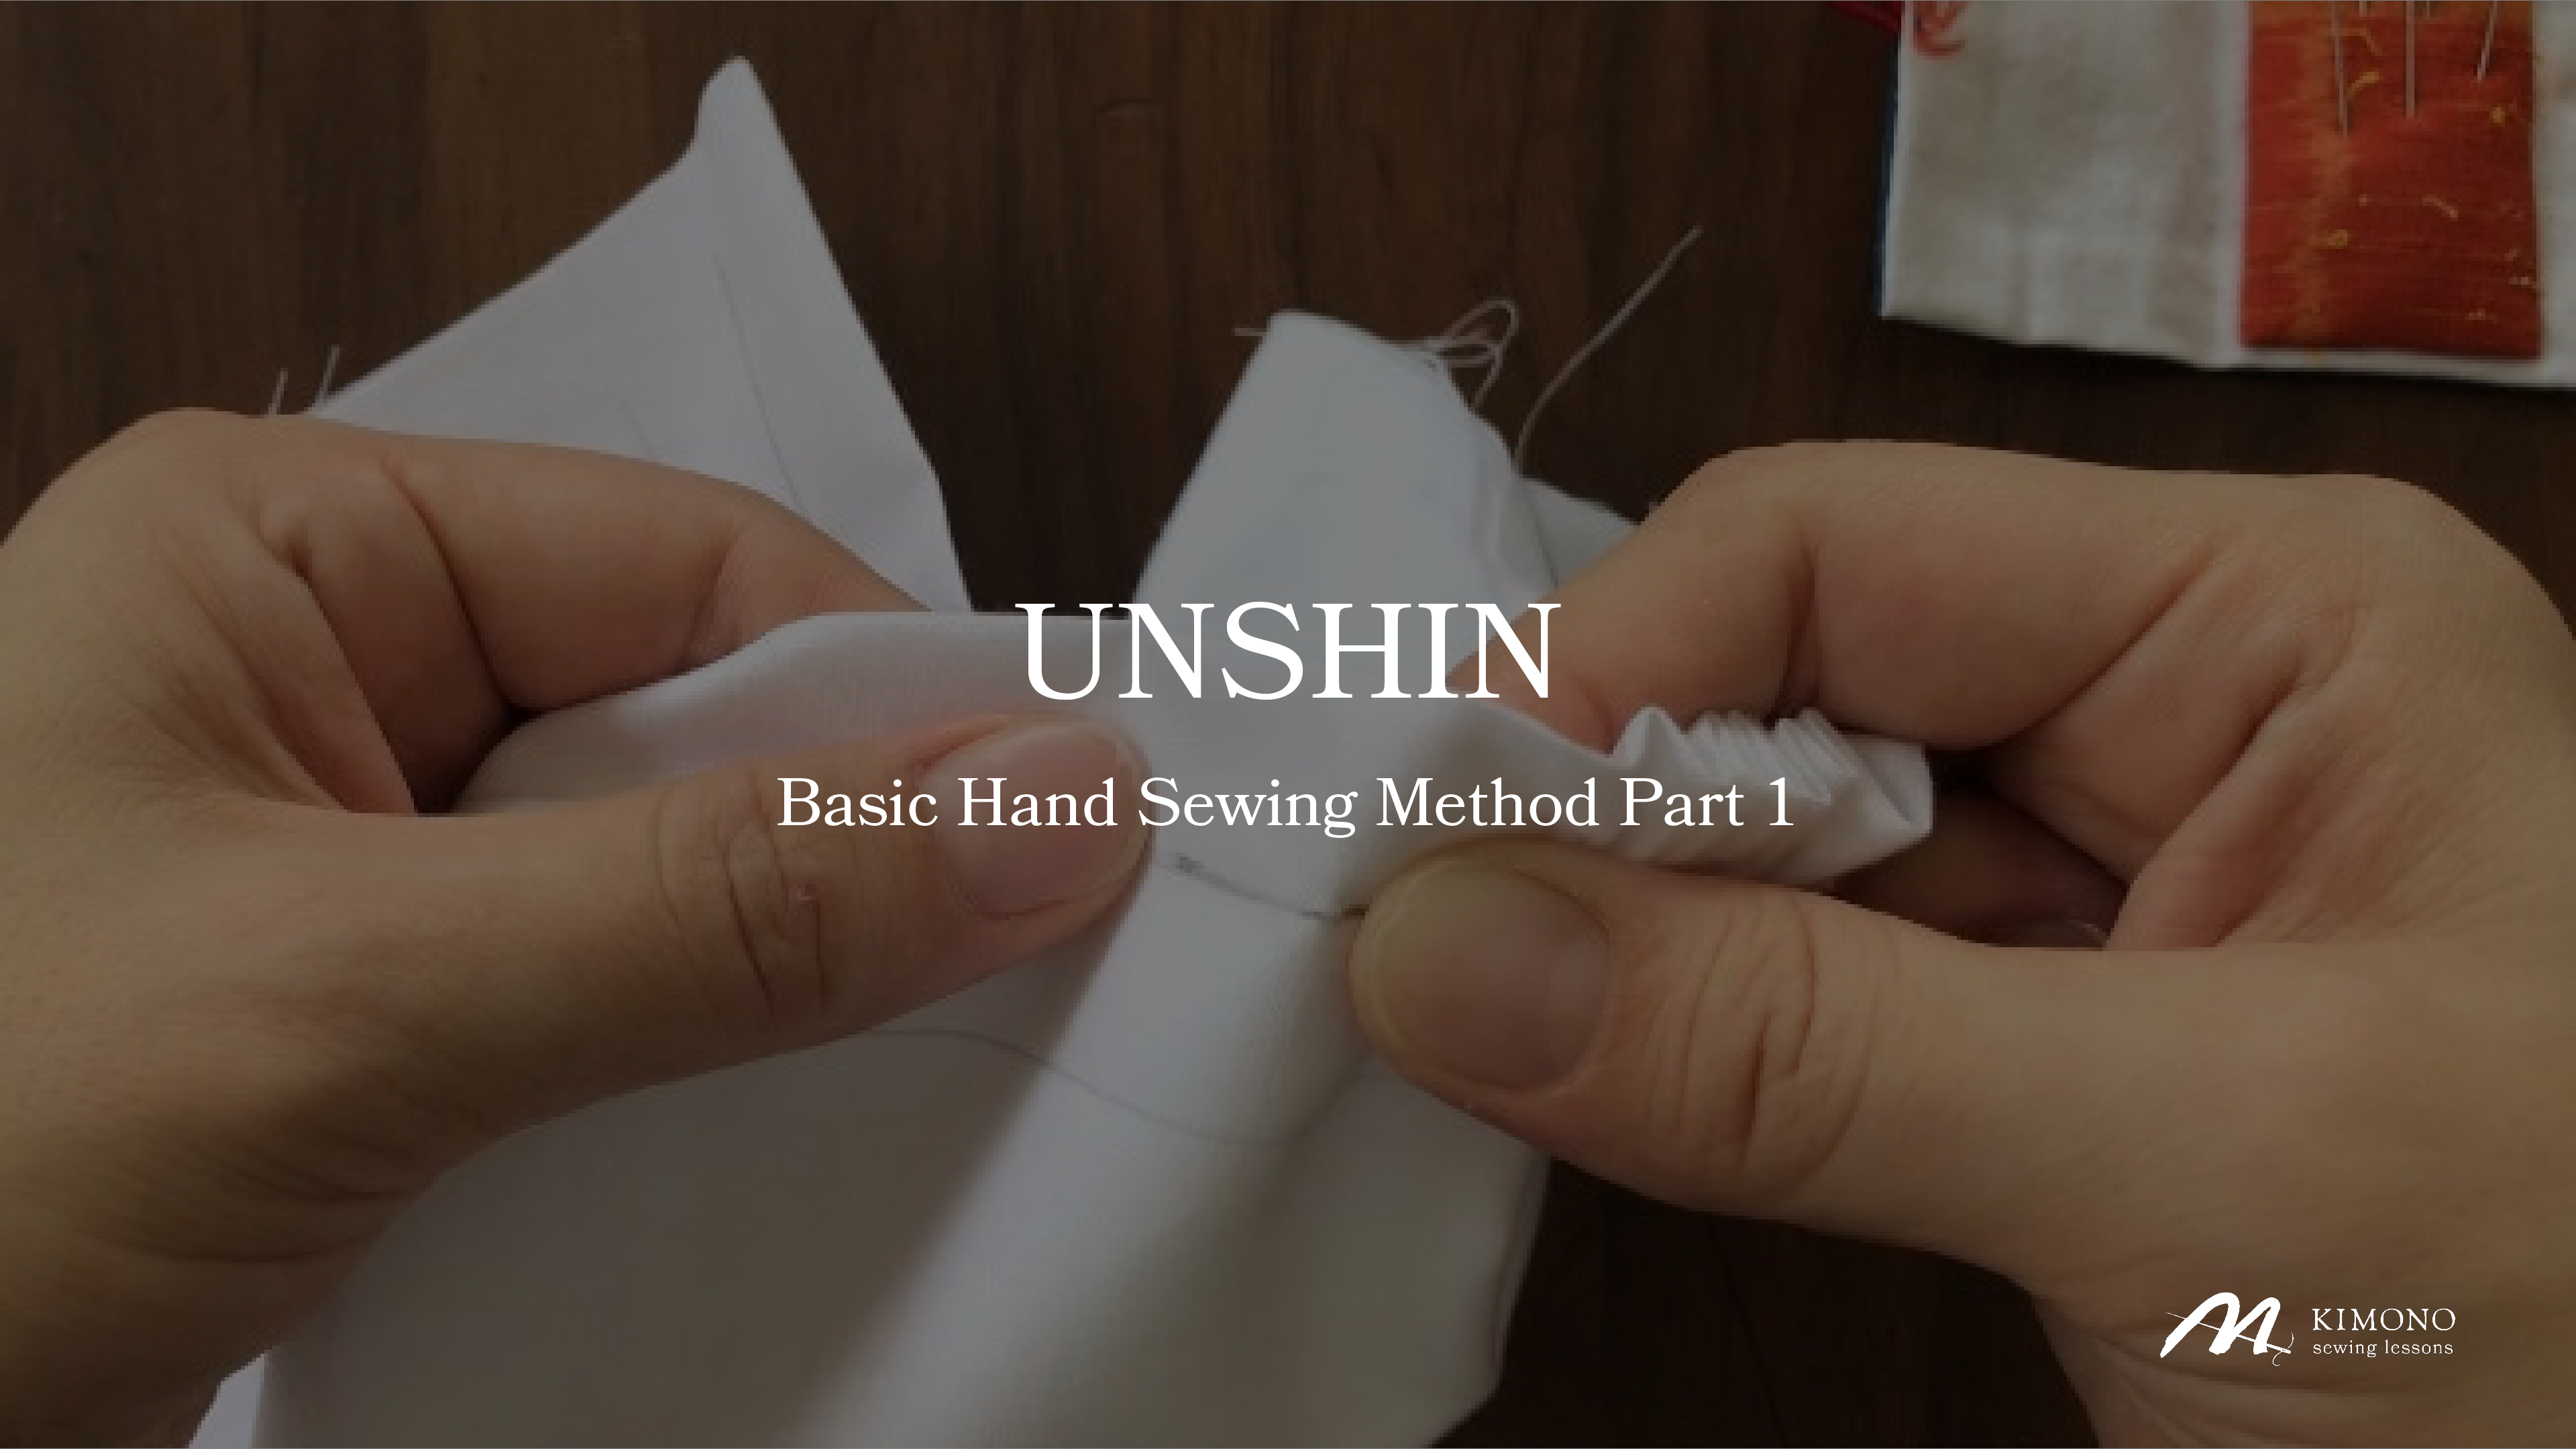
UNSHIN – Basic Sewing Techniques
“ UNSHIN (運針)” is the most basic technique in kimono sewing.It is essential to practice every day in order to […]-
M KIMONO
-
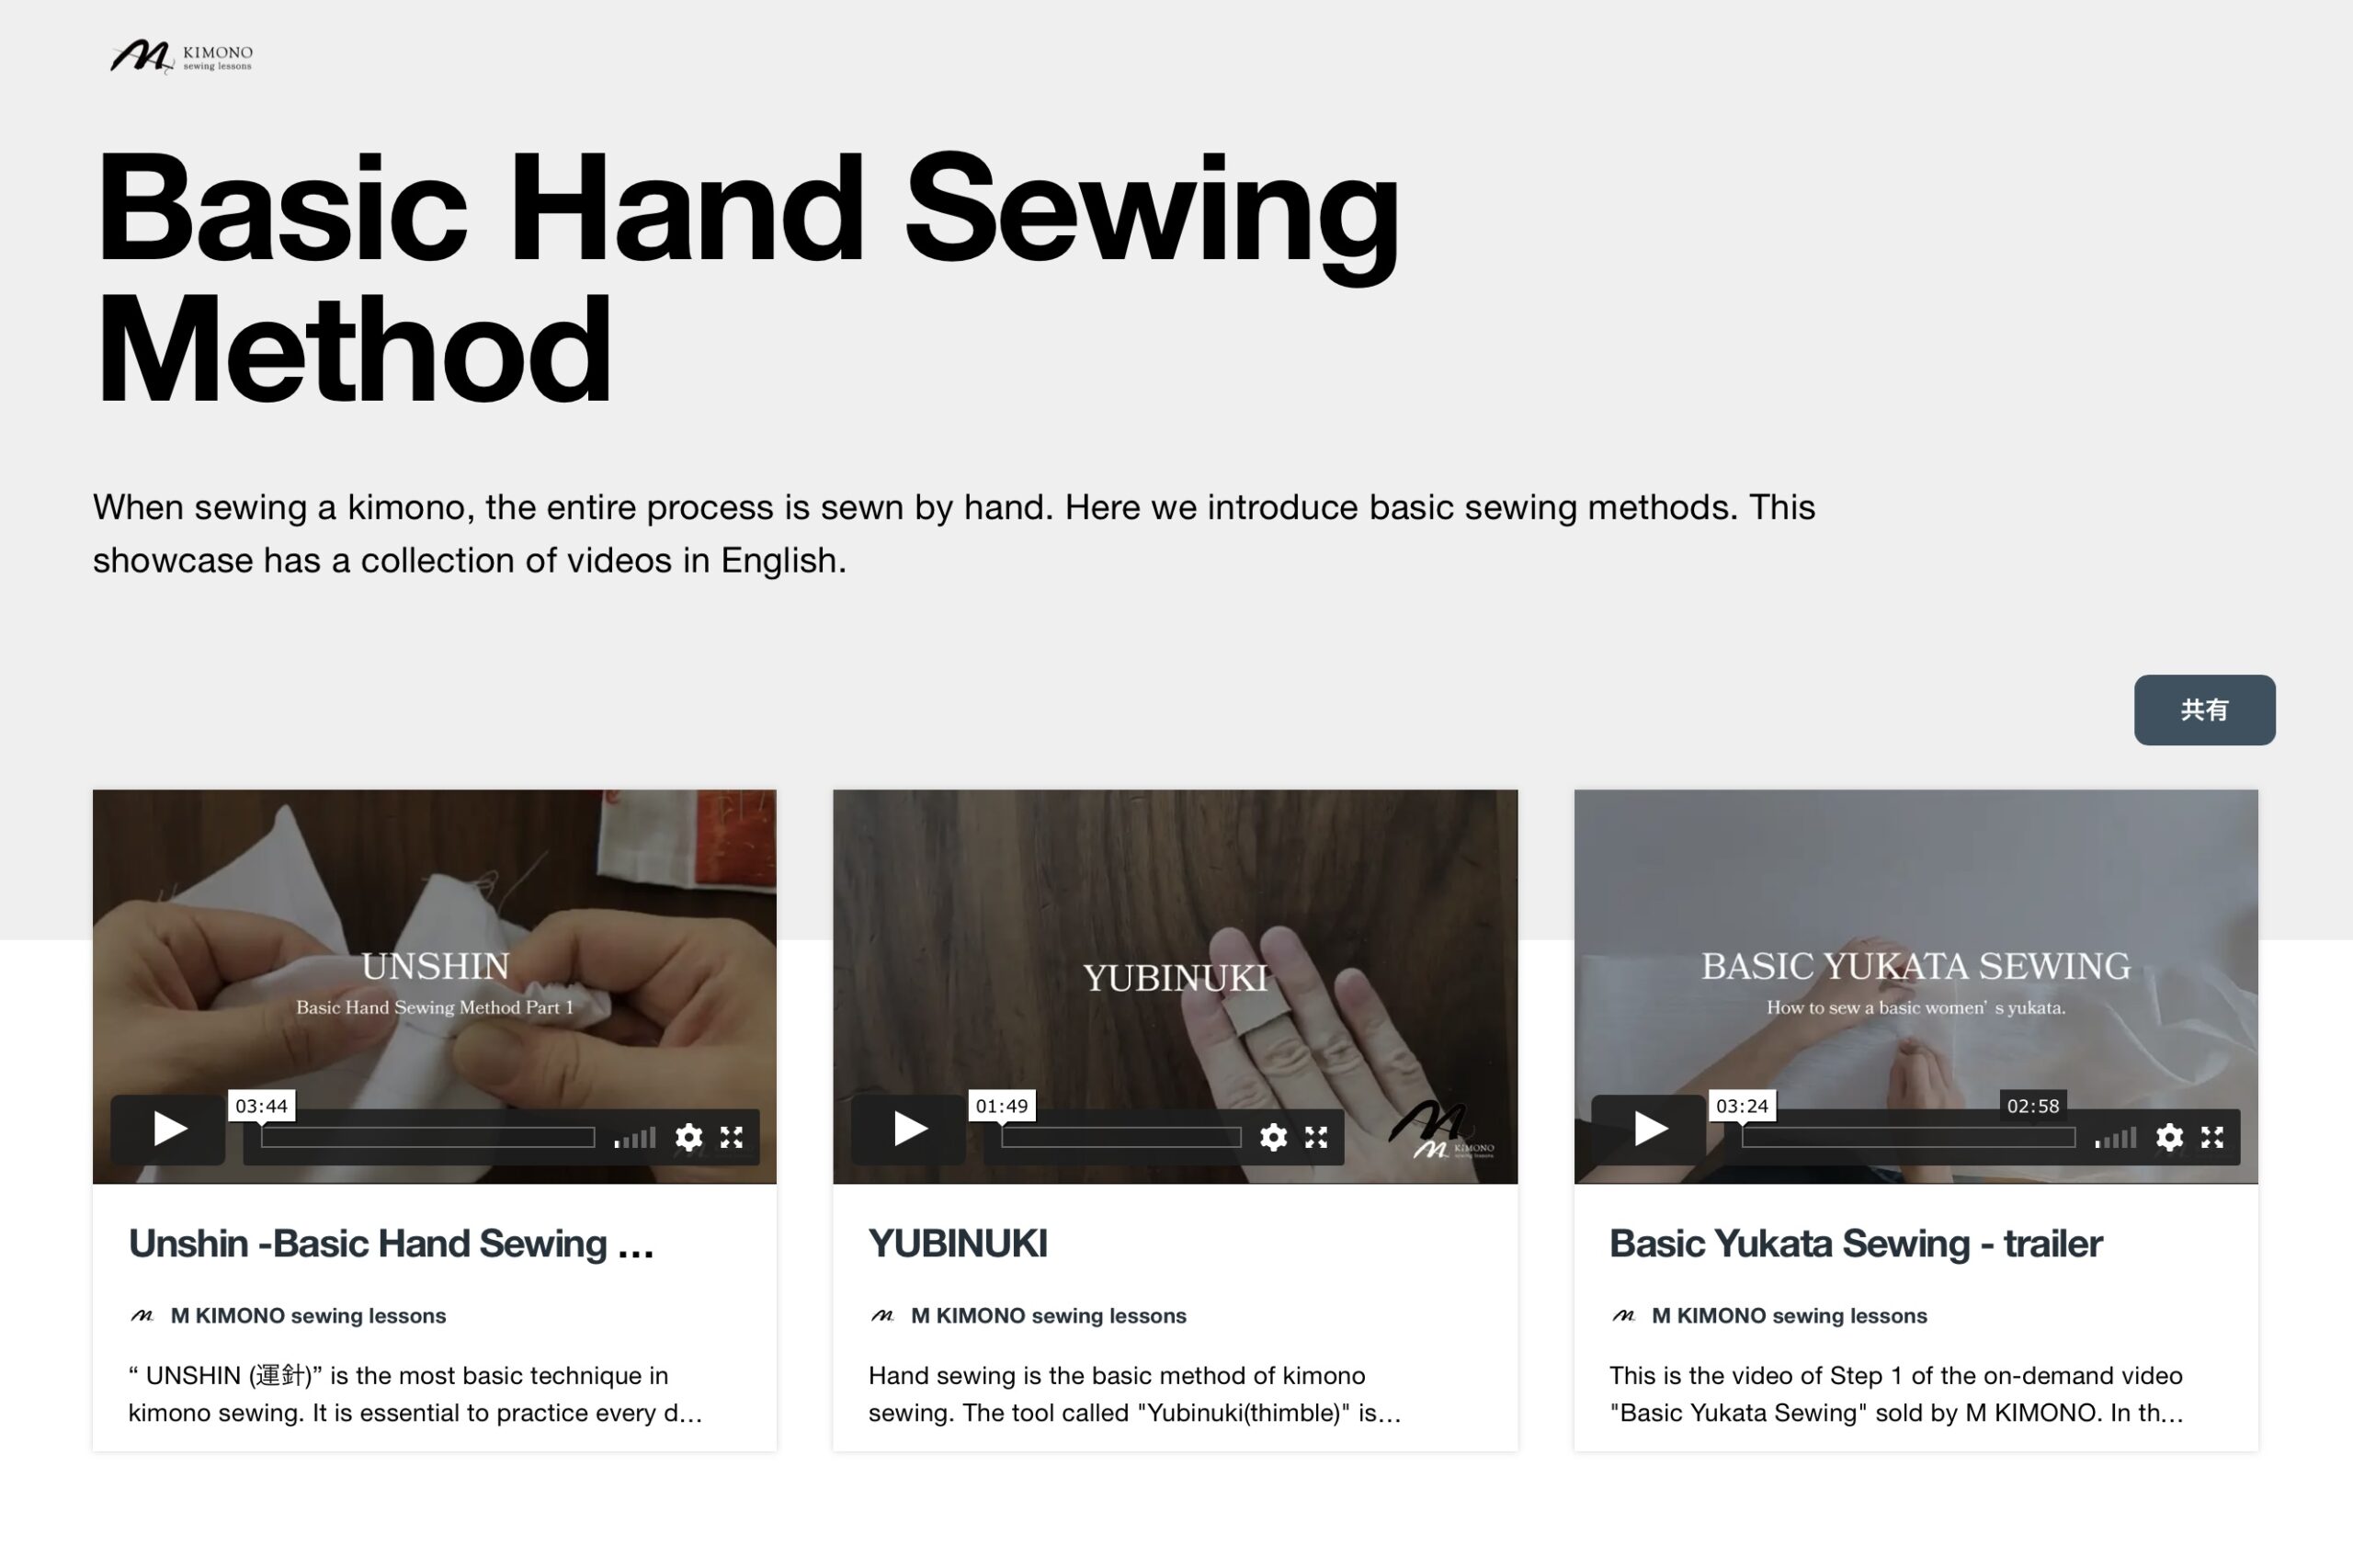
Video Collection
Online store
Kimono Sewing Tools
-
 Kimono sewing tools
Bunchin : Kimono Sewing Tools
Kimono Sewing tools are a necessity for all kimono sewers. Here are some of the tools that are especially […]-
M KIMONO
-
-
 Kimono sewing tools
Sewing Thread : Kimono Sewing Tools
Kimono Sewing tools are a necessity for all kimono sewers. Here are some of the tools that are especially nece […]-
M KIMONO
-
-
 Kimono sewing tools
Marumi : Kimono sewing tools
Kimono Sewing tools are a necessity for all kimono sewers. Here are some of the tools that are especially […]-
M KIMONO
-
Let’s have fun sewing kimonos
with M KIMONO!
You can sew kimono anytime, anywhere.
Here is an environment where you can learn kimono sewing wherever you are.
Click here for details >>> https://mkimono.tv/en/