Warning: Undefined array key "file" in /home/mm8ryu/mkimono.tv/public_html/wp-includes/media.php on line 1745
Warning: Undefined array key "file" in /home/mm8ryu/mkimono.tv/public_html/wp-includes/media.php on line 1745
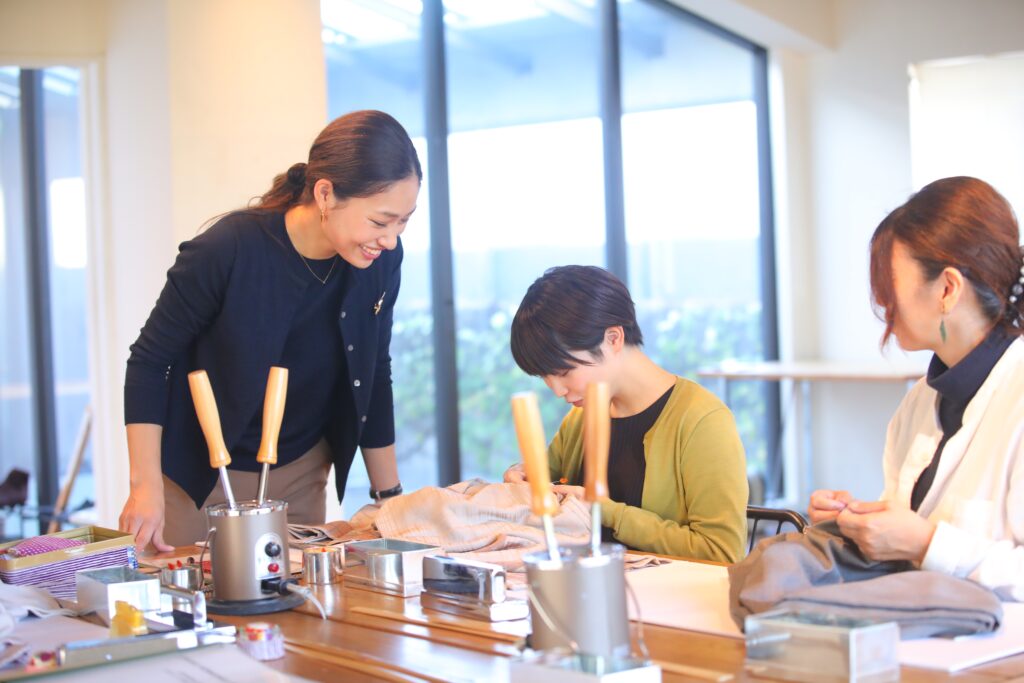
The third basic sewing technique is “Honguke“.
When sewing a yukata or a hitoe kimono, “honguke” is done at the time of Eri-osame (collar closing). The technique of sewing the inner fabric together with no needle in sight may seem a bit difficult, but with practice, you will get it.
Video: Honguke
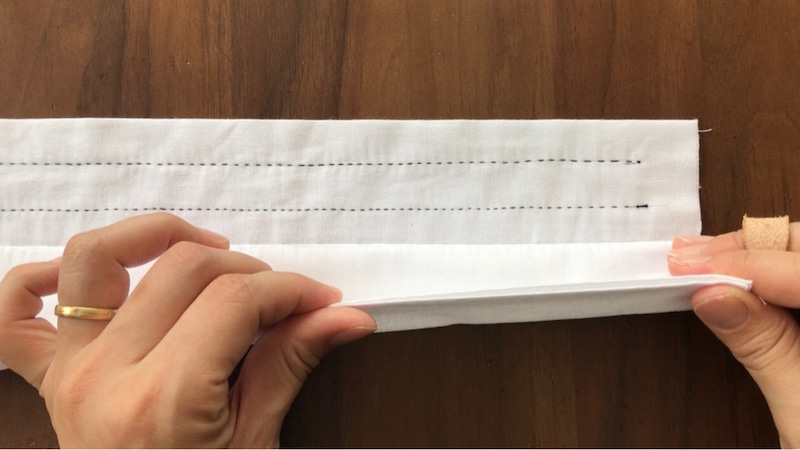
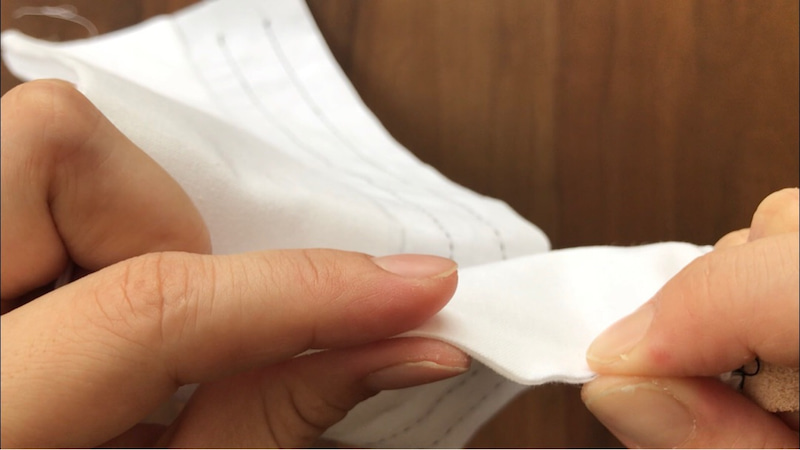
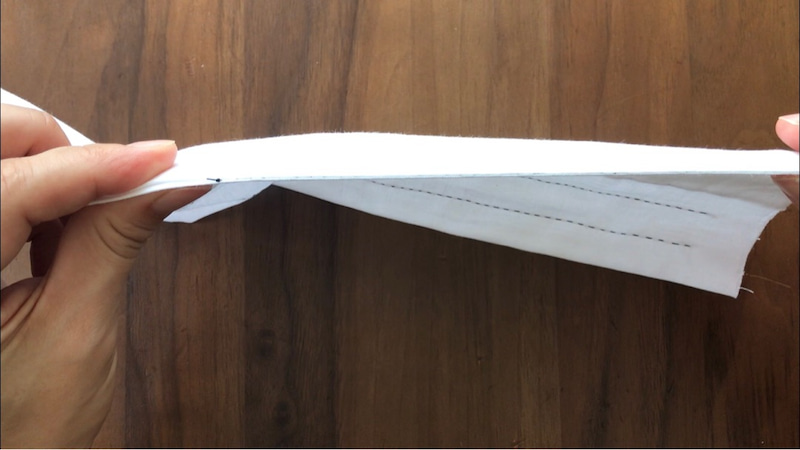
Preparation of cloth for Honguke practice
Weave the bottom side of the cloth used in the Unshin practice inside.
This will make four overlapping pieces of cloth.
Honguke is the technique of sewing these two inner pieces together.
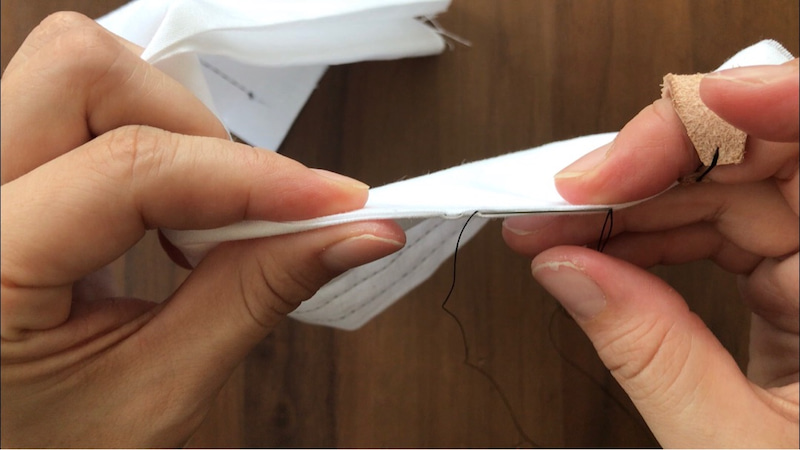
How to do a Honguke stitch
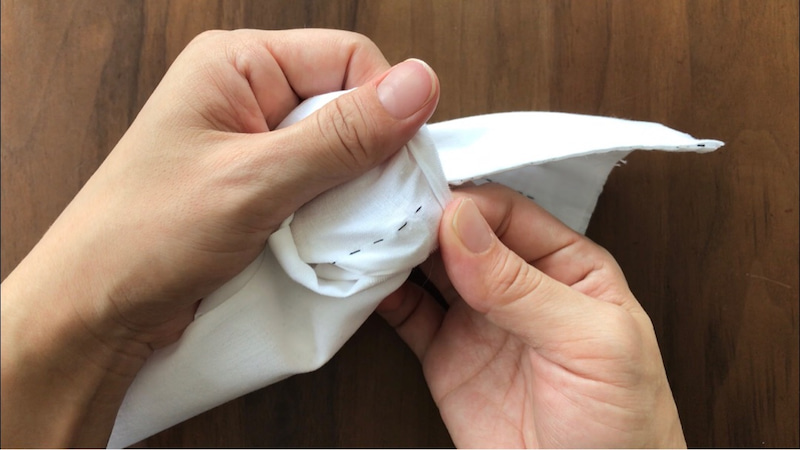
Scoop a couple of stitches on the inner two pieces first.
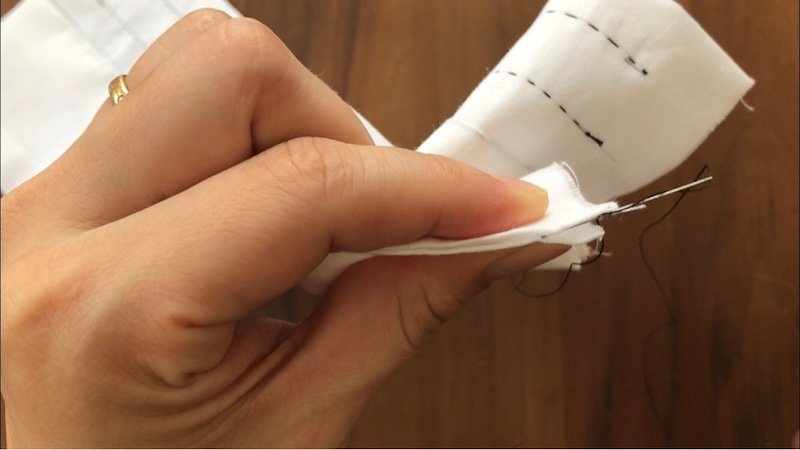
Hold the needle with the thumb and index finger so that the needle head touches the thimble of the middle finger. The same procedure is used for the Unshin.
The needle advances as shown in the picture below.
Can you see that the needle tip is scooping the two inner fabrics?
When sewing, sew at the eye level as shown in the photo.
To hold the needle, refer to the photo below.
Press the head of the needle with your middle finger to advance the needle.
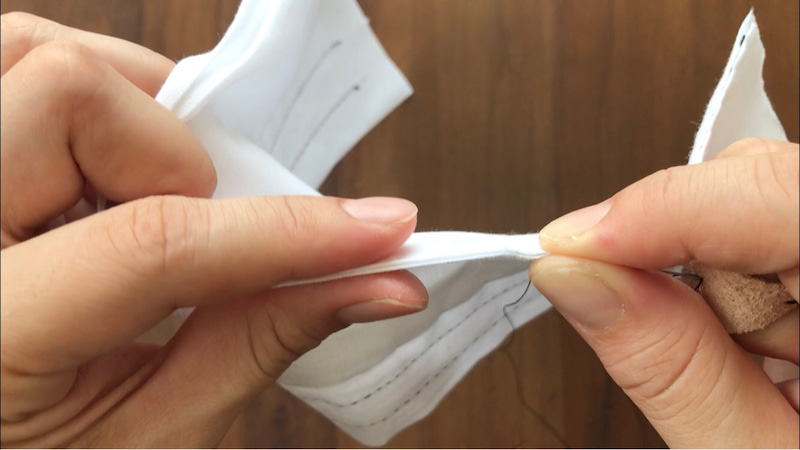
It is hard to see, but the needle tip is coming out from the inside.
If you want to end “honguke” on the inside, pull out the needle from this position and tie a knot.
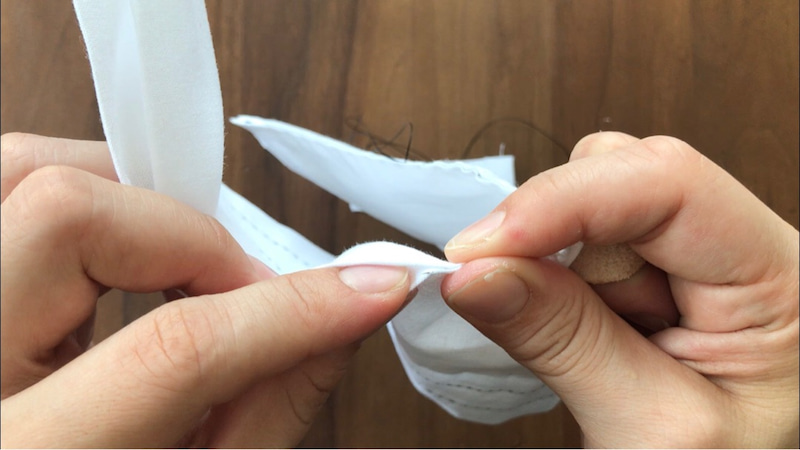
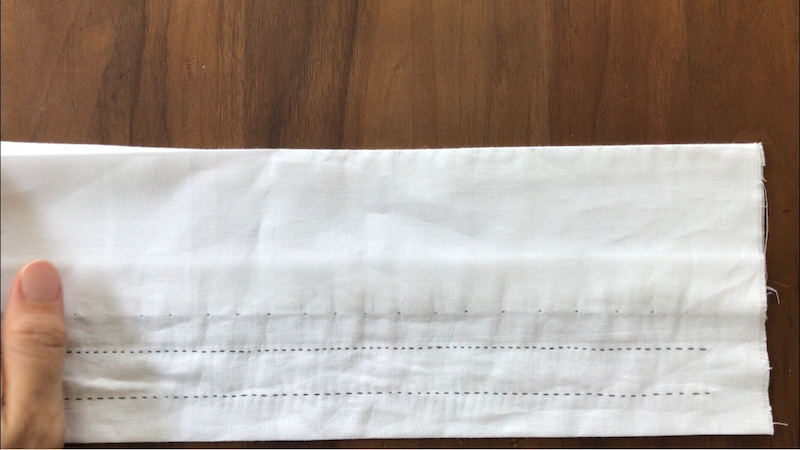
When the stitching is finished, it will look like the picture below.
The inside seam allowance, when opened, is like a rough unshin.
No seams are visible from either the front or the back.
Tips for good stitching
- The way to hold the needle is the same as in Unshin.
- The movement of the thumb and index finger is also the same.
- Be aware that the needle does not appear on the front.
In kimono sewing, only three sewing methods are used: Unshin, kuke, and honguke.
If you know these three, you will be able to sew any kimono without difficulty.
More Sewing Techniques
-
 Basic sewing method
HONGUKE – Basic Sewing Techniques
The third basic sewing technique is “Honguke”.When sewing a yukata or a hitoe kimono, “honguke” is done at the […]-
 M KIMONO
-
-
 Basic sewing method
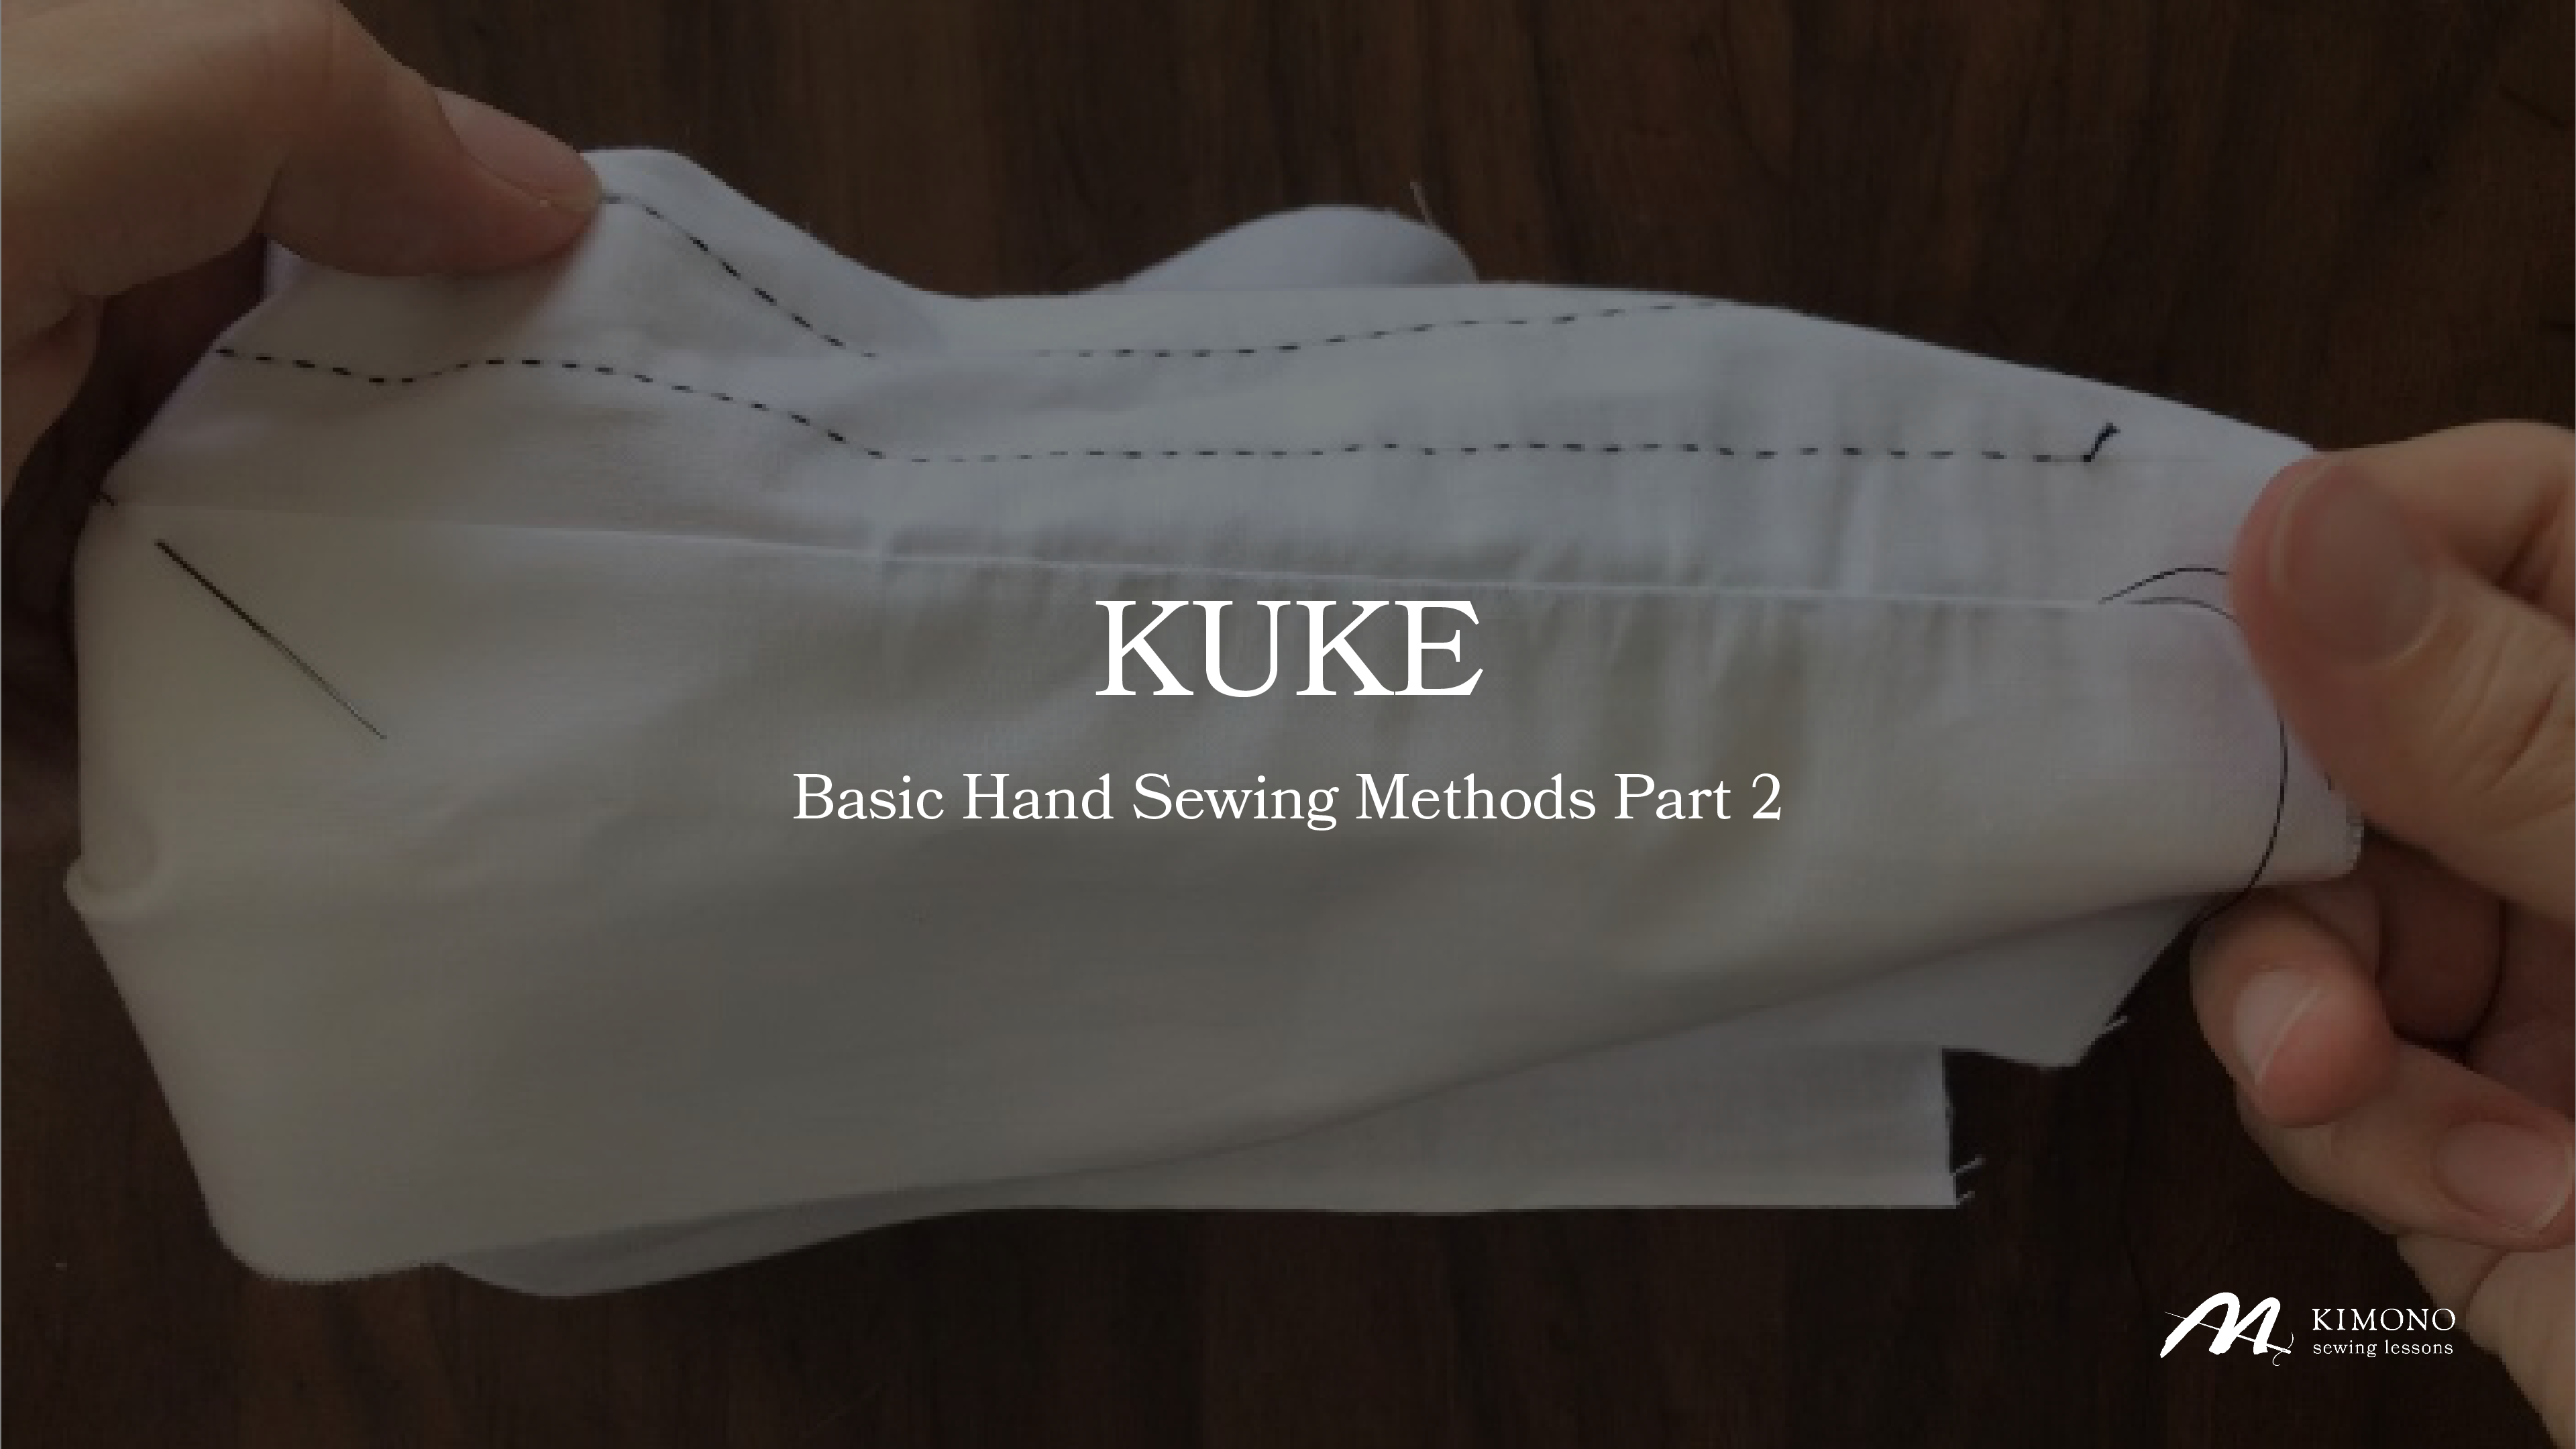
KUKE – Basic Sewing Techniques
This page introduces how to practice the basic Japanese sewing technique ” Kuke “.In yukata and Hitoe-kimono, […]-
M KIMONO
-
-
 Basic sewing method
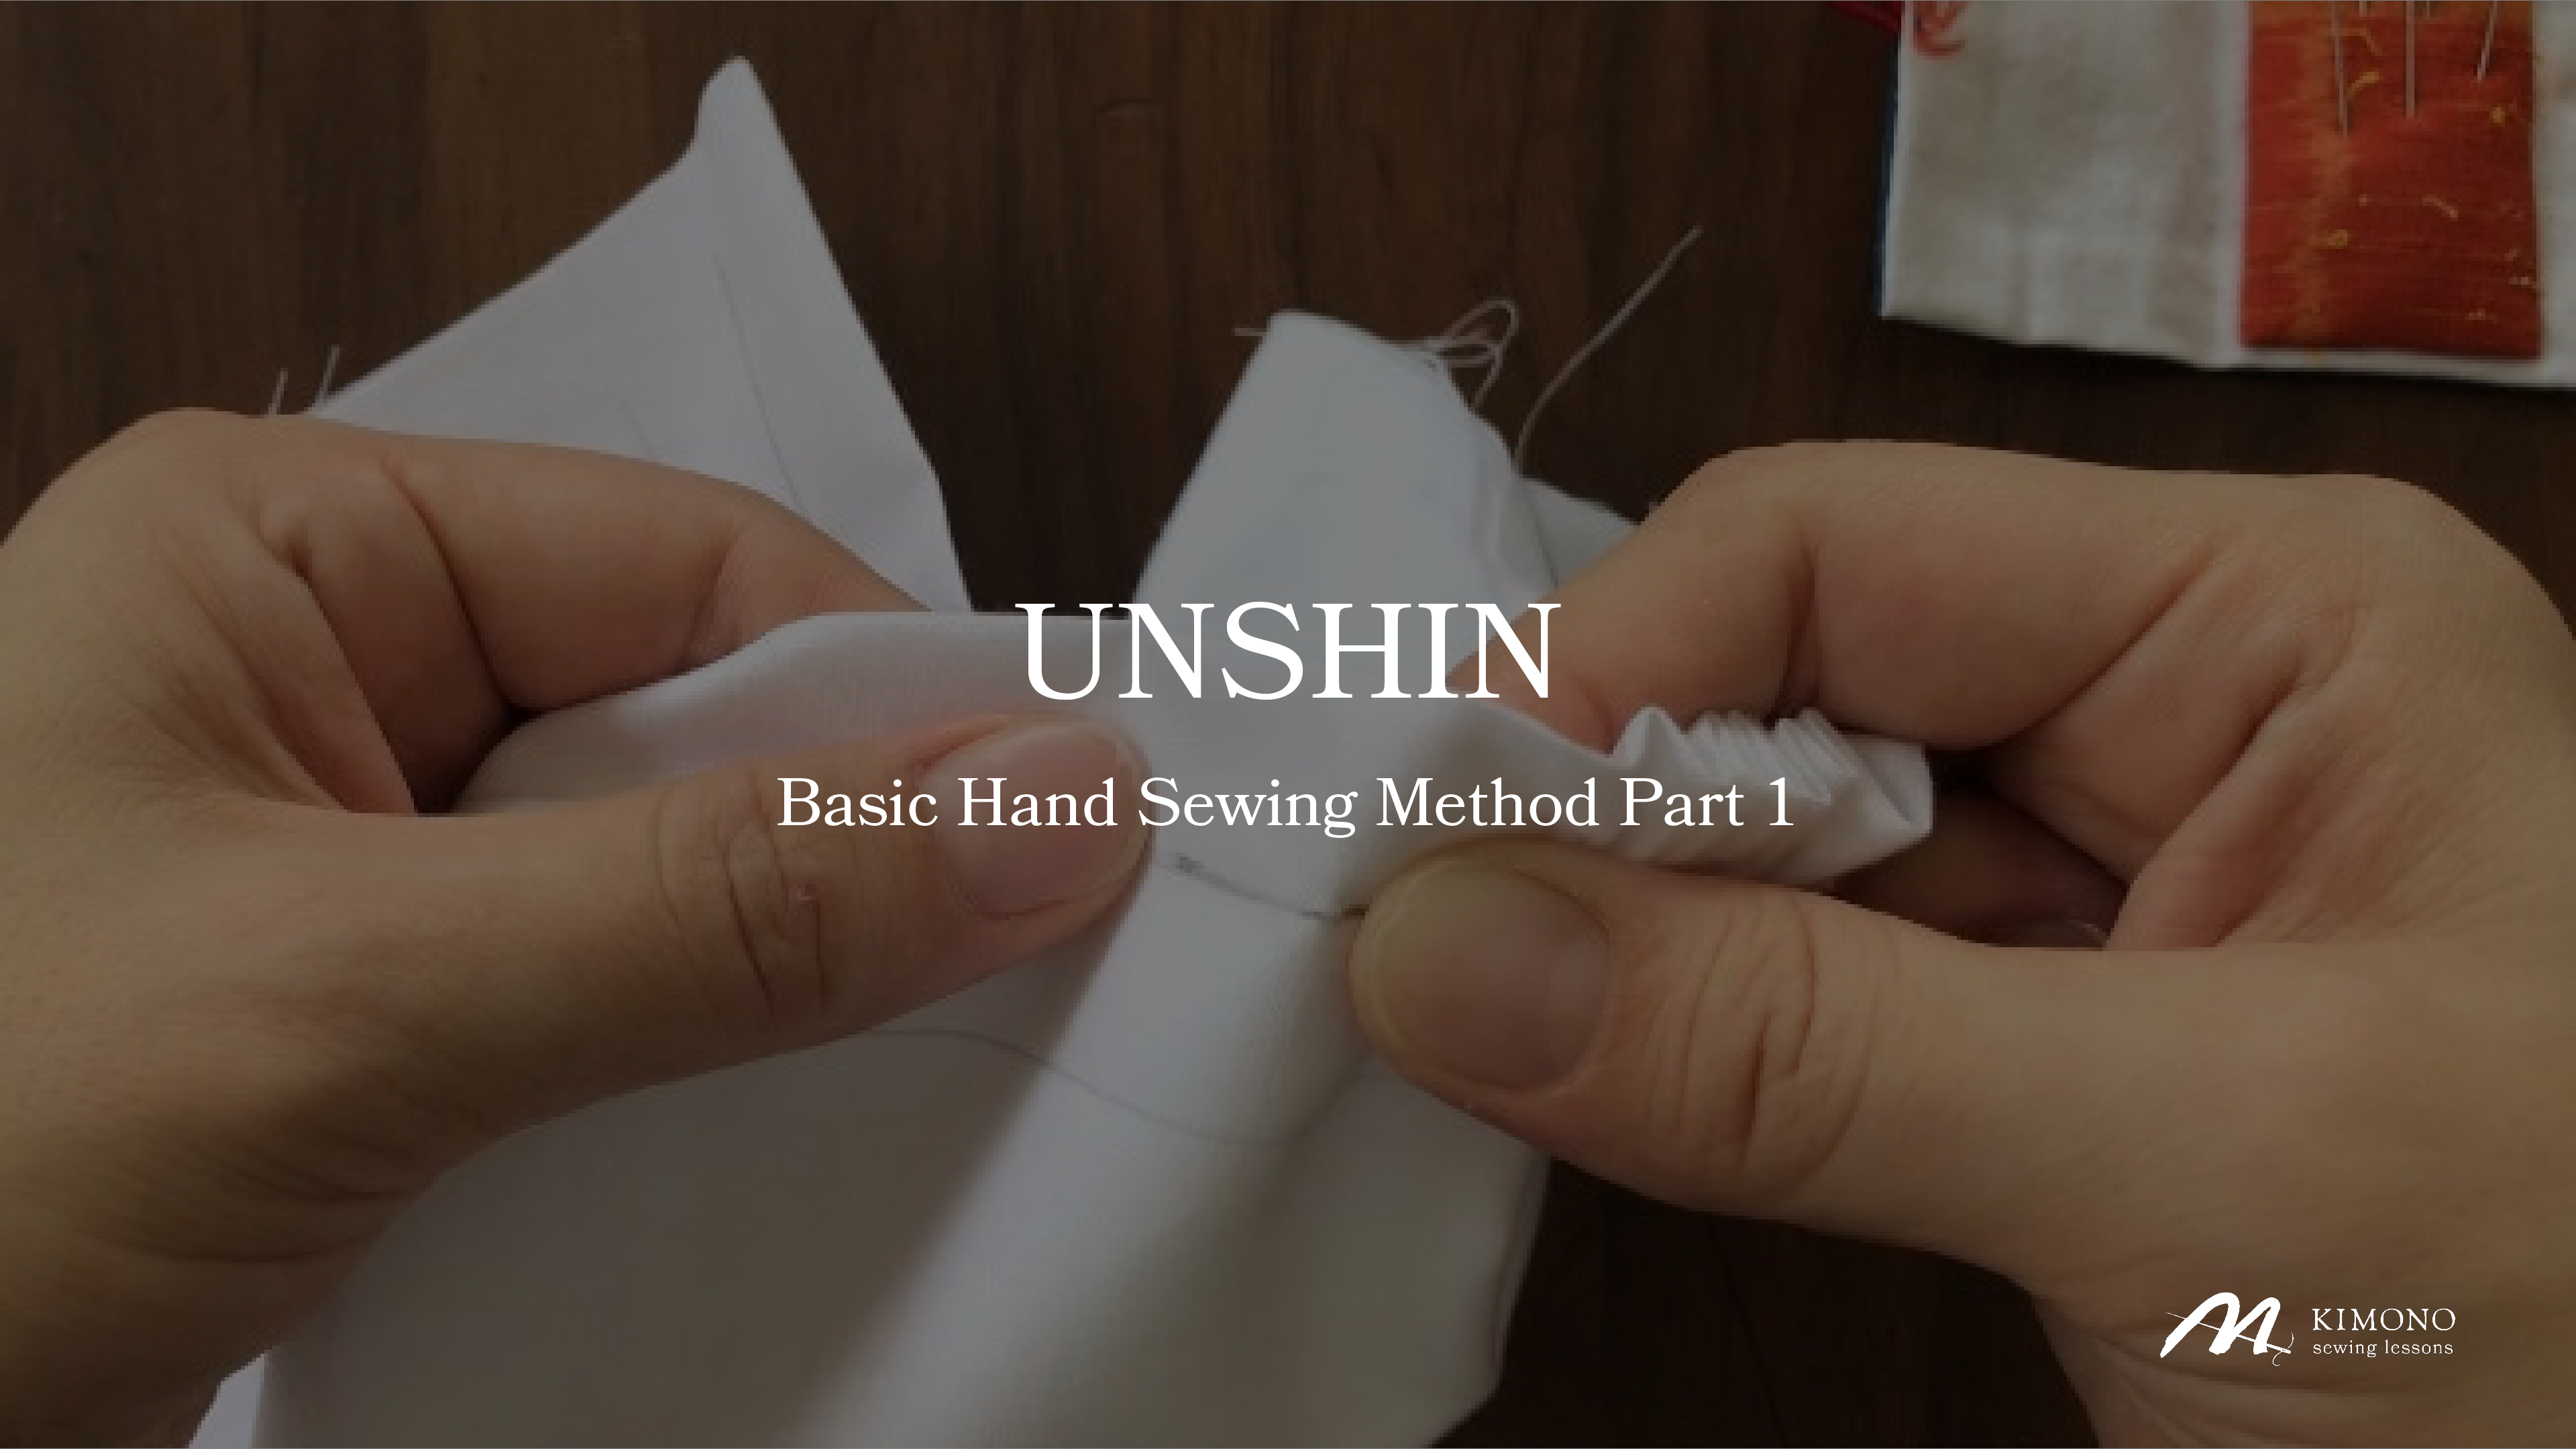
UNSHIN – Basic Sewing Techniques
“ UNSHIN (運針)” is the most basic technique in kimono sewing.It is essential to practice every day in order to […]-
M KIMONO
-
-
 Basic sewing method
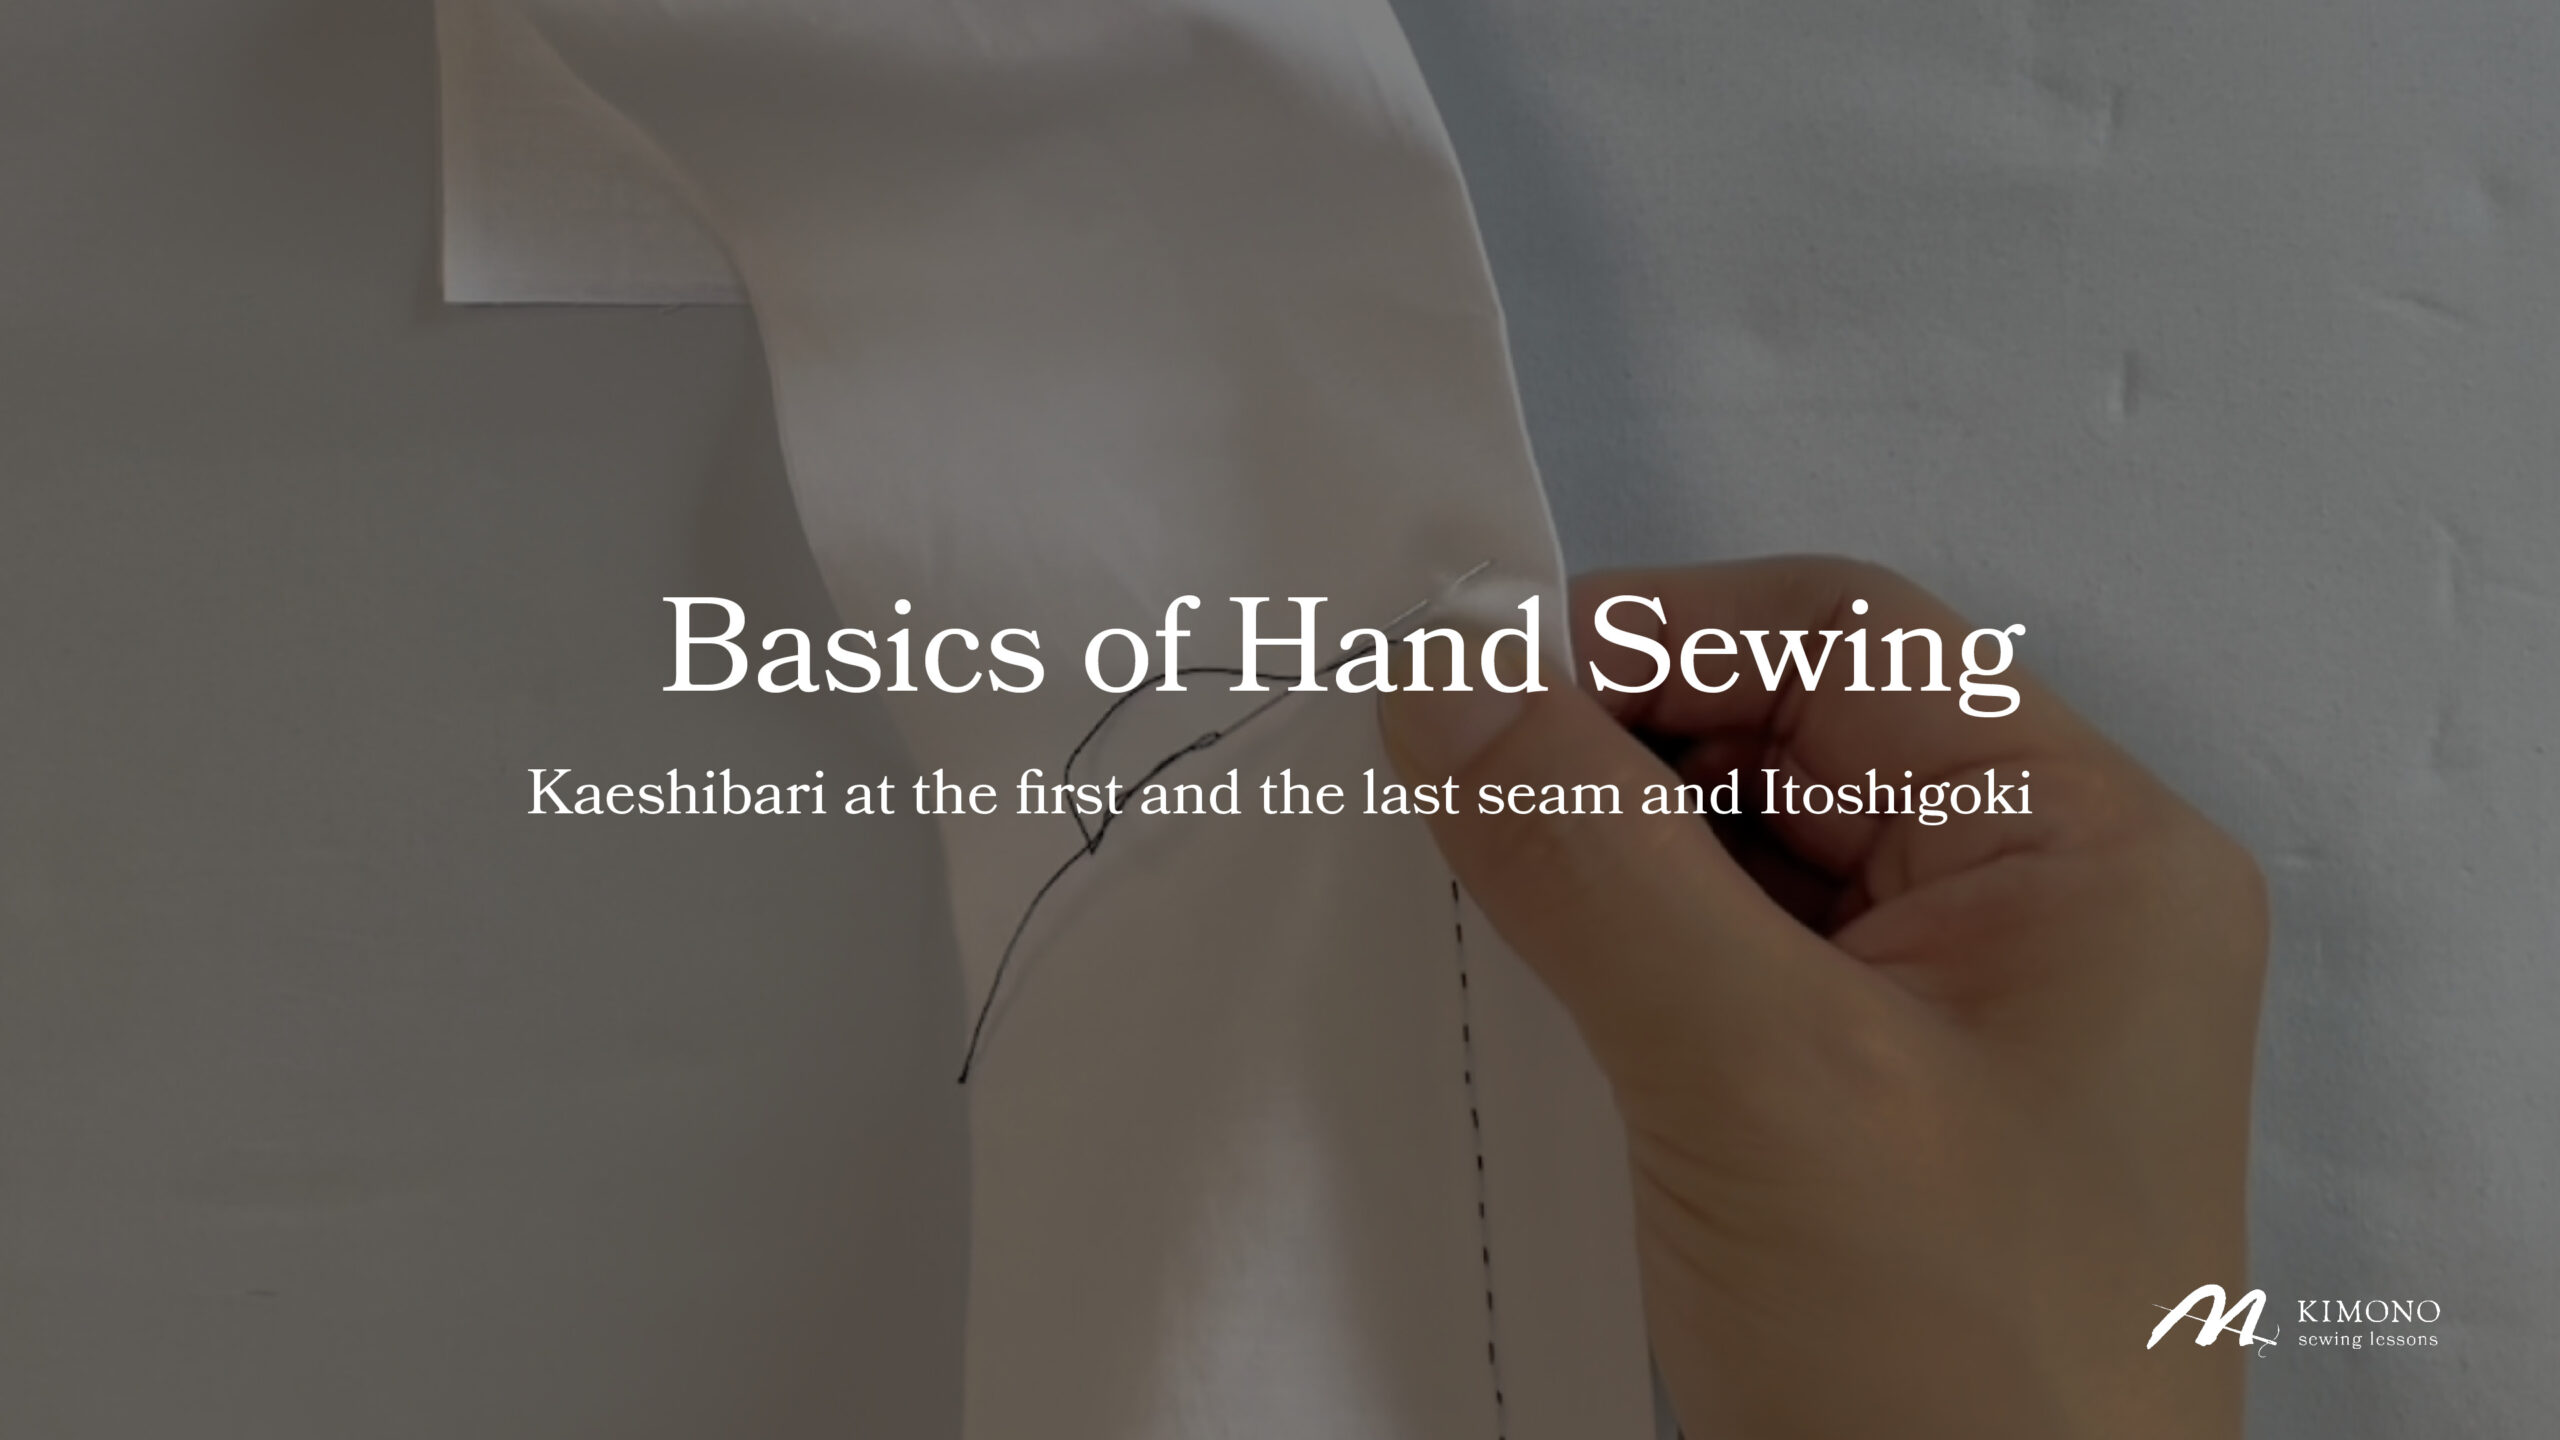
Basic of hand sewing : Kaeshibari and Itoshigoki
Next to the Unshin, the basics of hand sewing that you should learn are the “Kaeshibari at the first and the l […]-
M KIMONO
-
-
 Basic sewing method
How to make “chikara-Nuno” for attaching to Kataaki Part 2
In addition to small “mikazuki”, you may also see kimonos with long, thin stay cloth.In this time, I will show […]-
M KIMONO
-
-
Basic sewing method
HONGUKE – Basic Sewing Techniques
The third basic sewing technique is “Honguke”.When sewing a yukata or a hitoe kimono, “honguke” is done at the […]-
M KIMONO
-
Let’s have fun sewing kimonos
with M KIMONO!
You can sew kimono anytime, anywhere.
Here is an environment where you can learn kimono sewing wherever you are.
Click here for details >>> https://mkimono.tv/en/