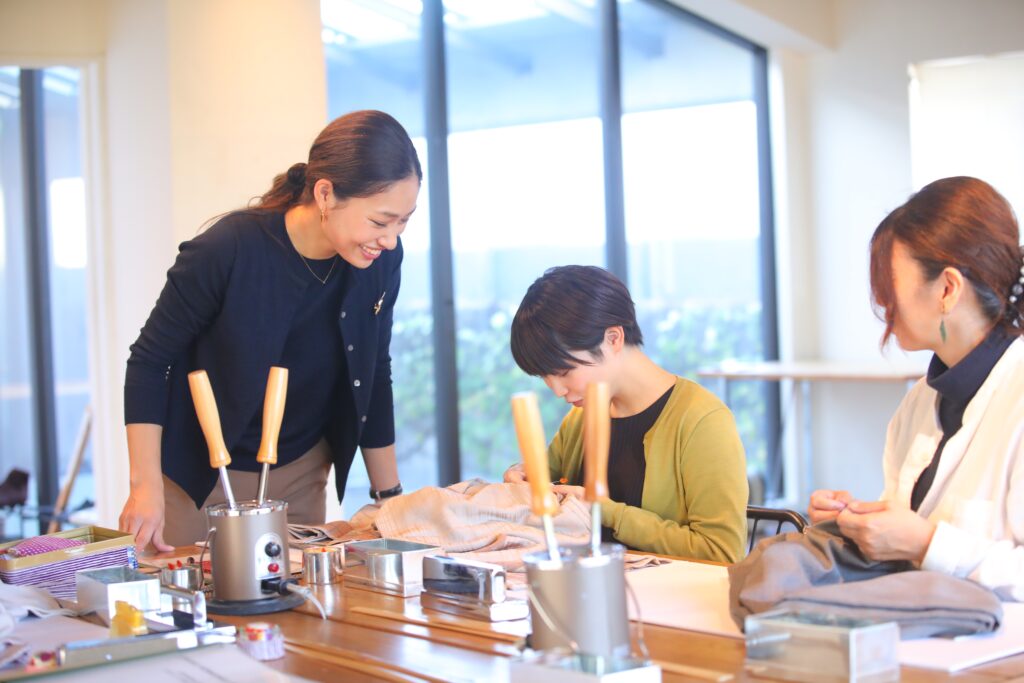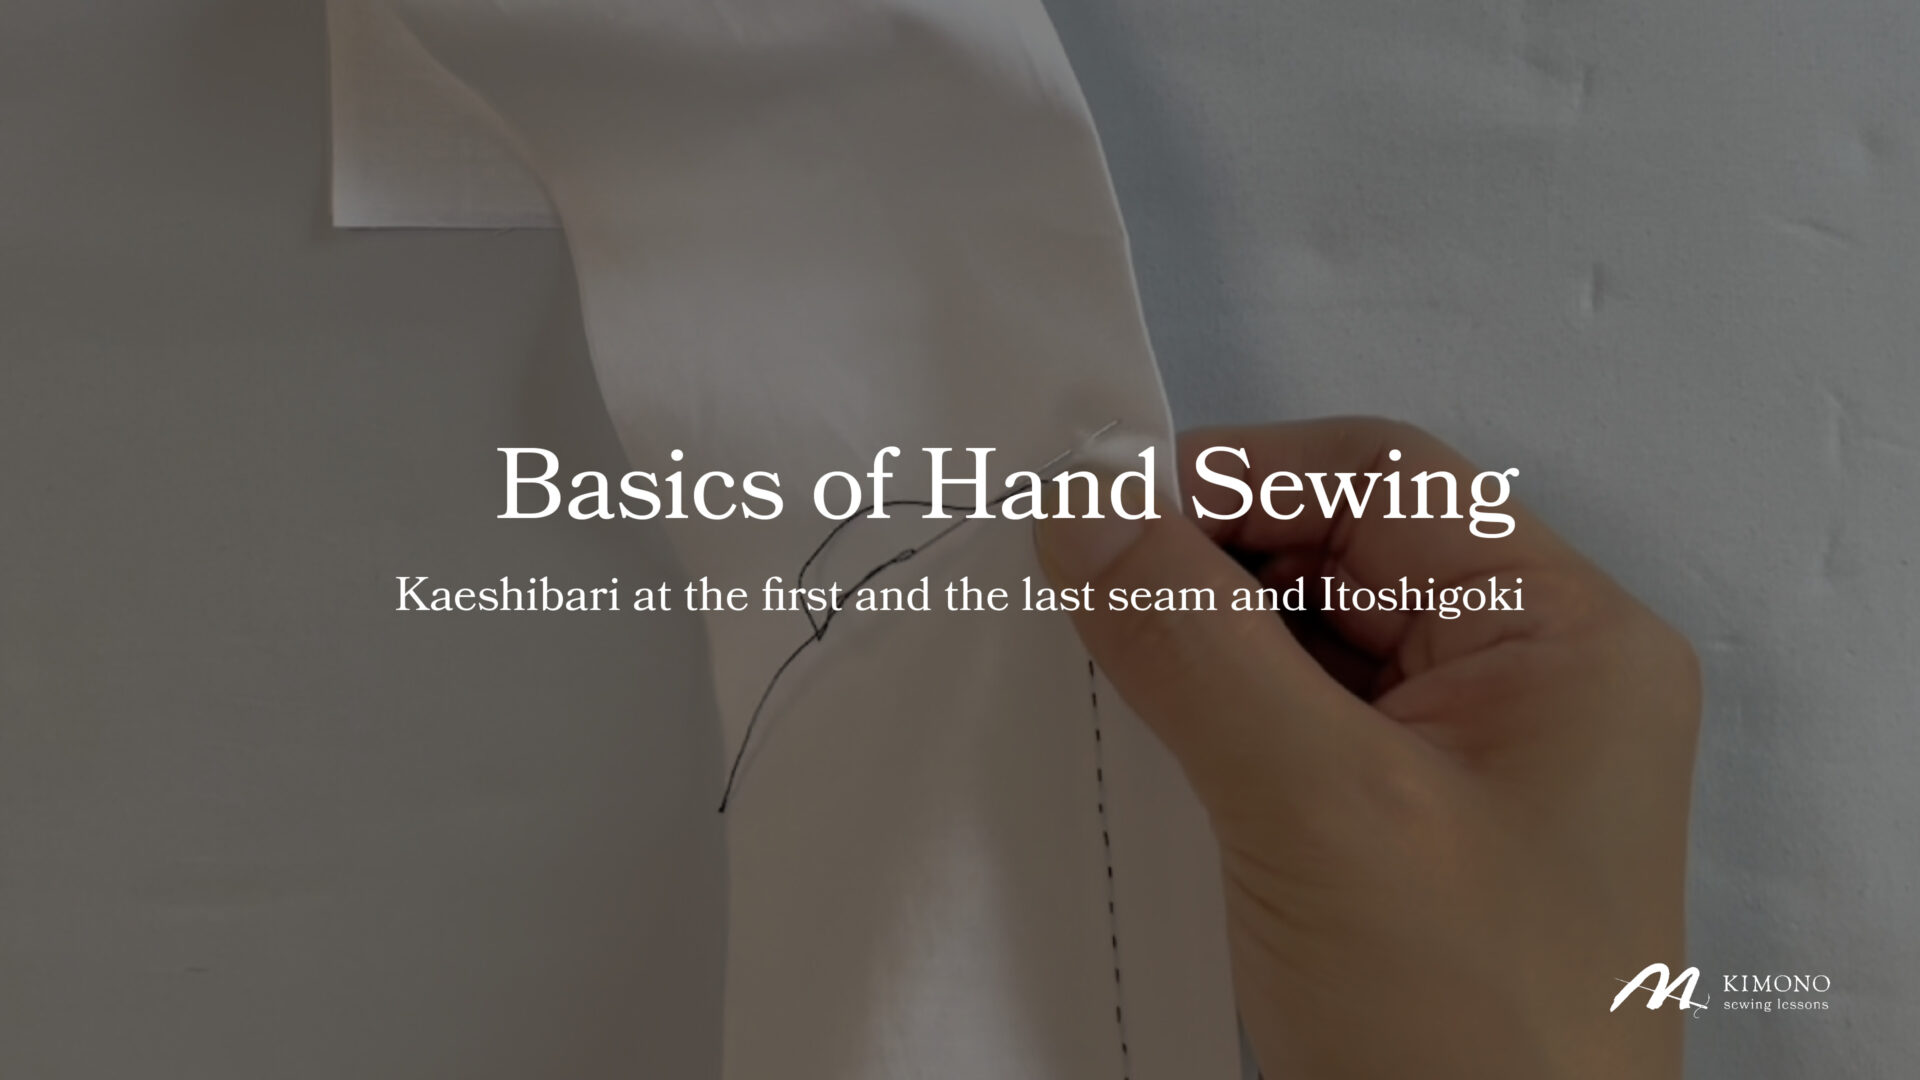
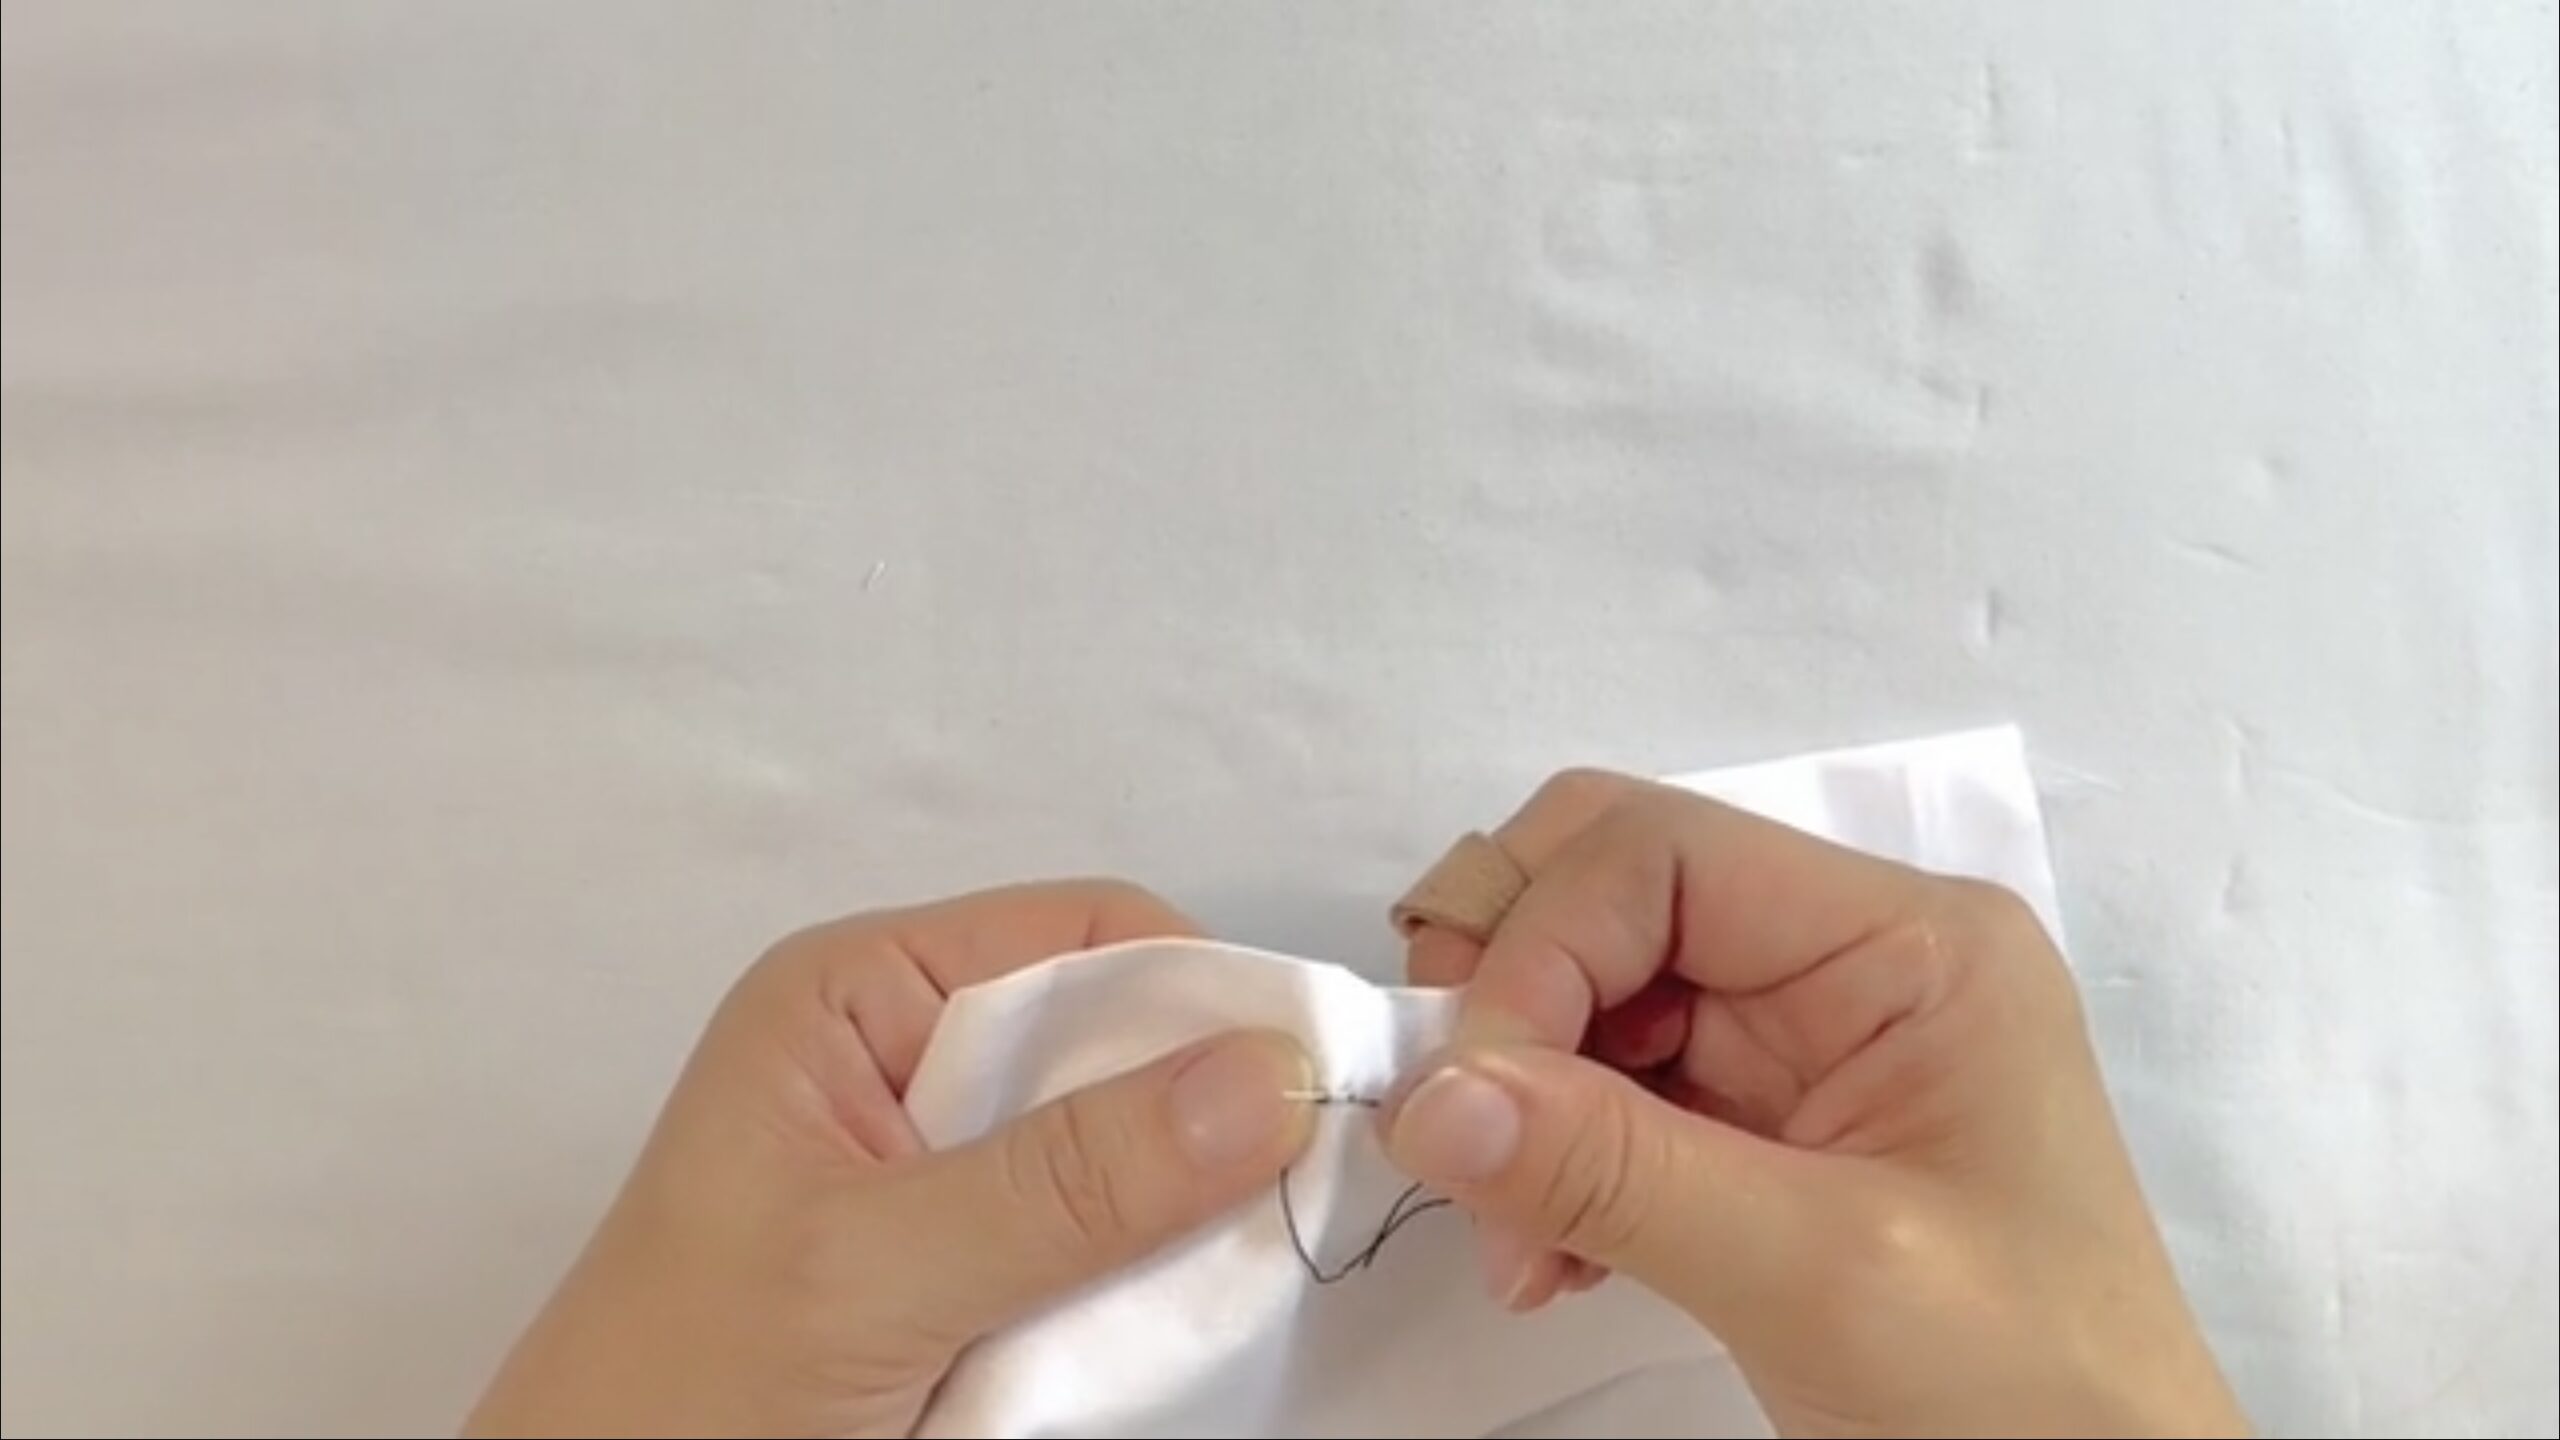
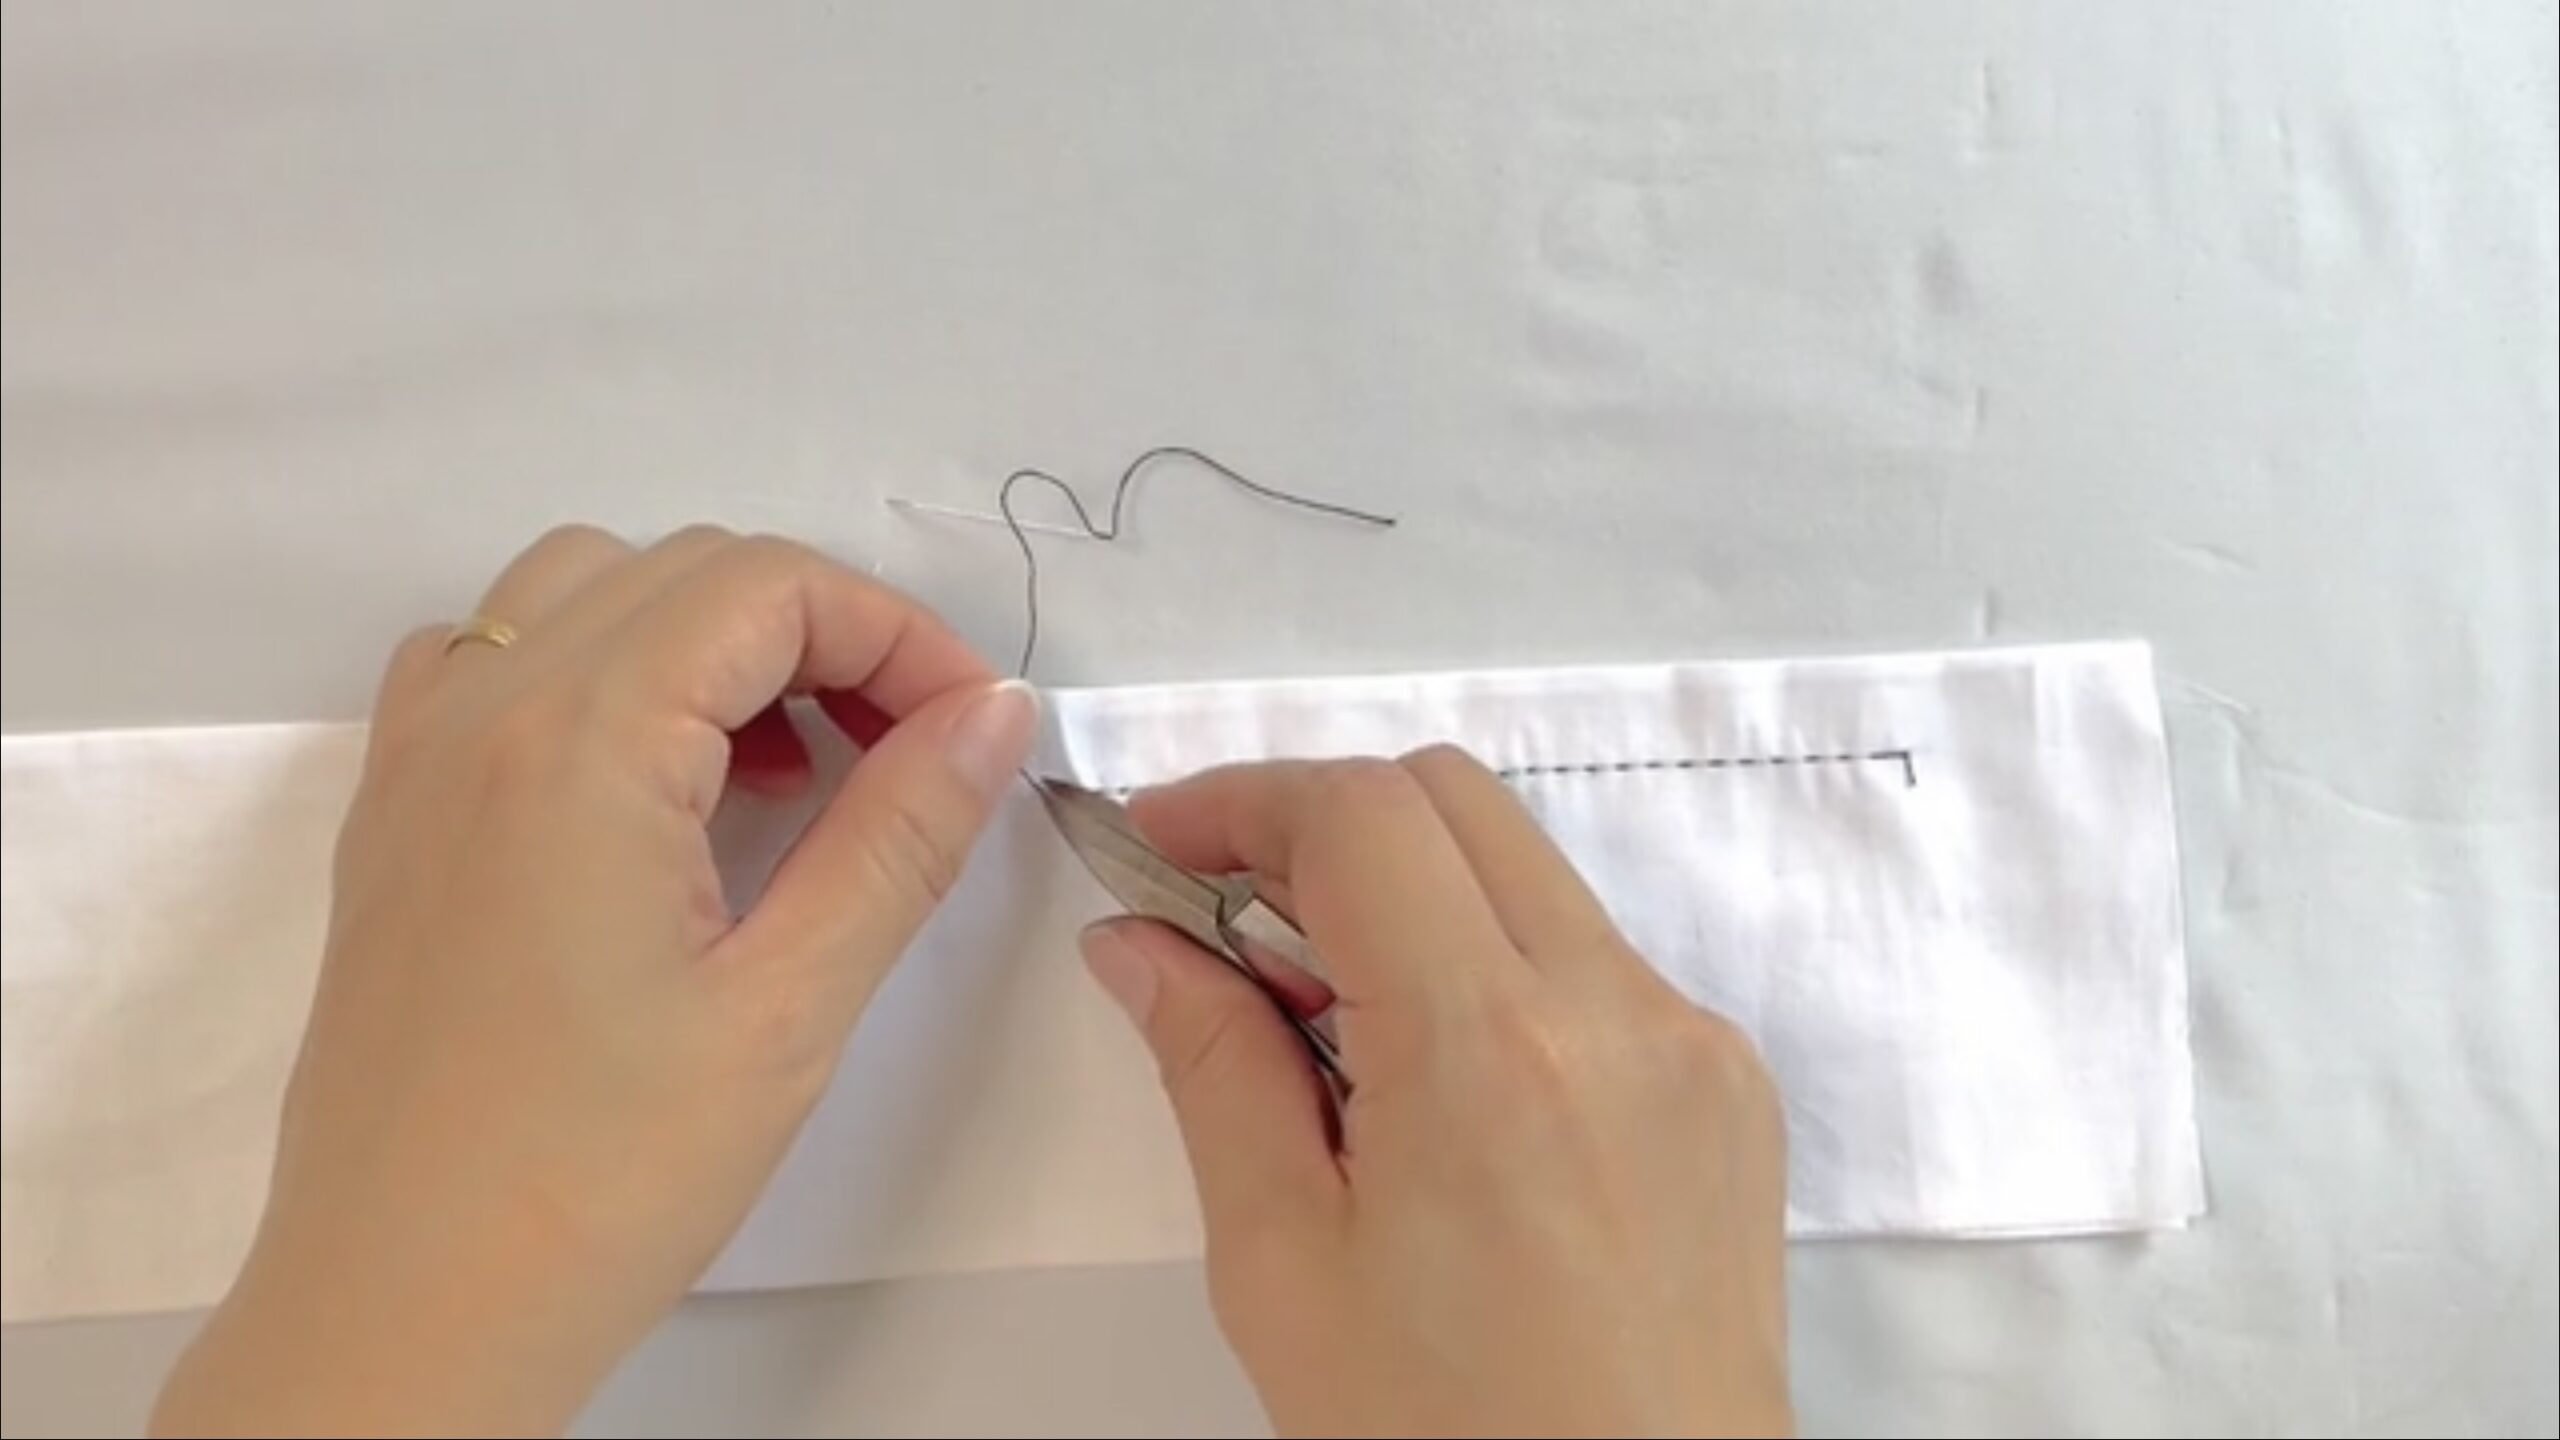
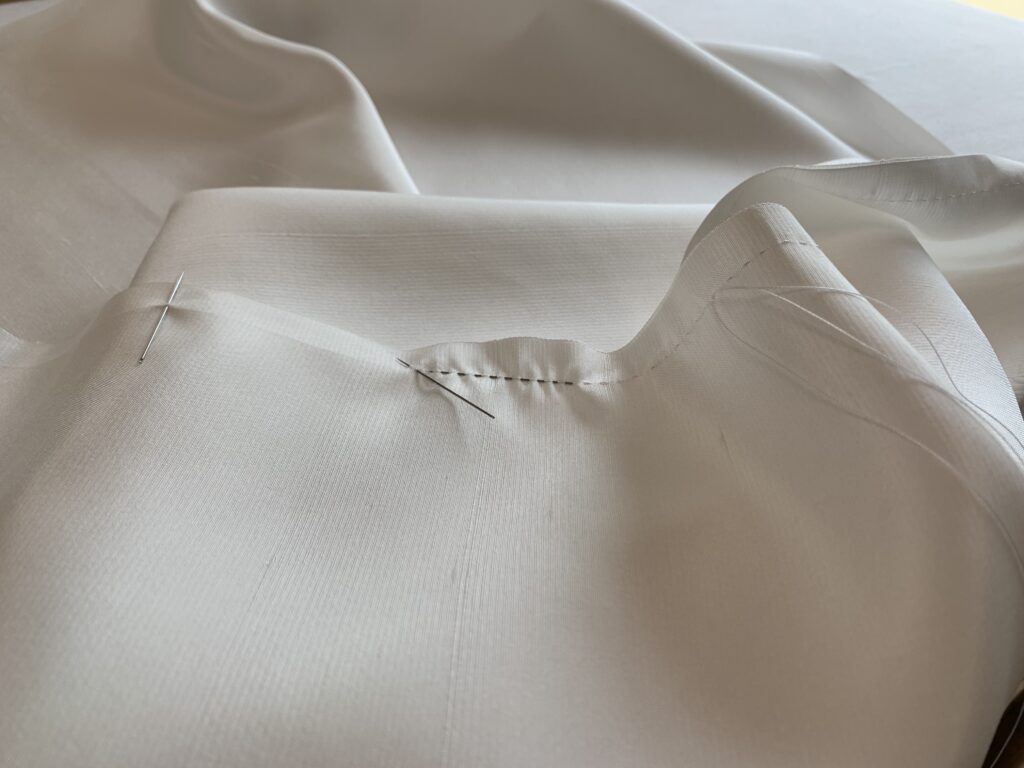
Next to the Unshin, the basics of hand sewing that you should learn are the “Kaeshibari at the first and the last seam” and “Itoshigoki”.
Here, I would like to explain the series of steps.
*Kaeshibari = Backstitch
Video
Basic Steps for Hand Sewing
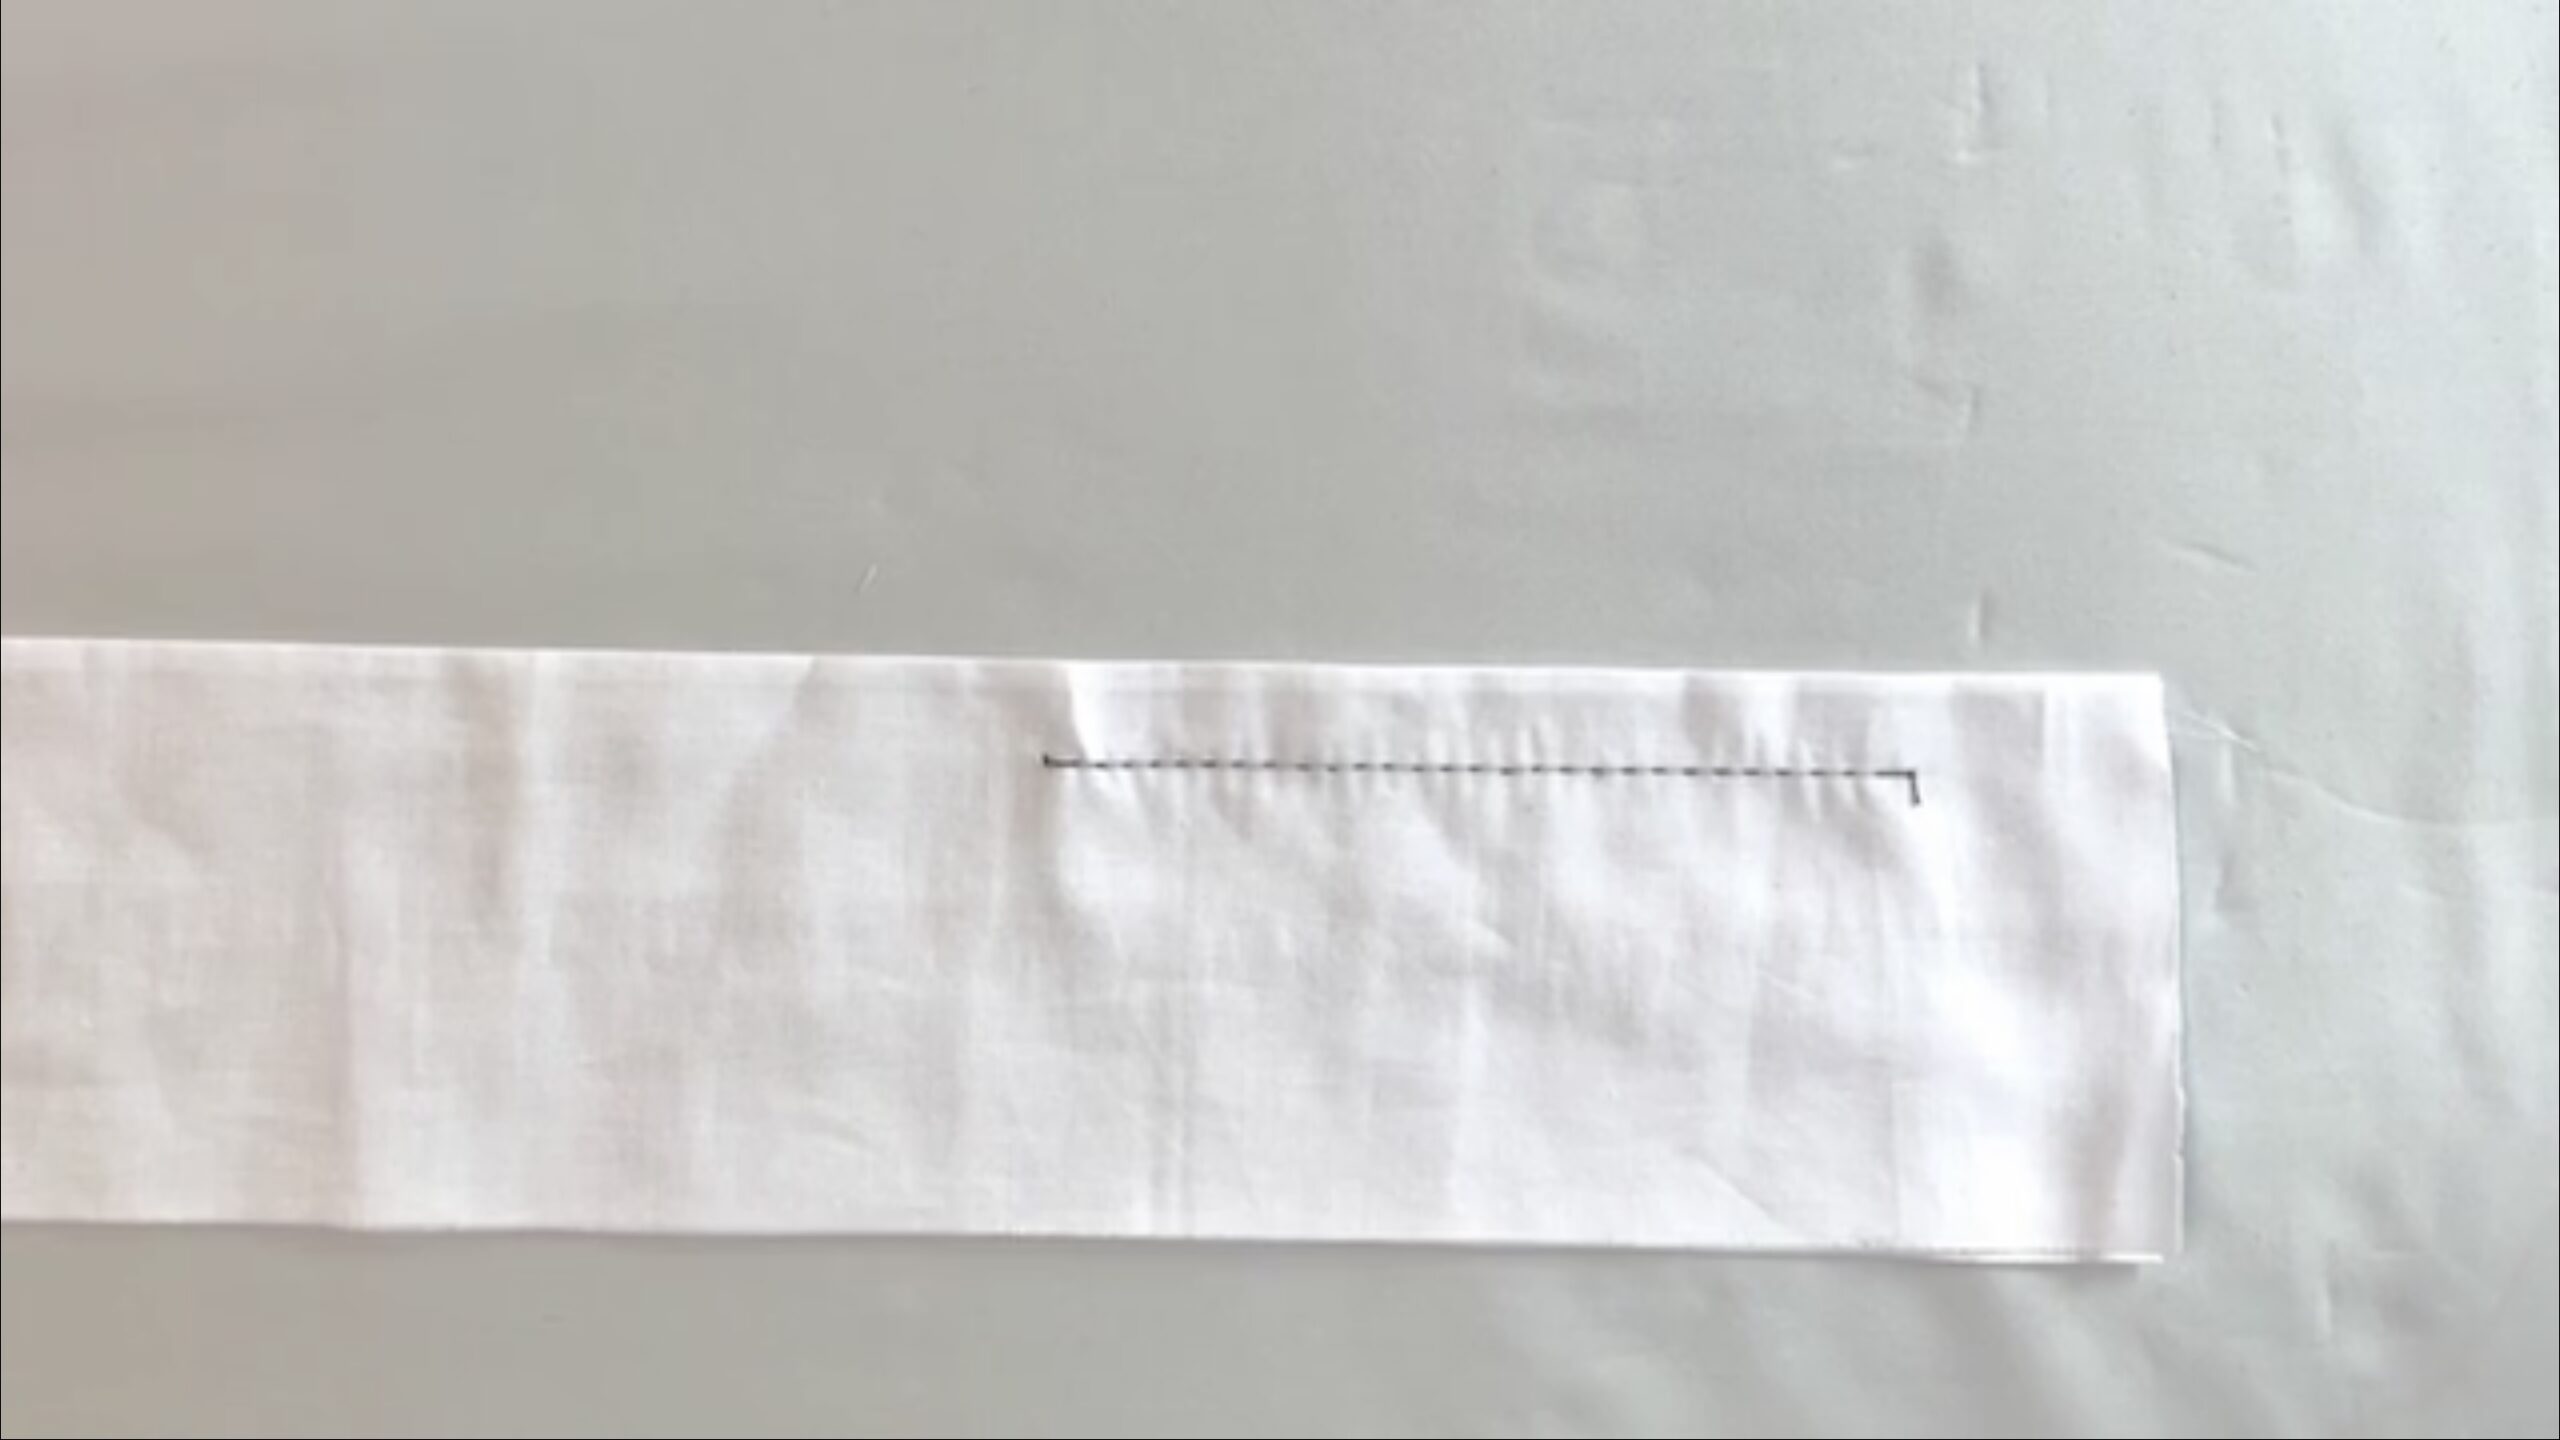
First kaeshibari

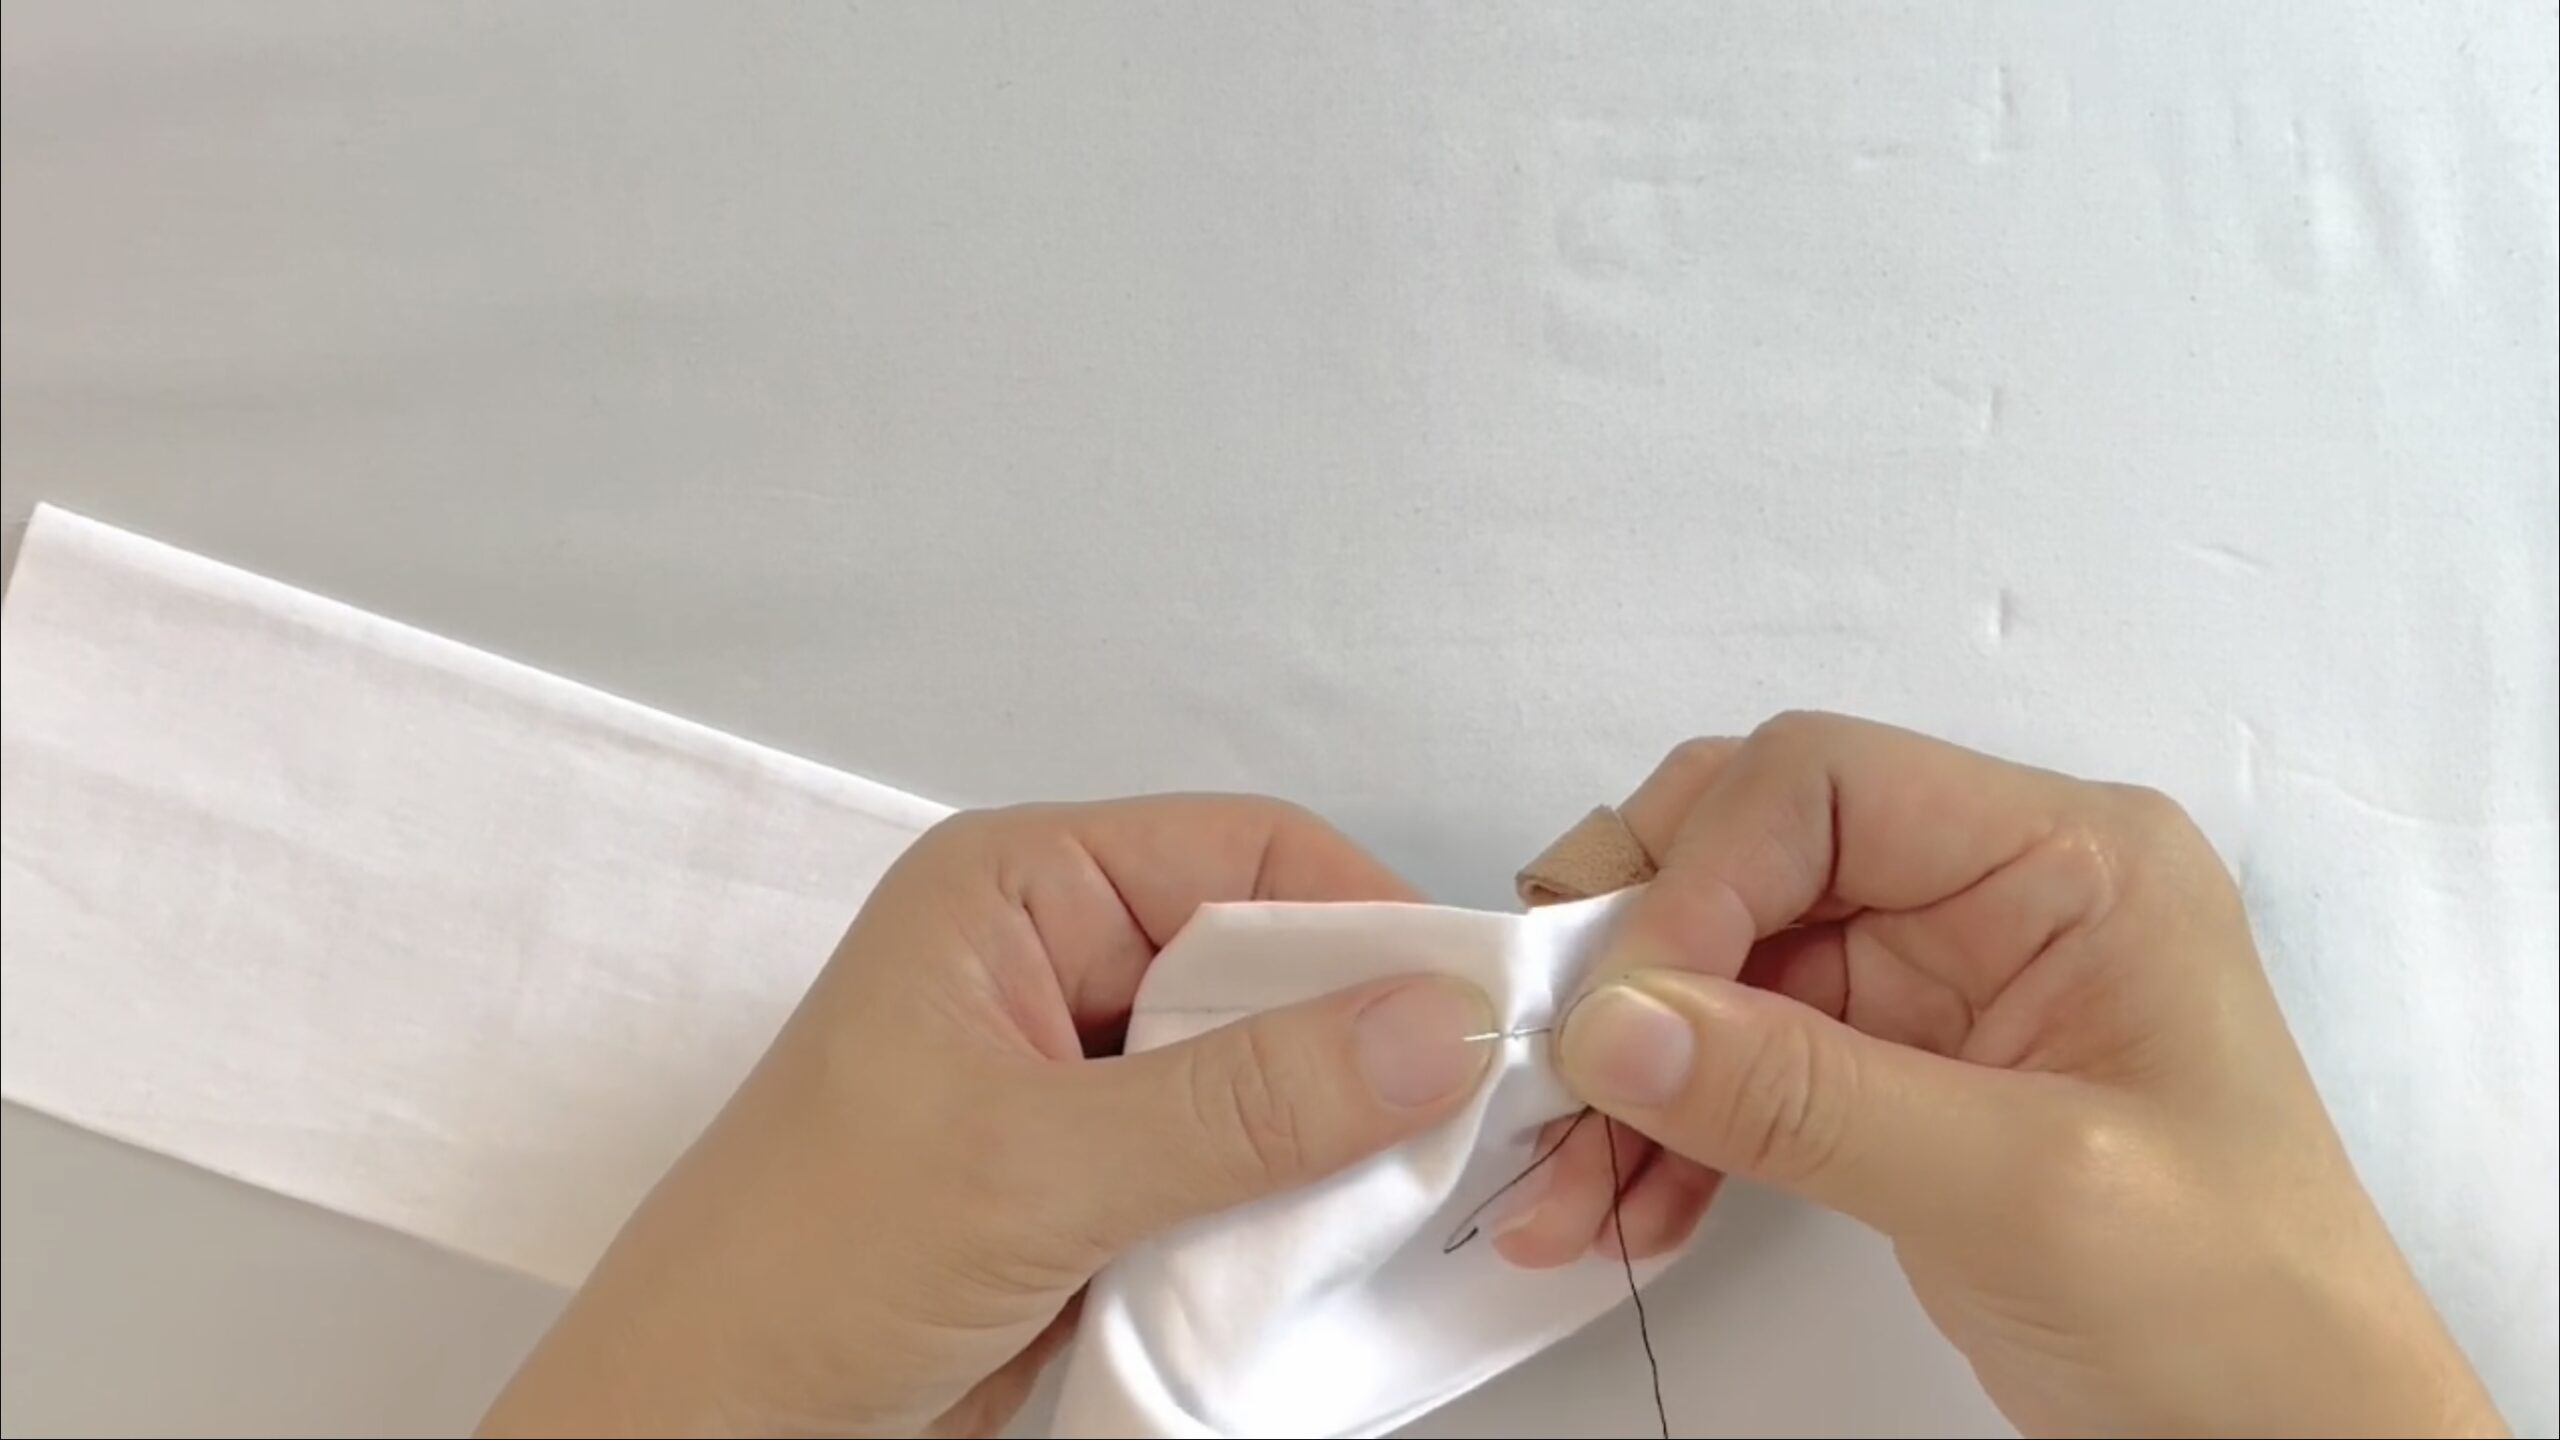
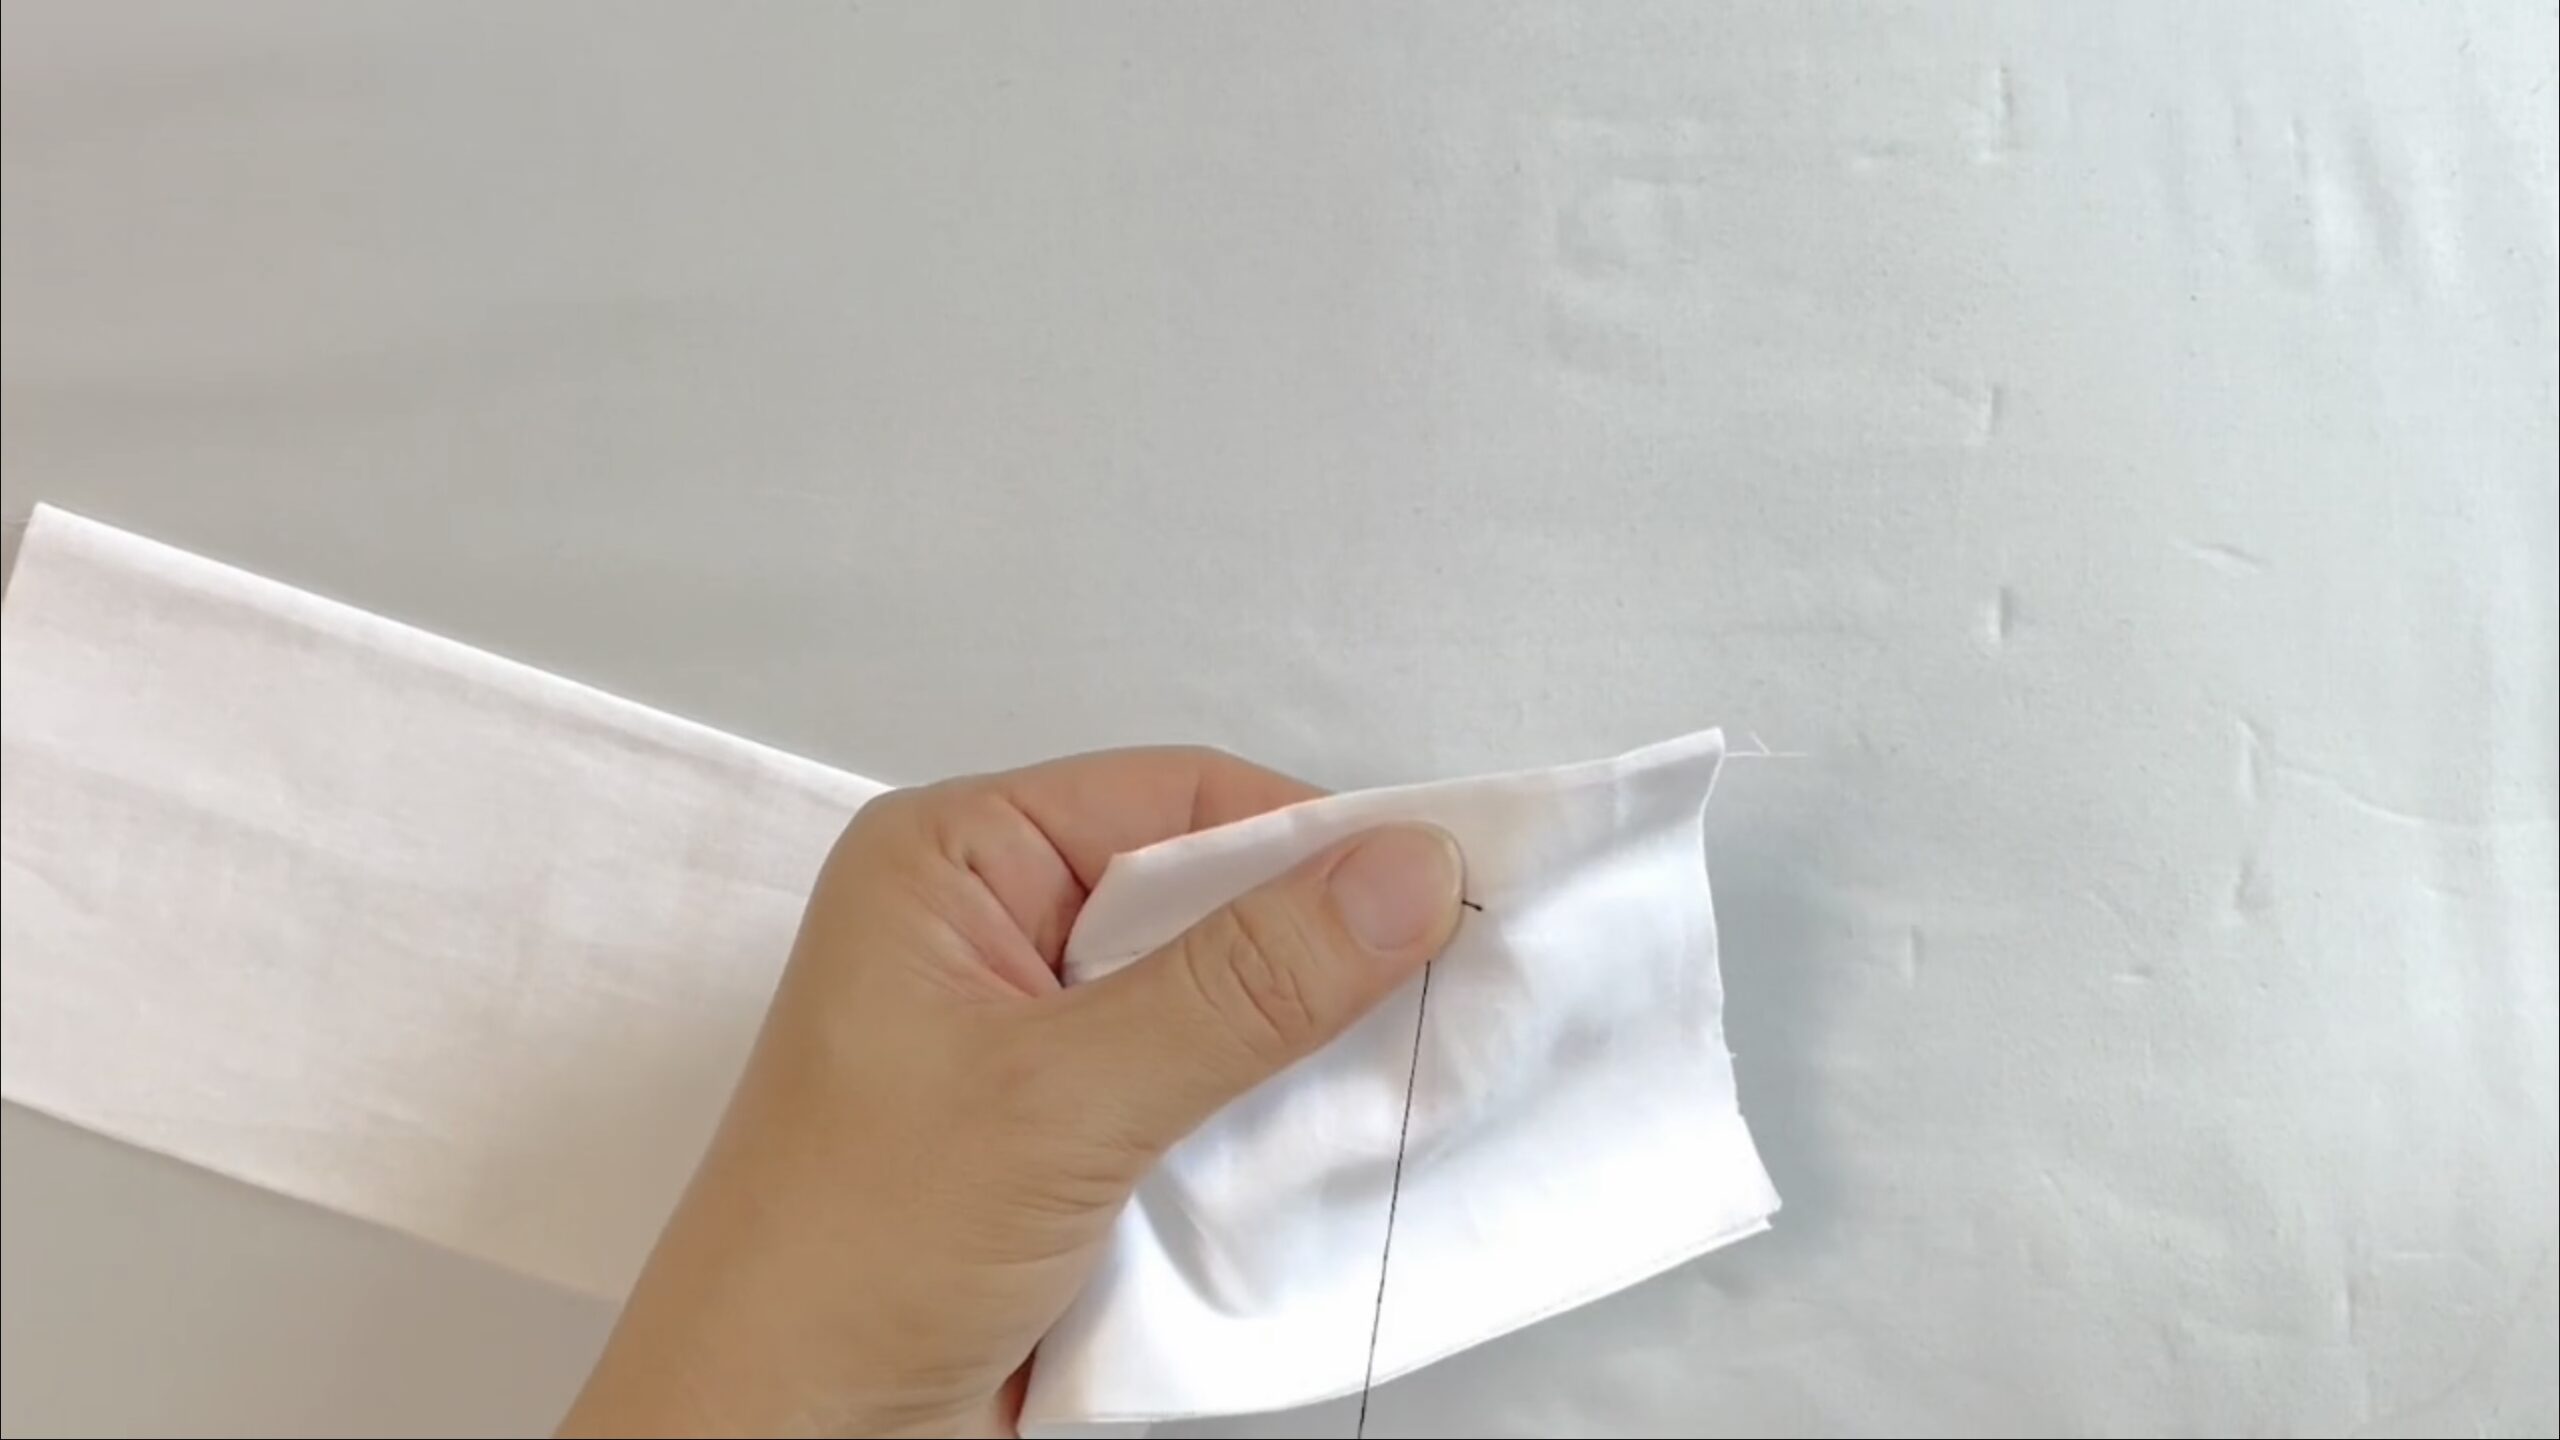

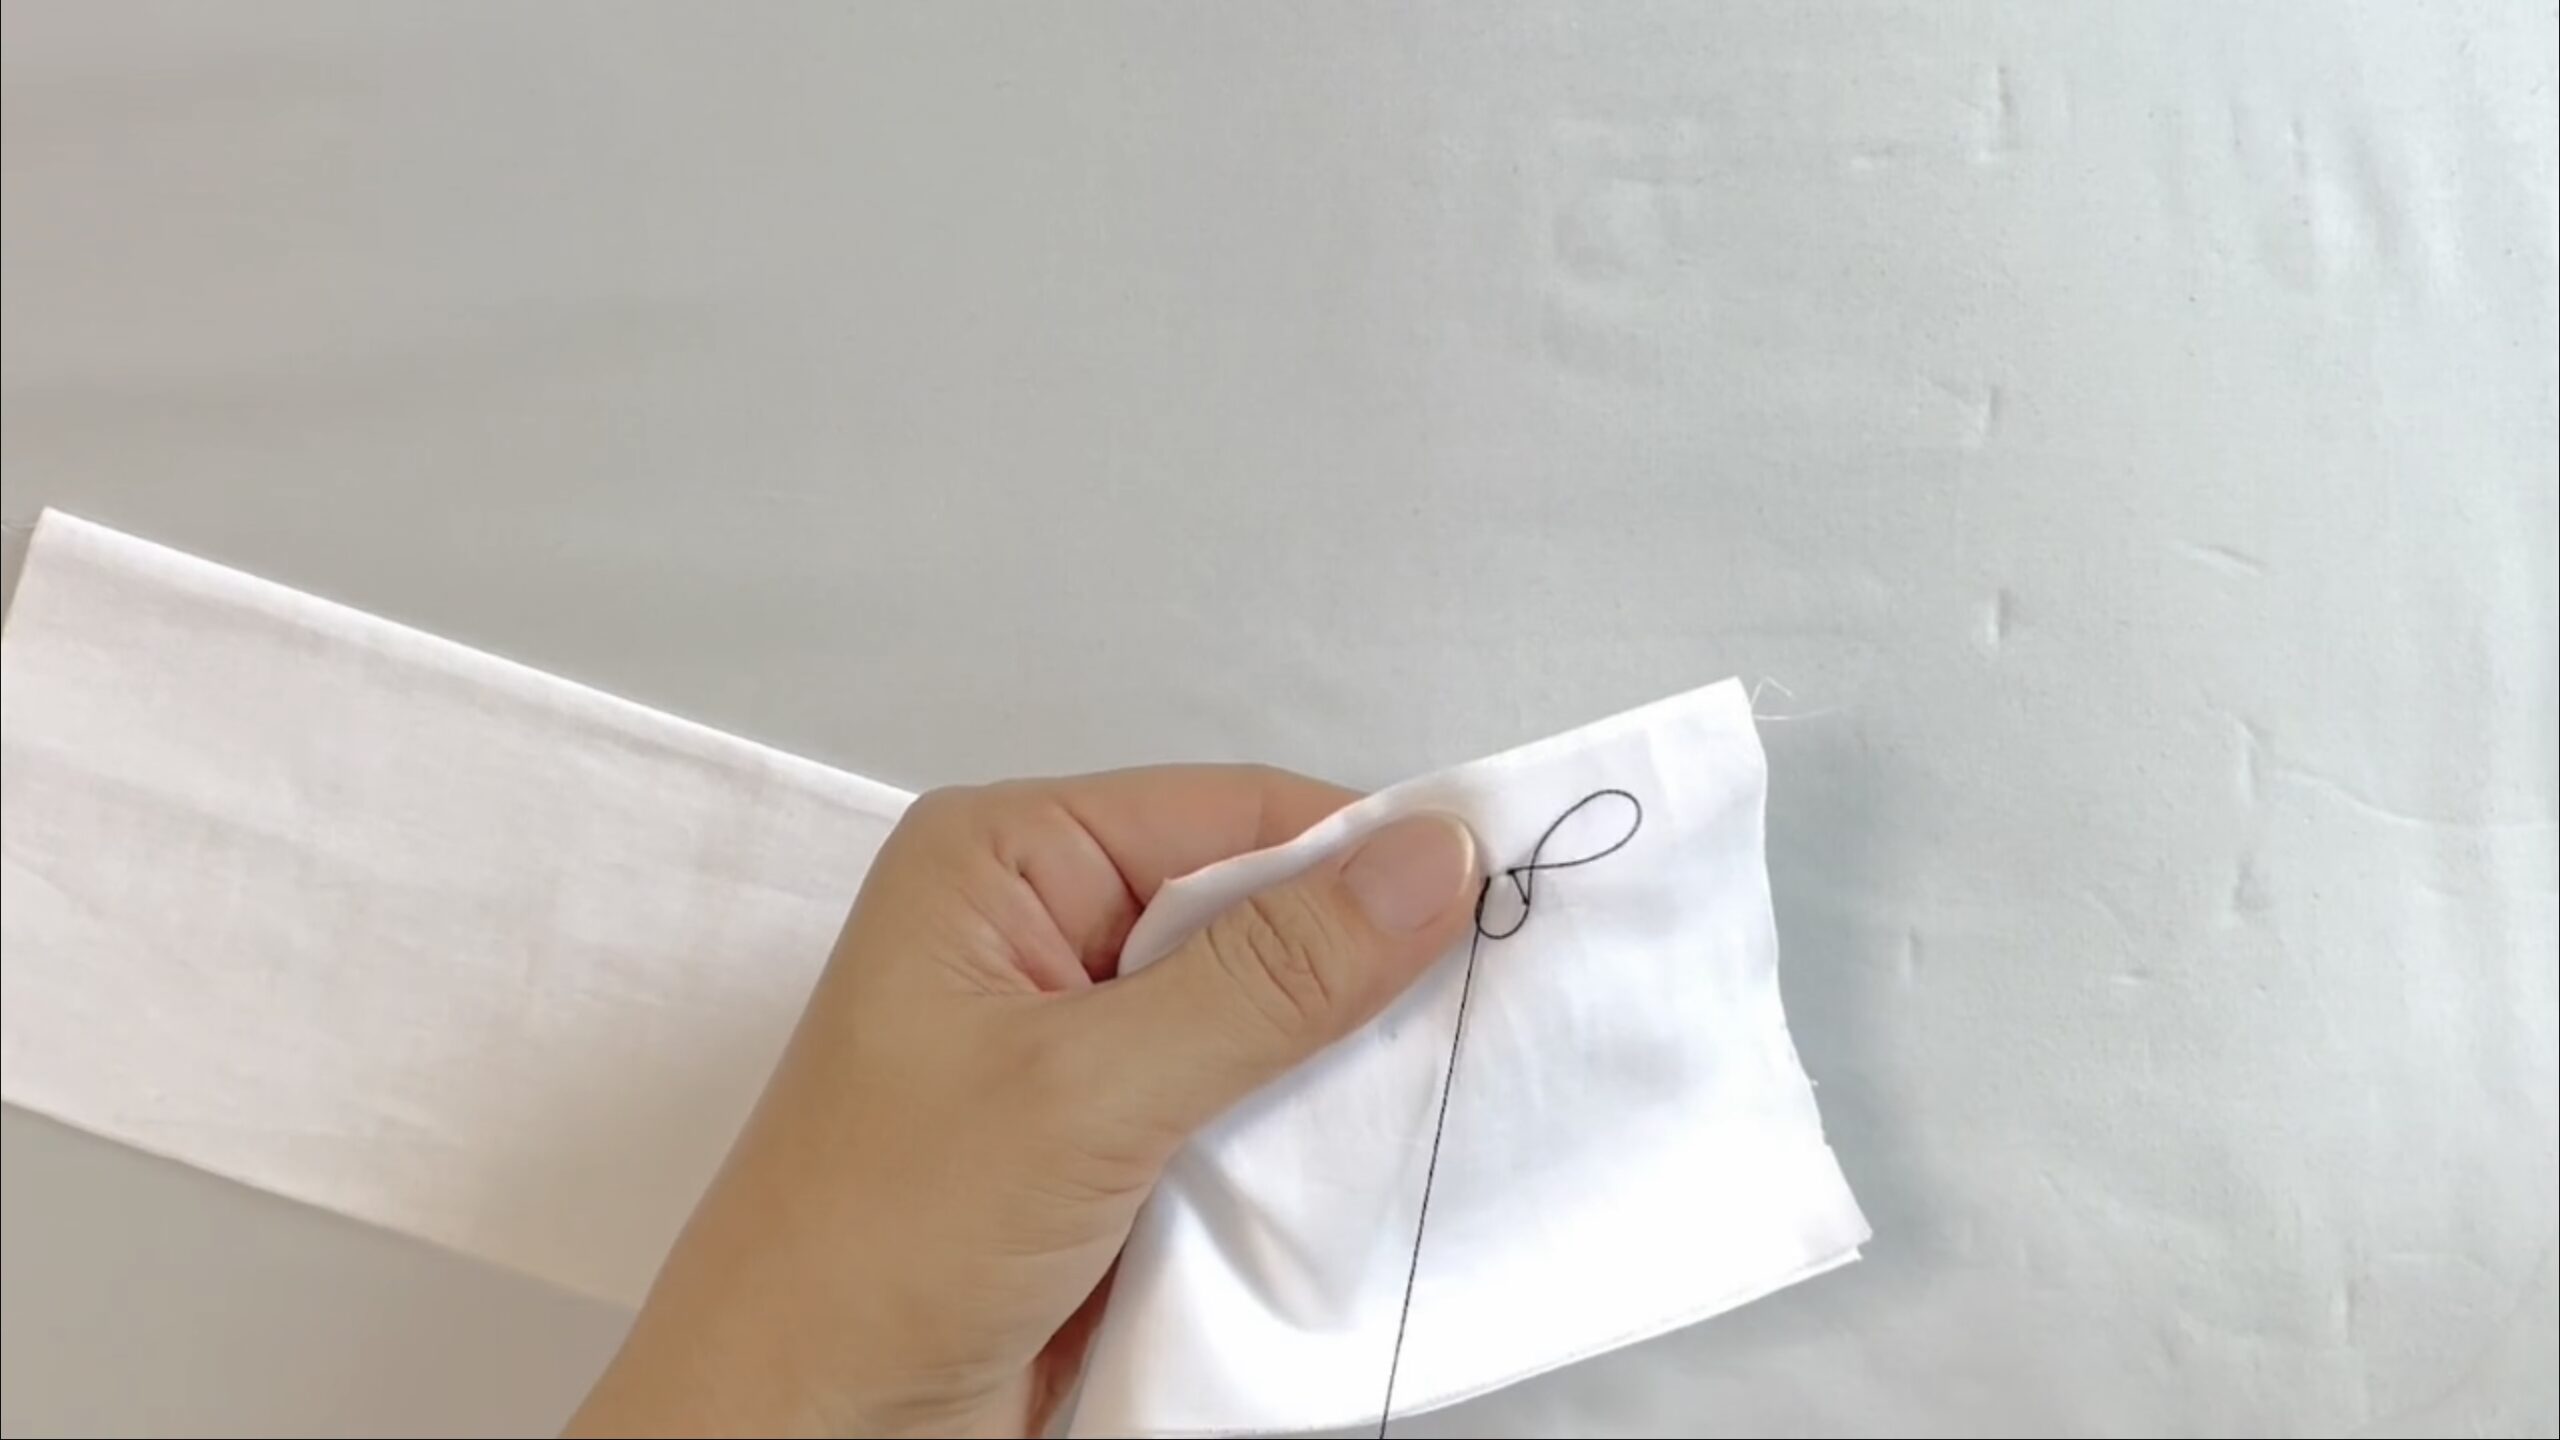
Sew up the mark

Blog : UNSHIN – Basic Sewing Techniques
https://mkimono.tv/unshin/
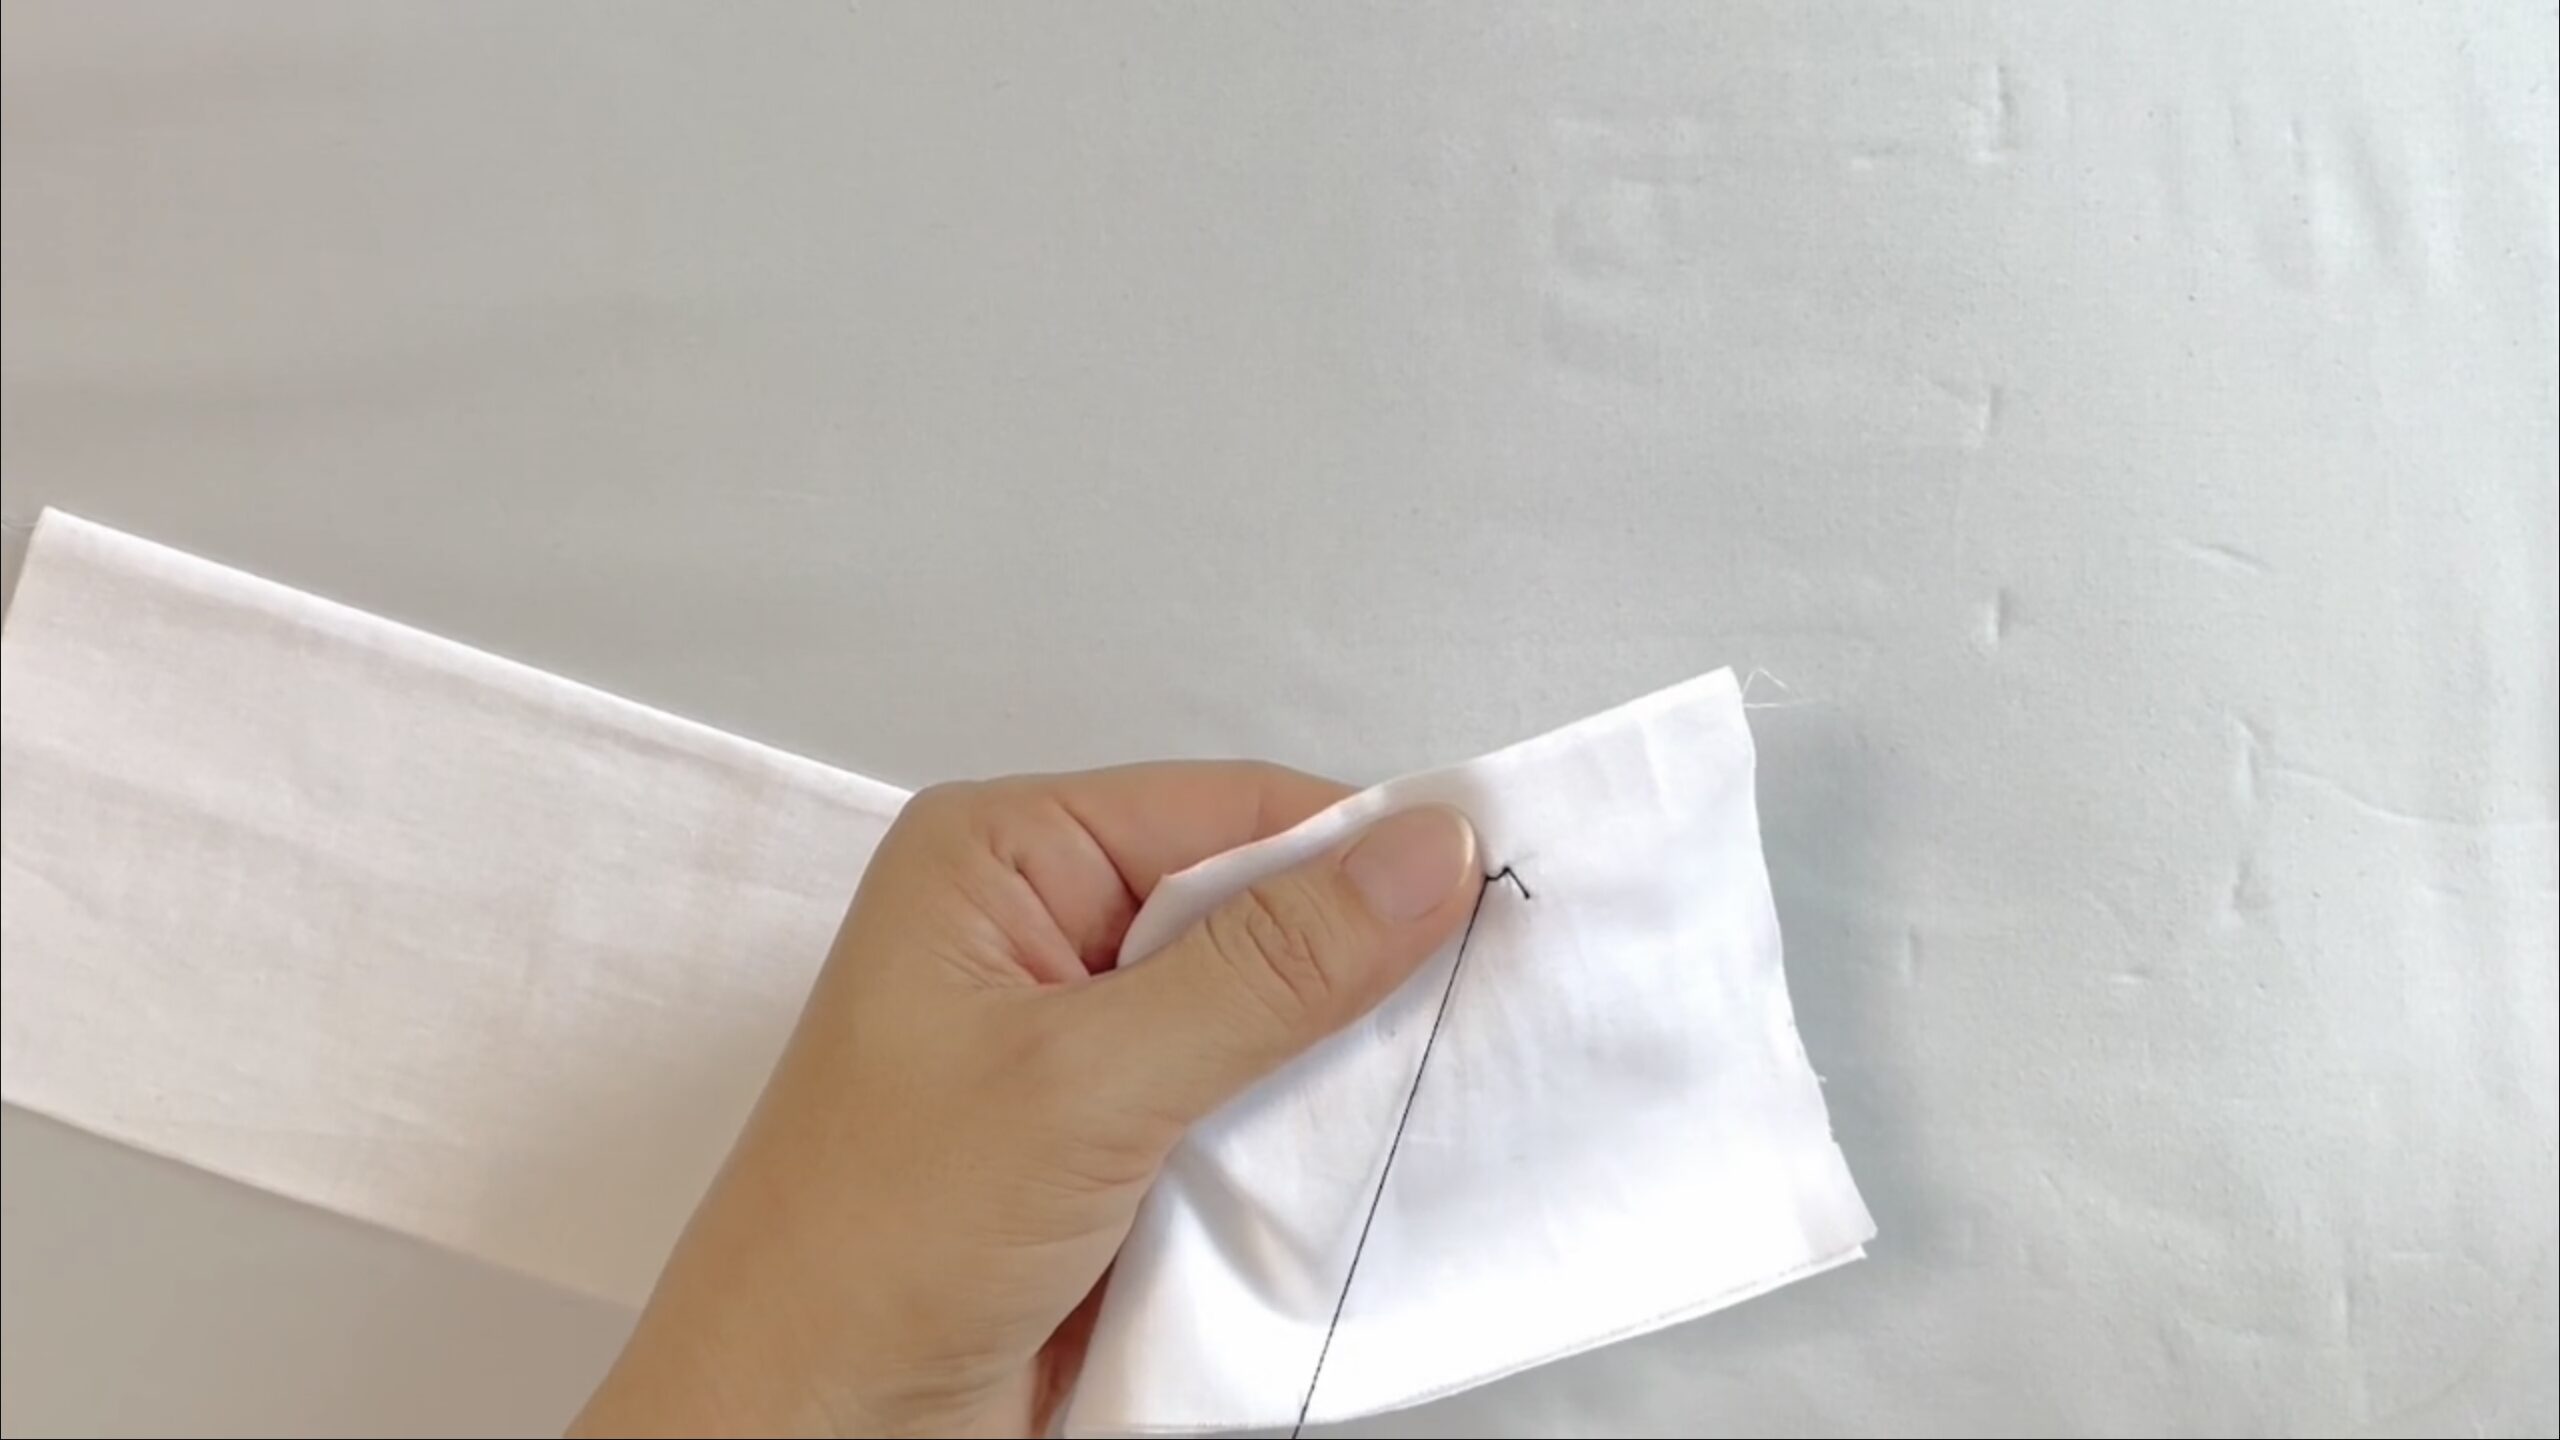
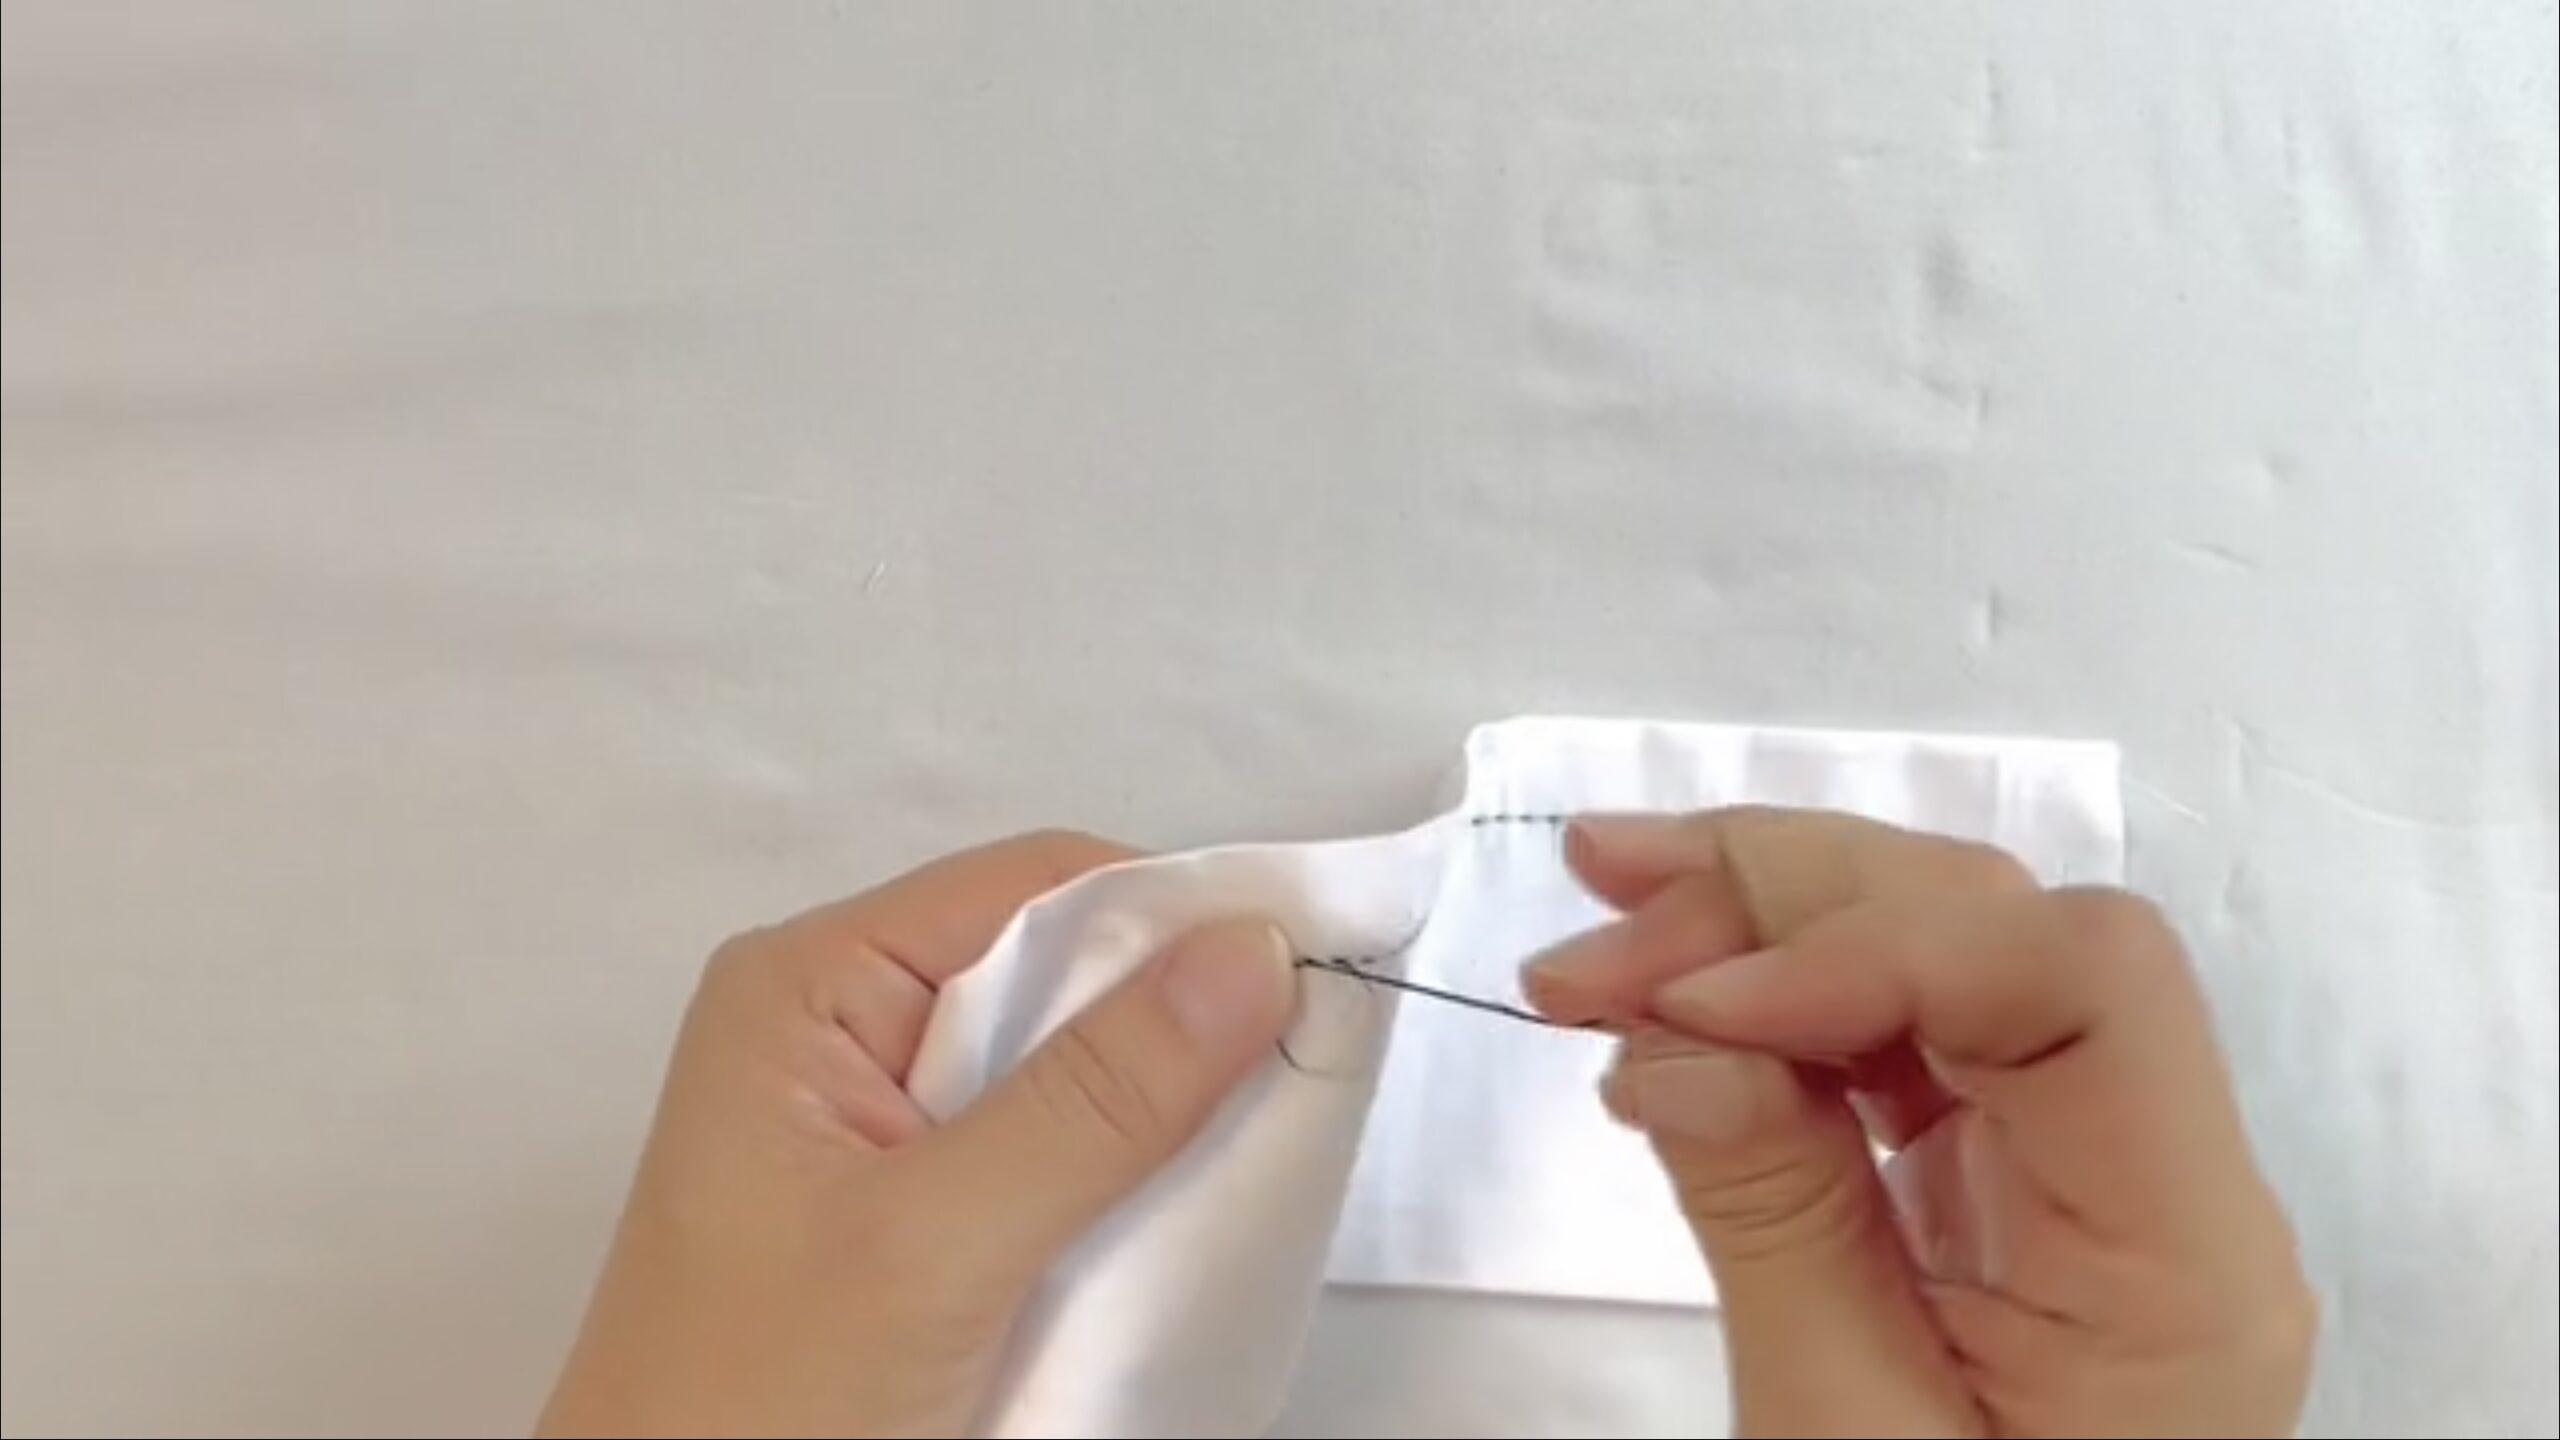
Itoshigoki
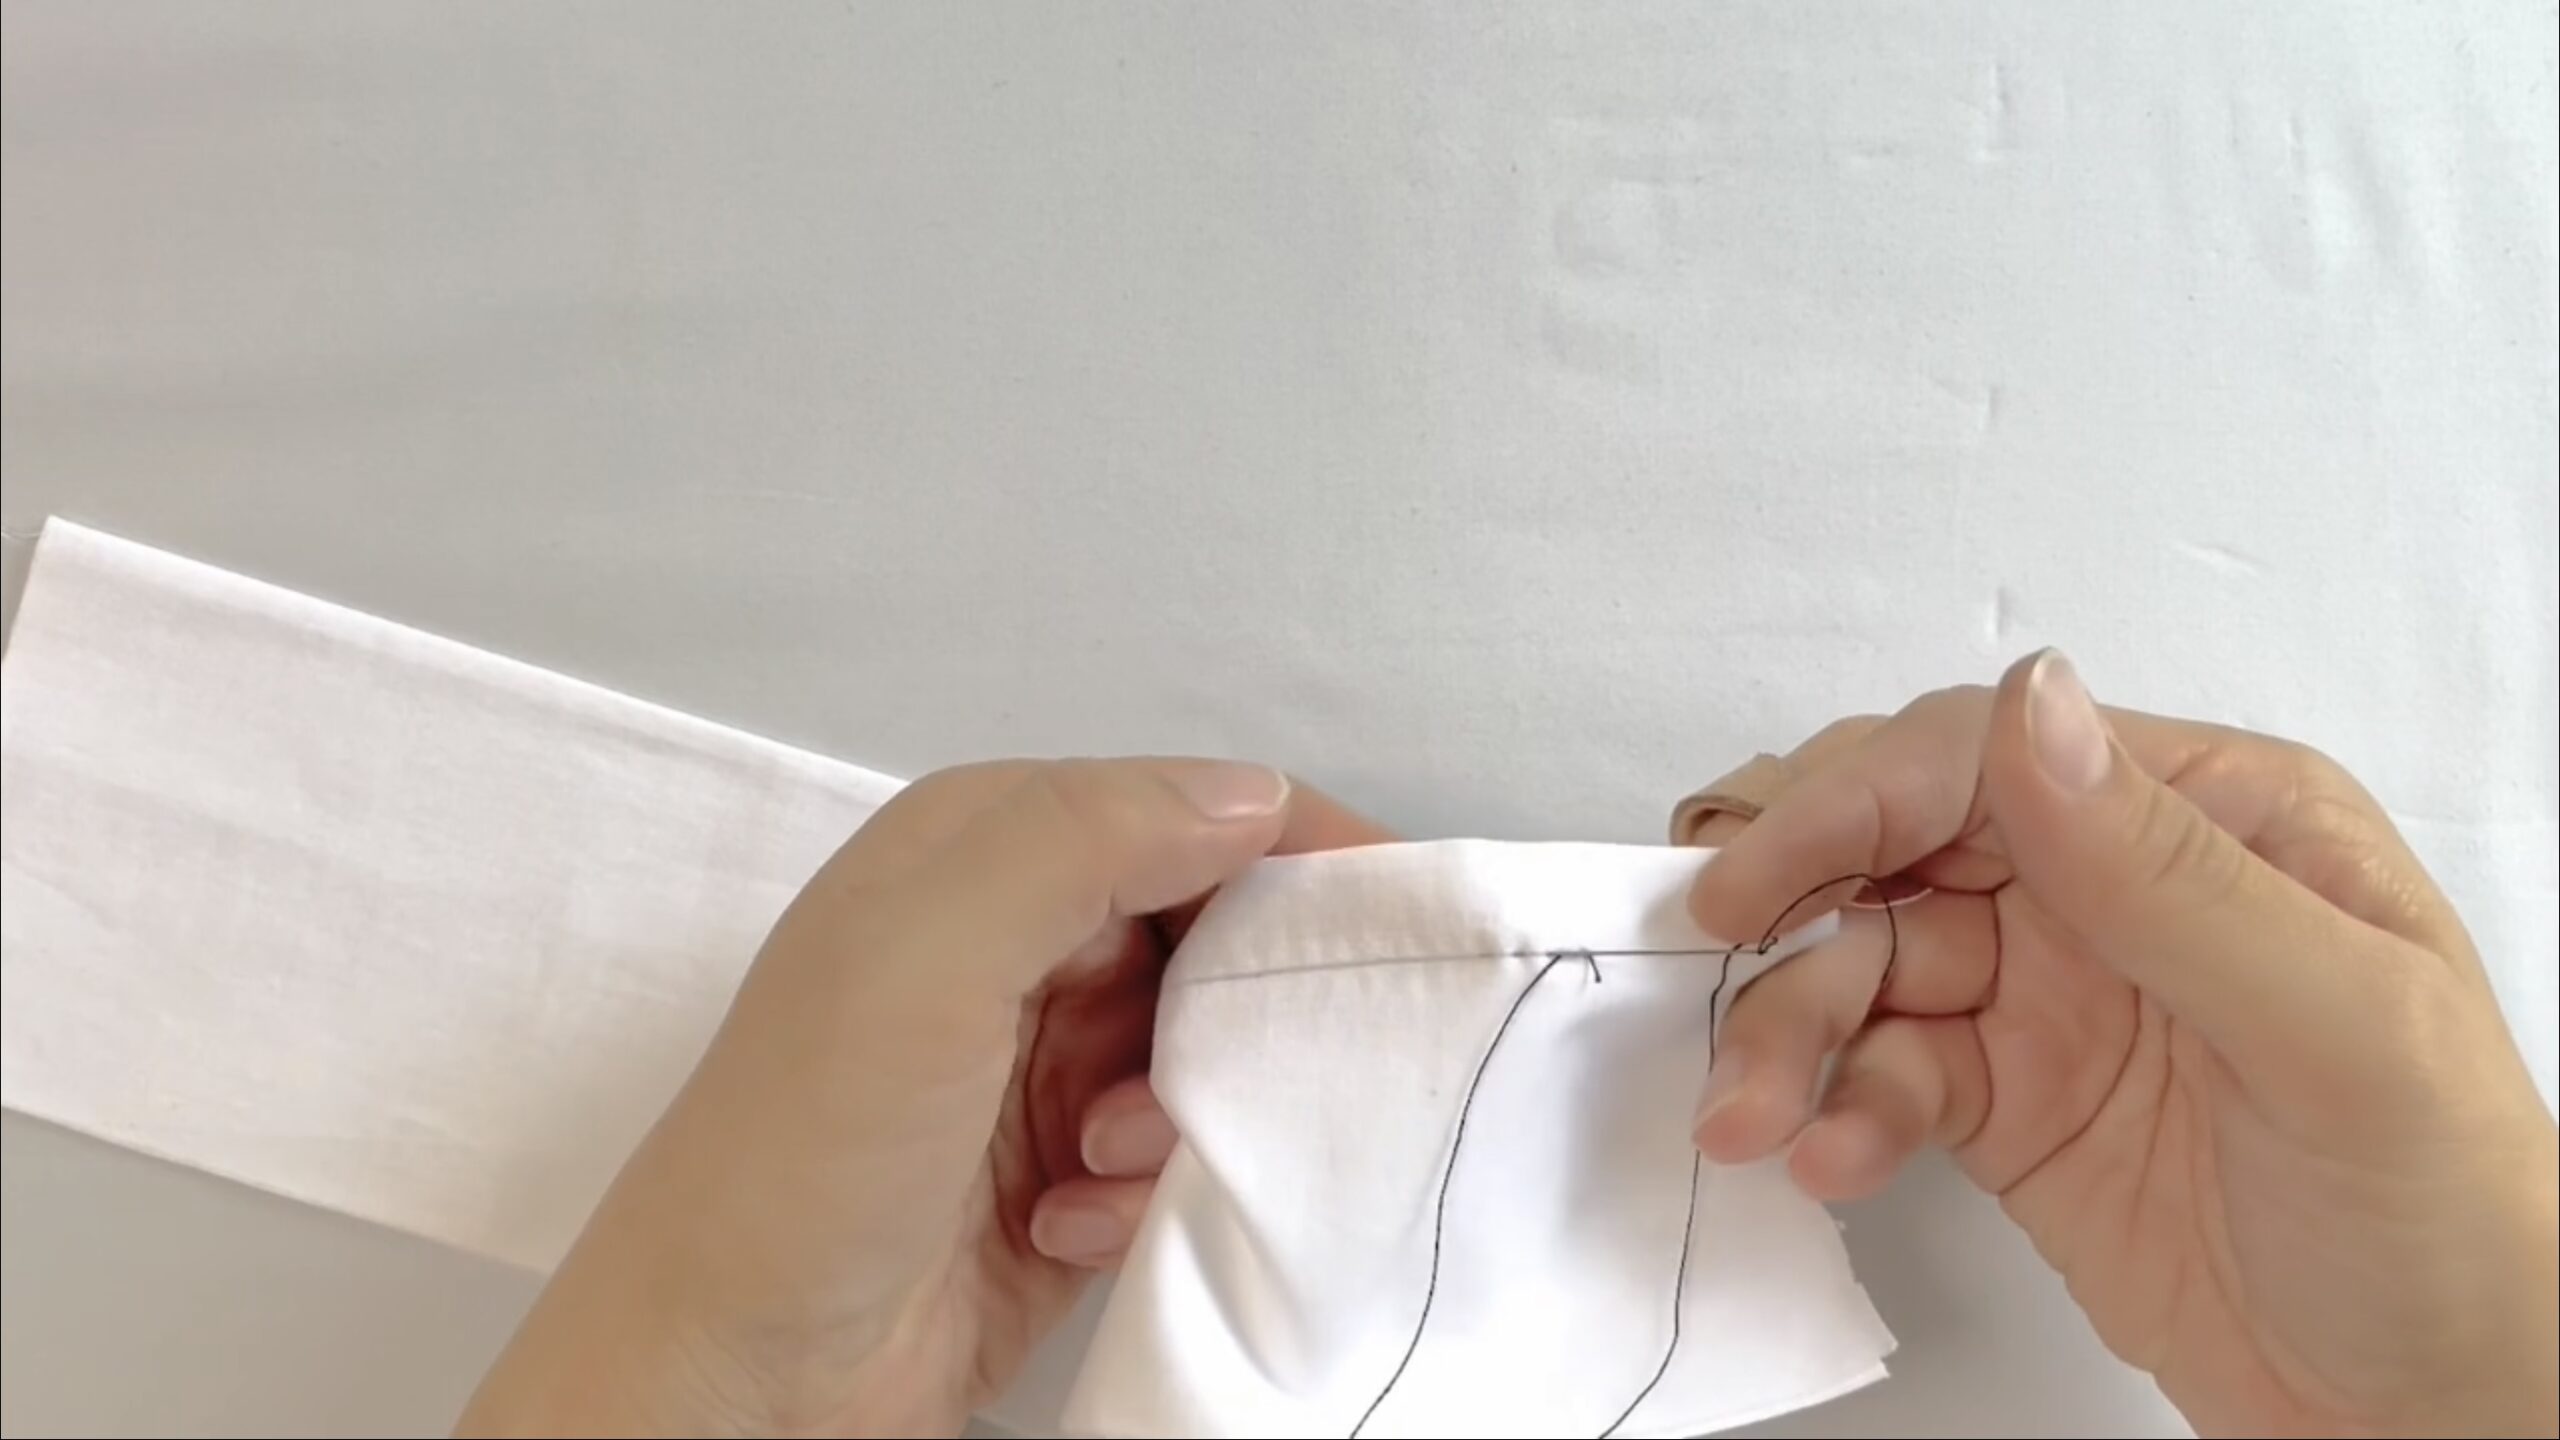
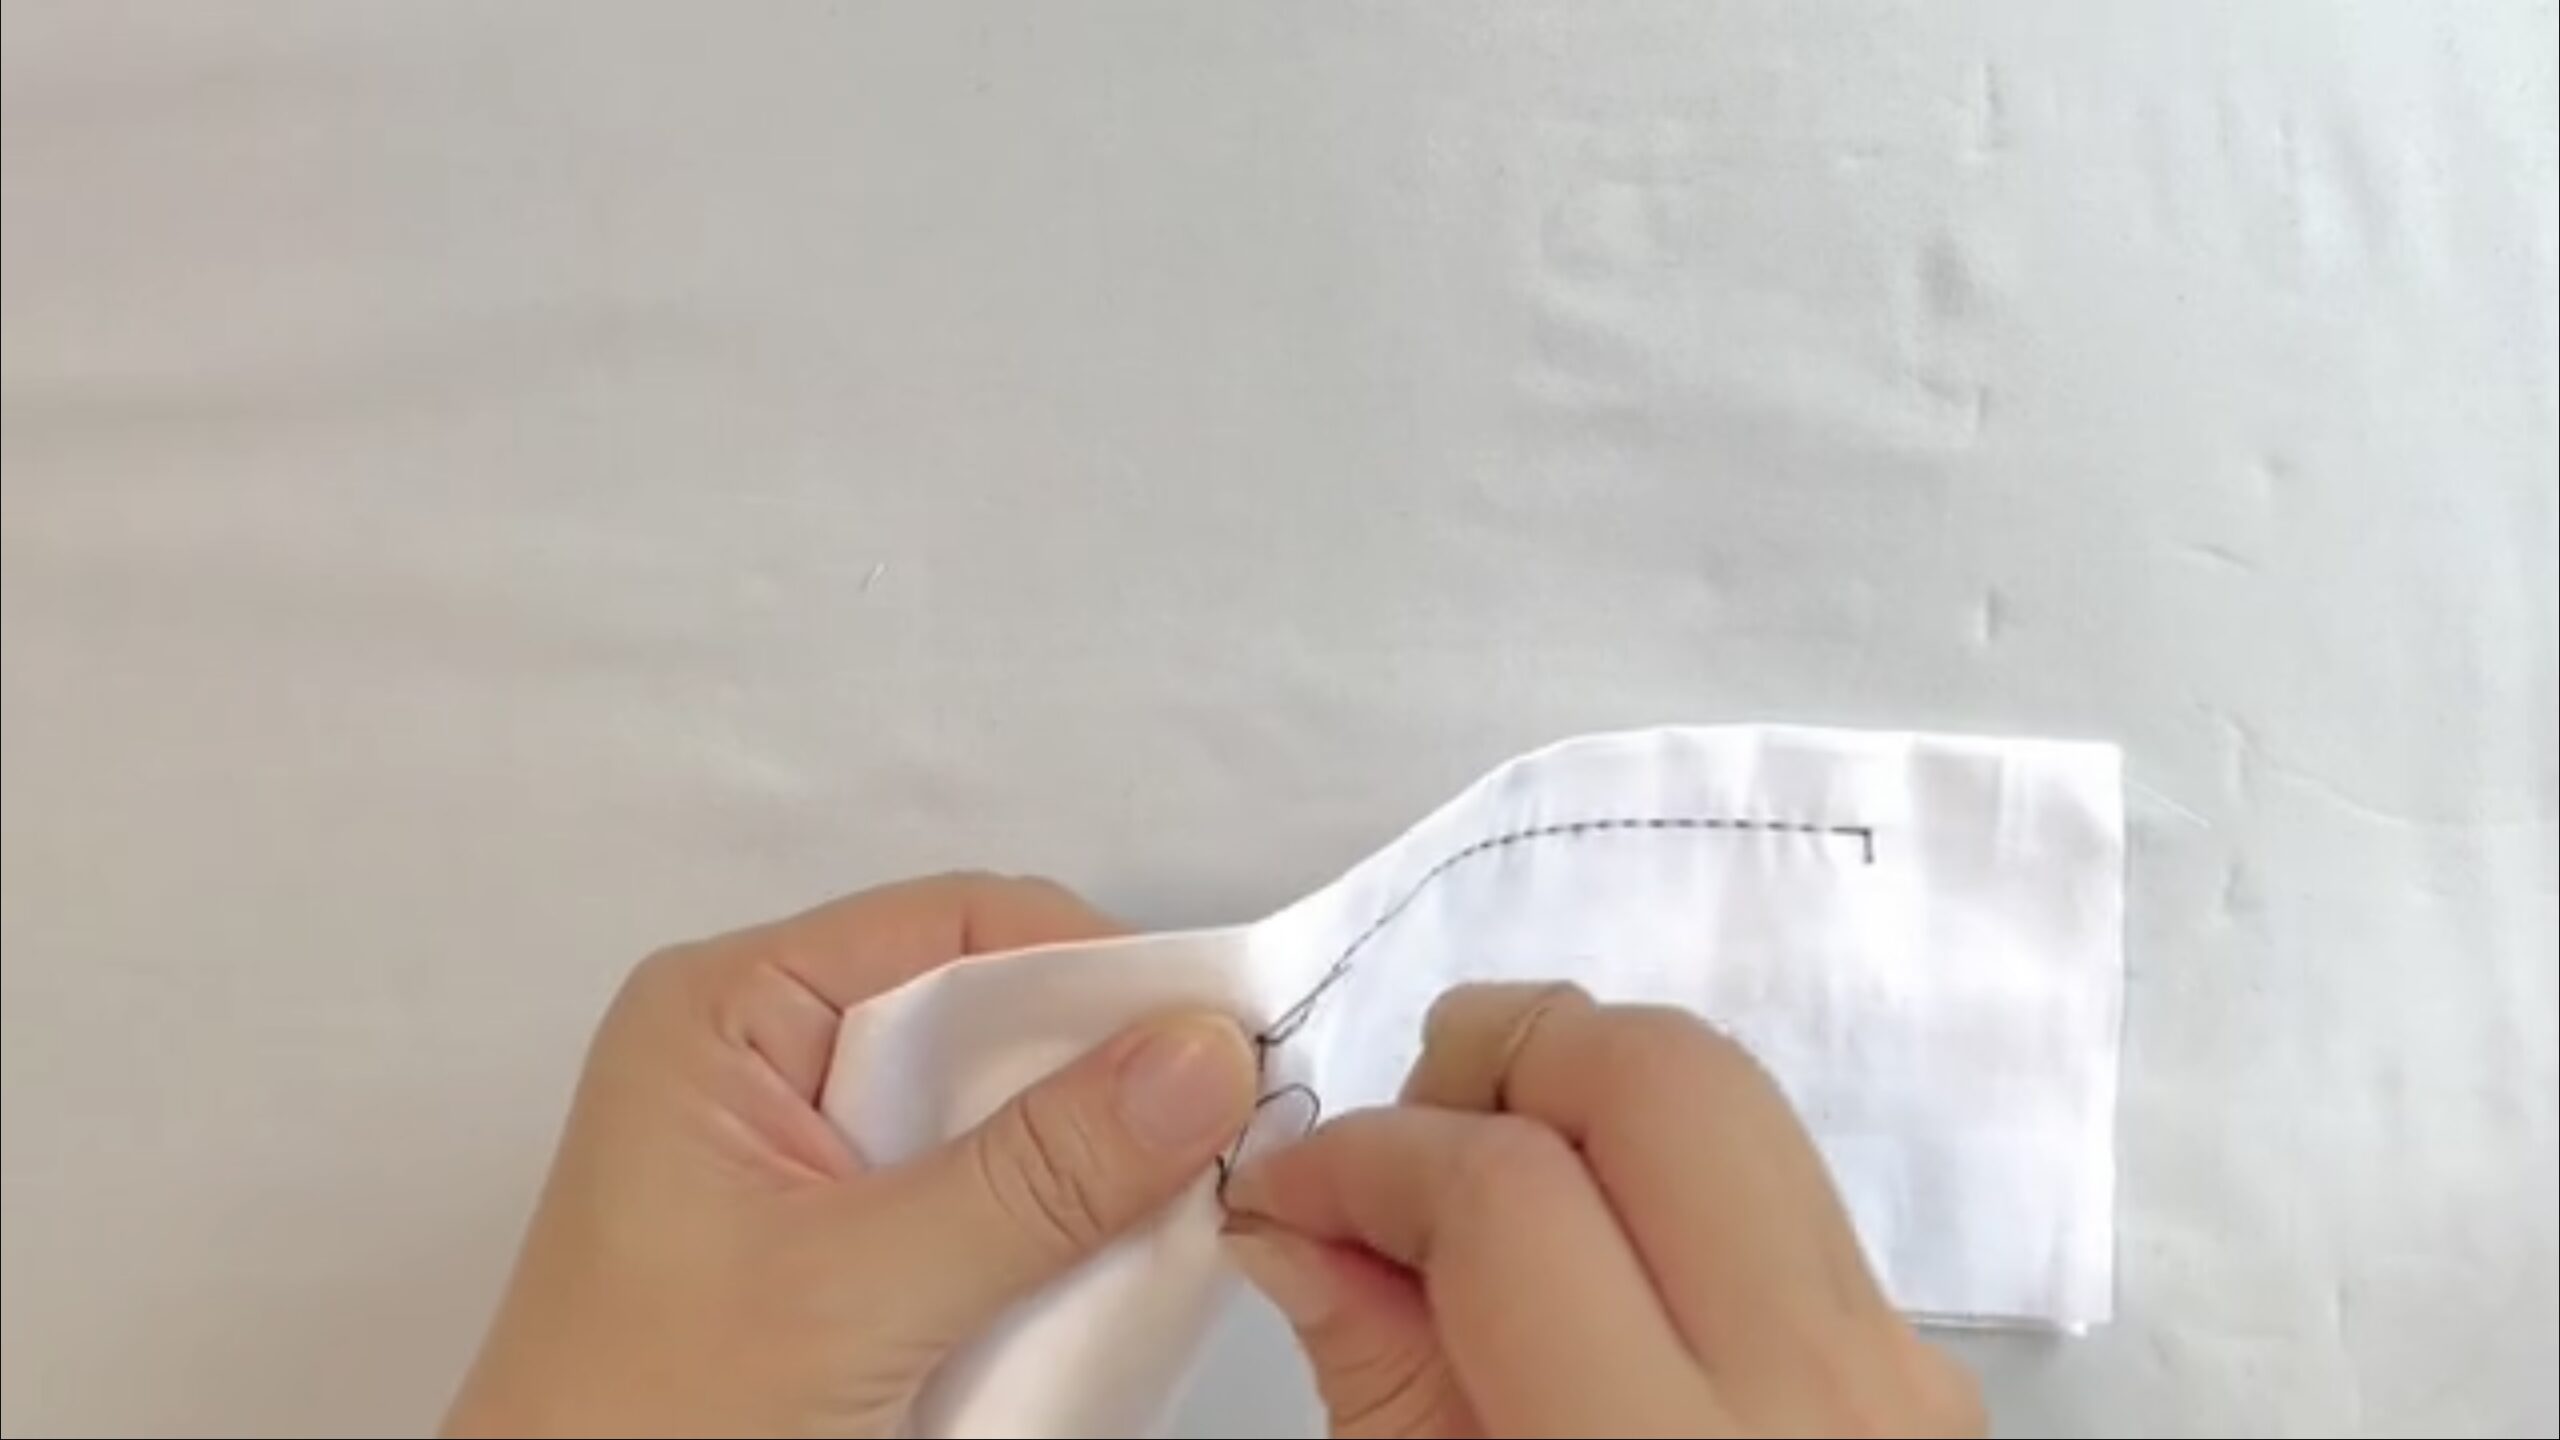
Last kaeshibari
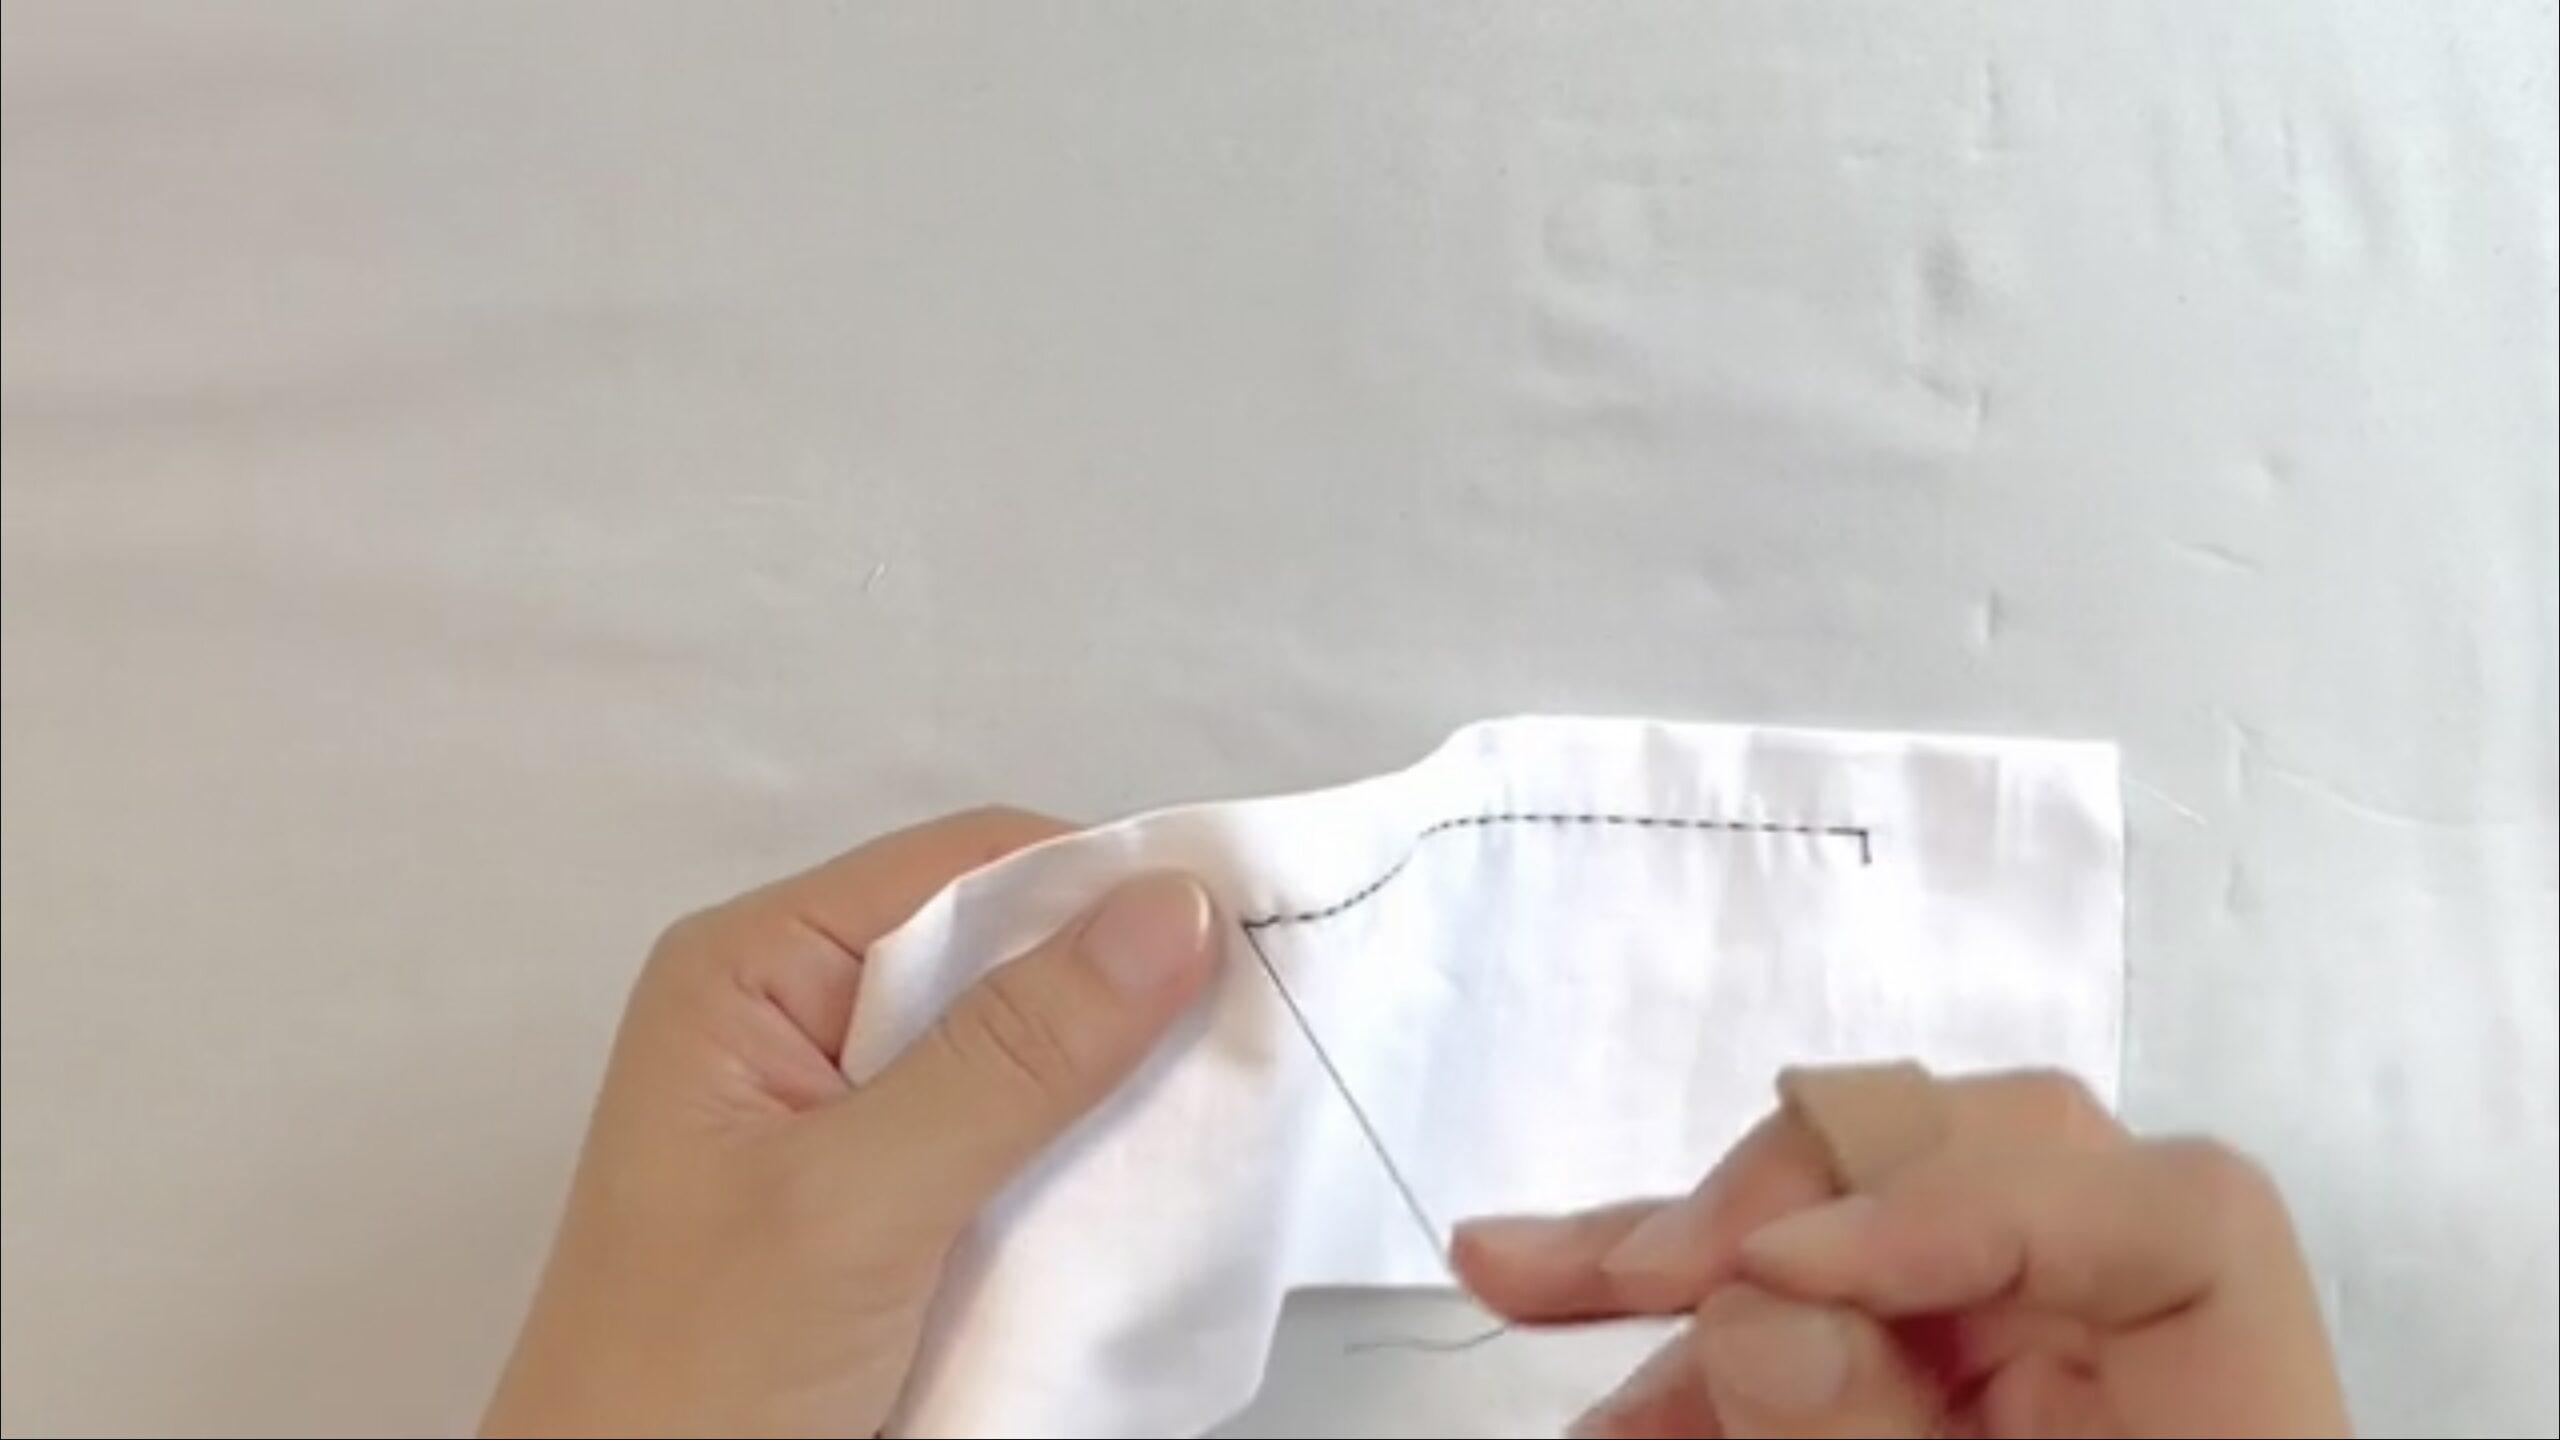
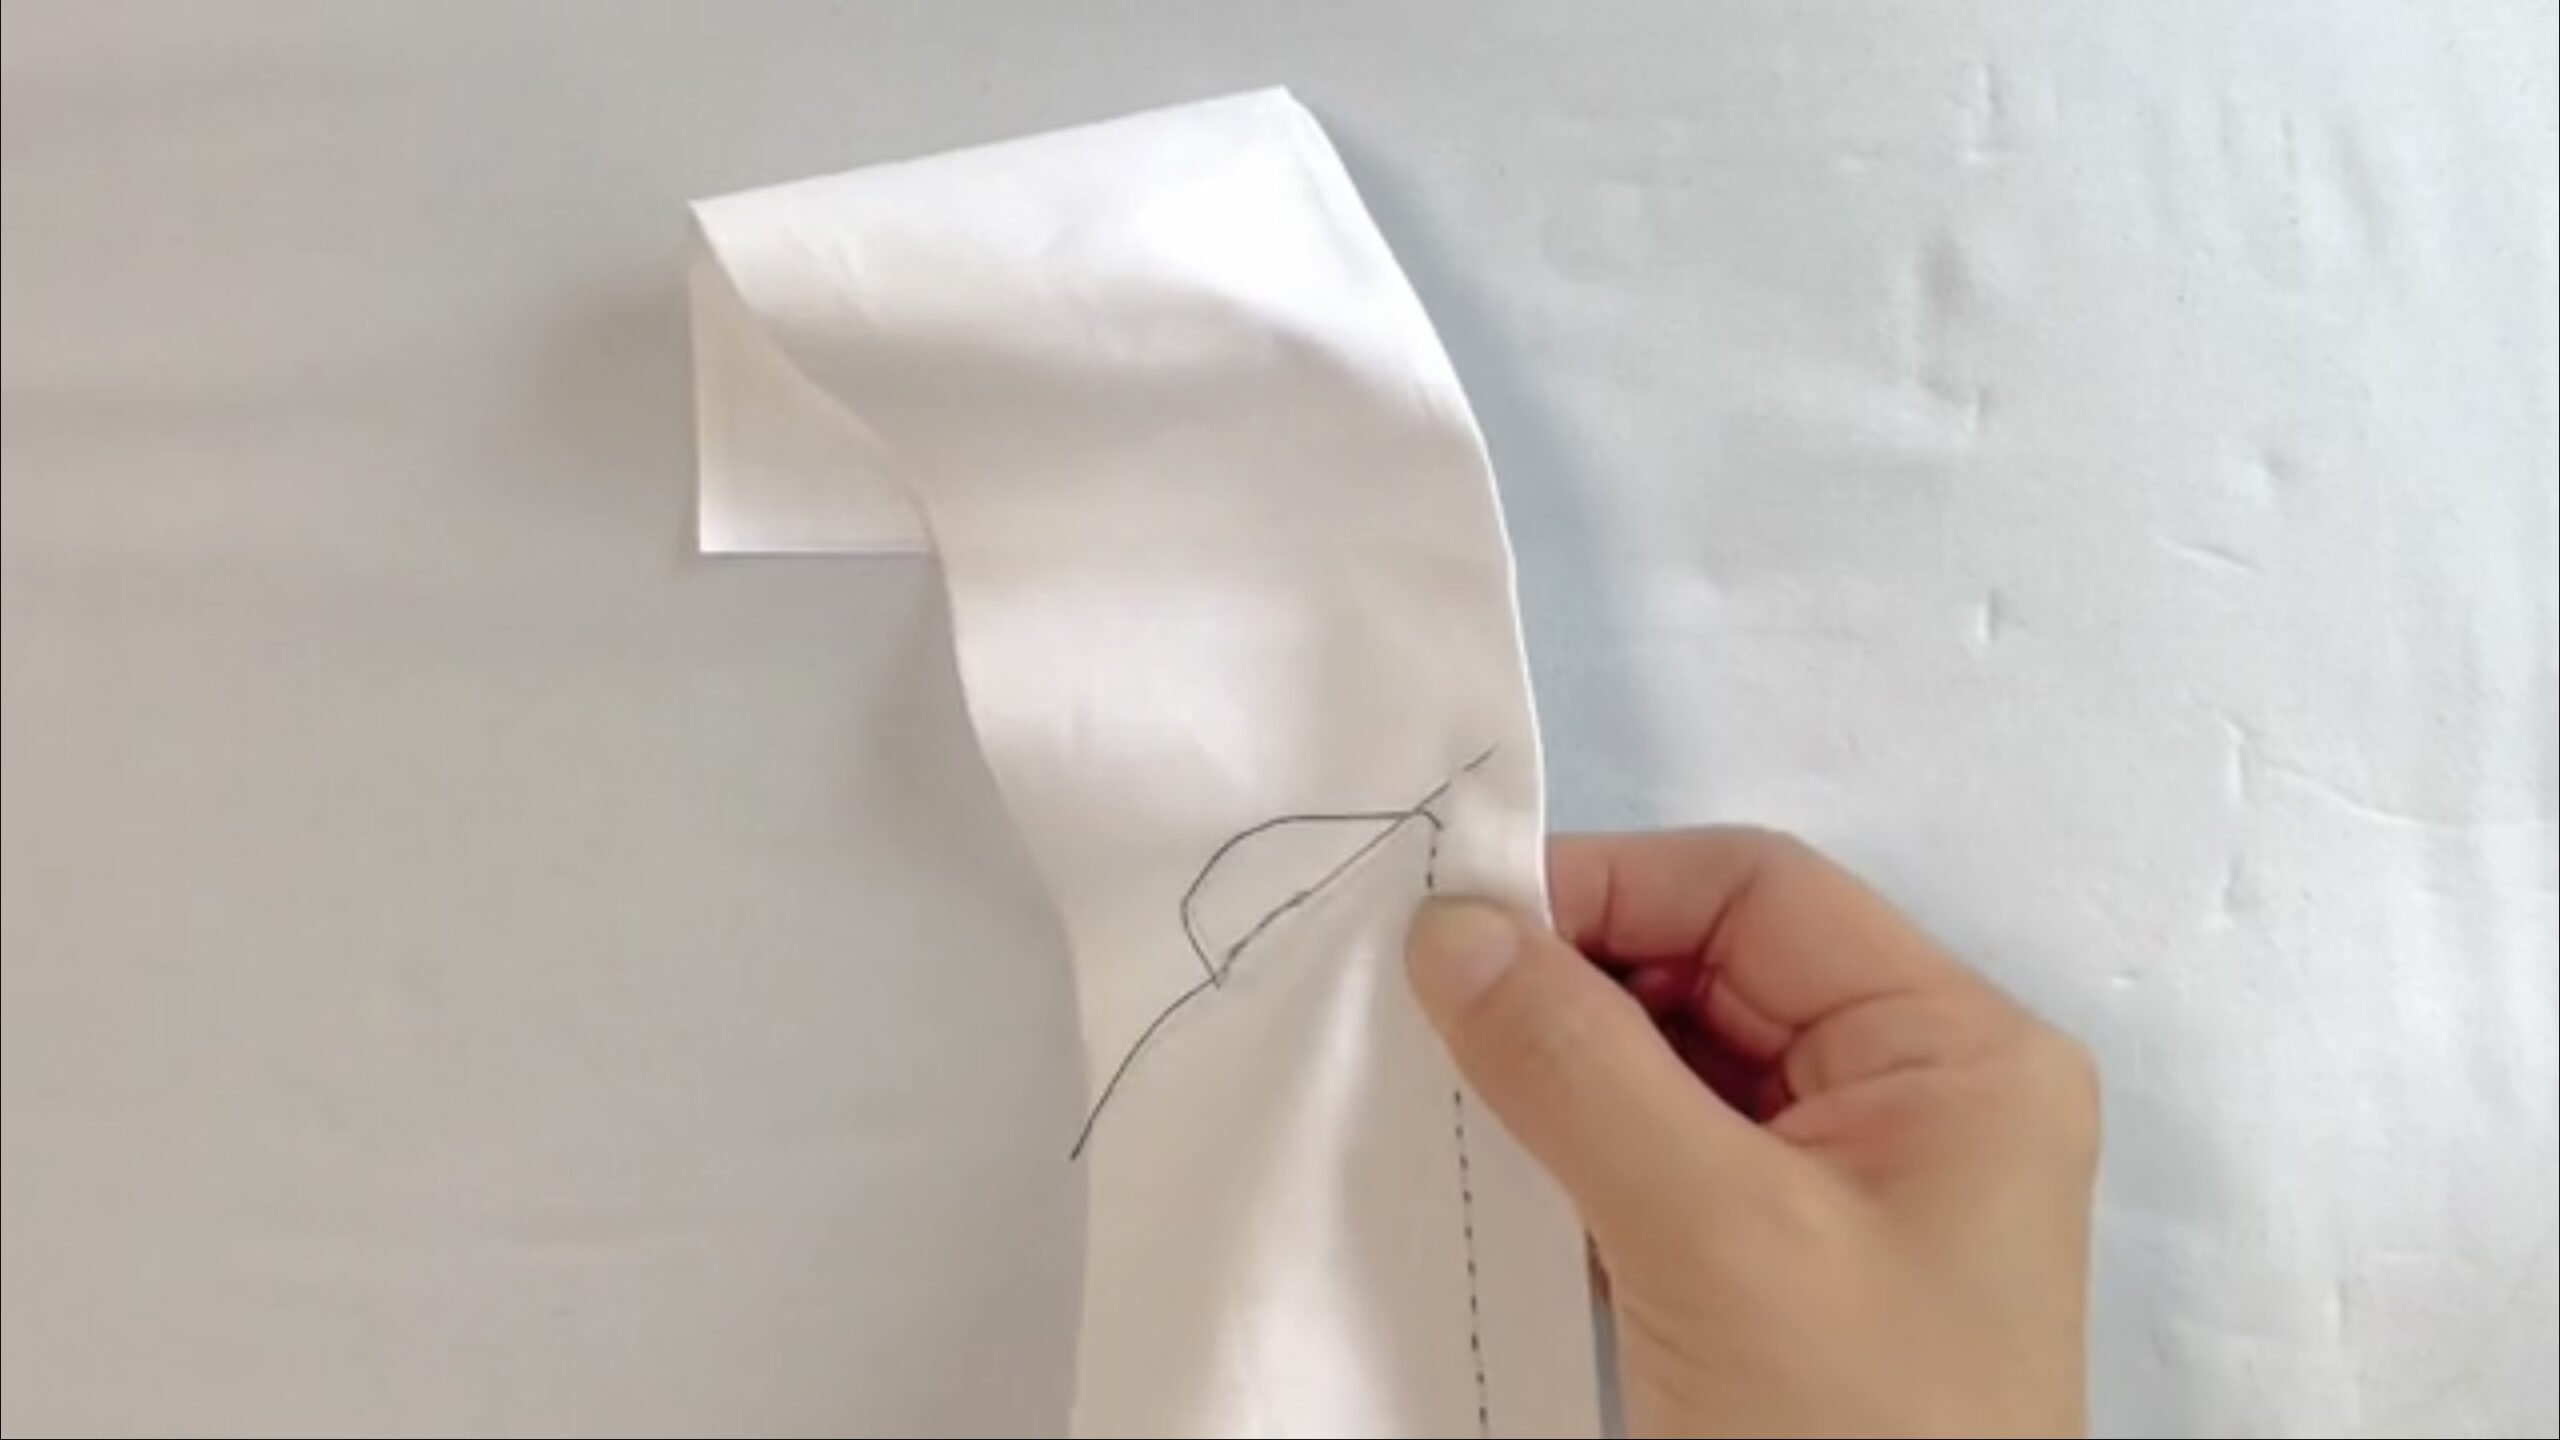
Tie a knot
Video Collection
Online store
Sewing Technique
-
 Basic sewing method
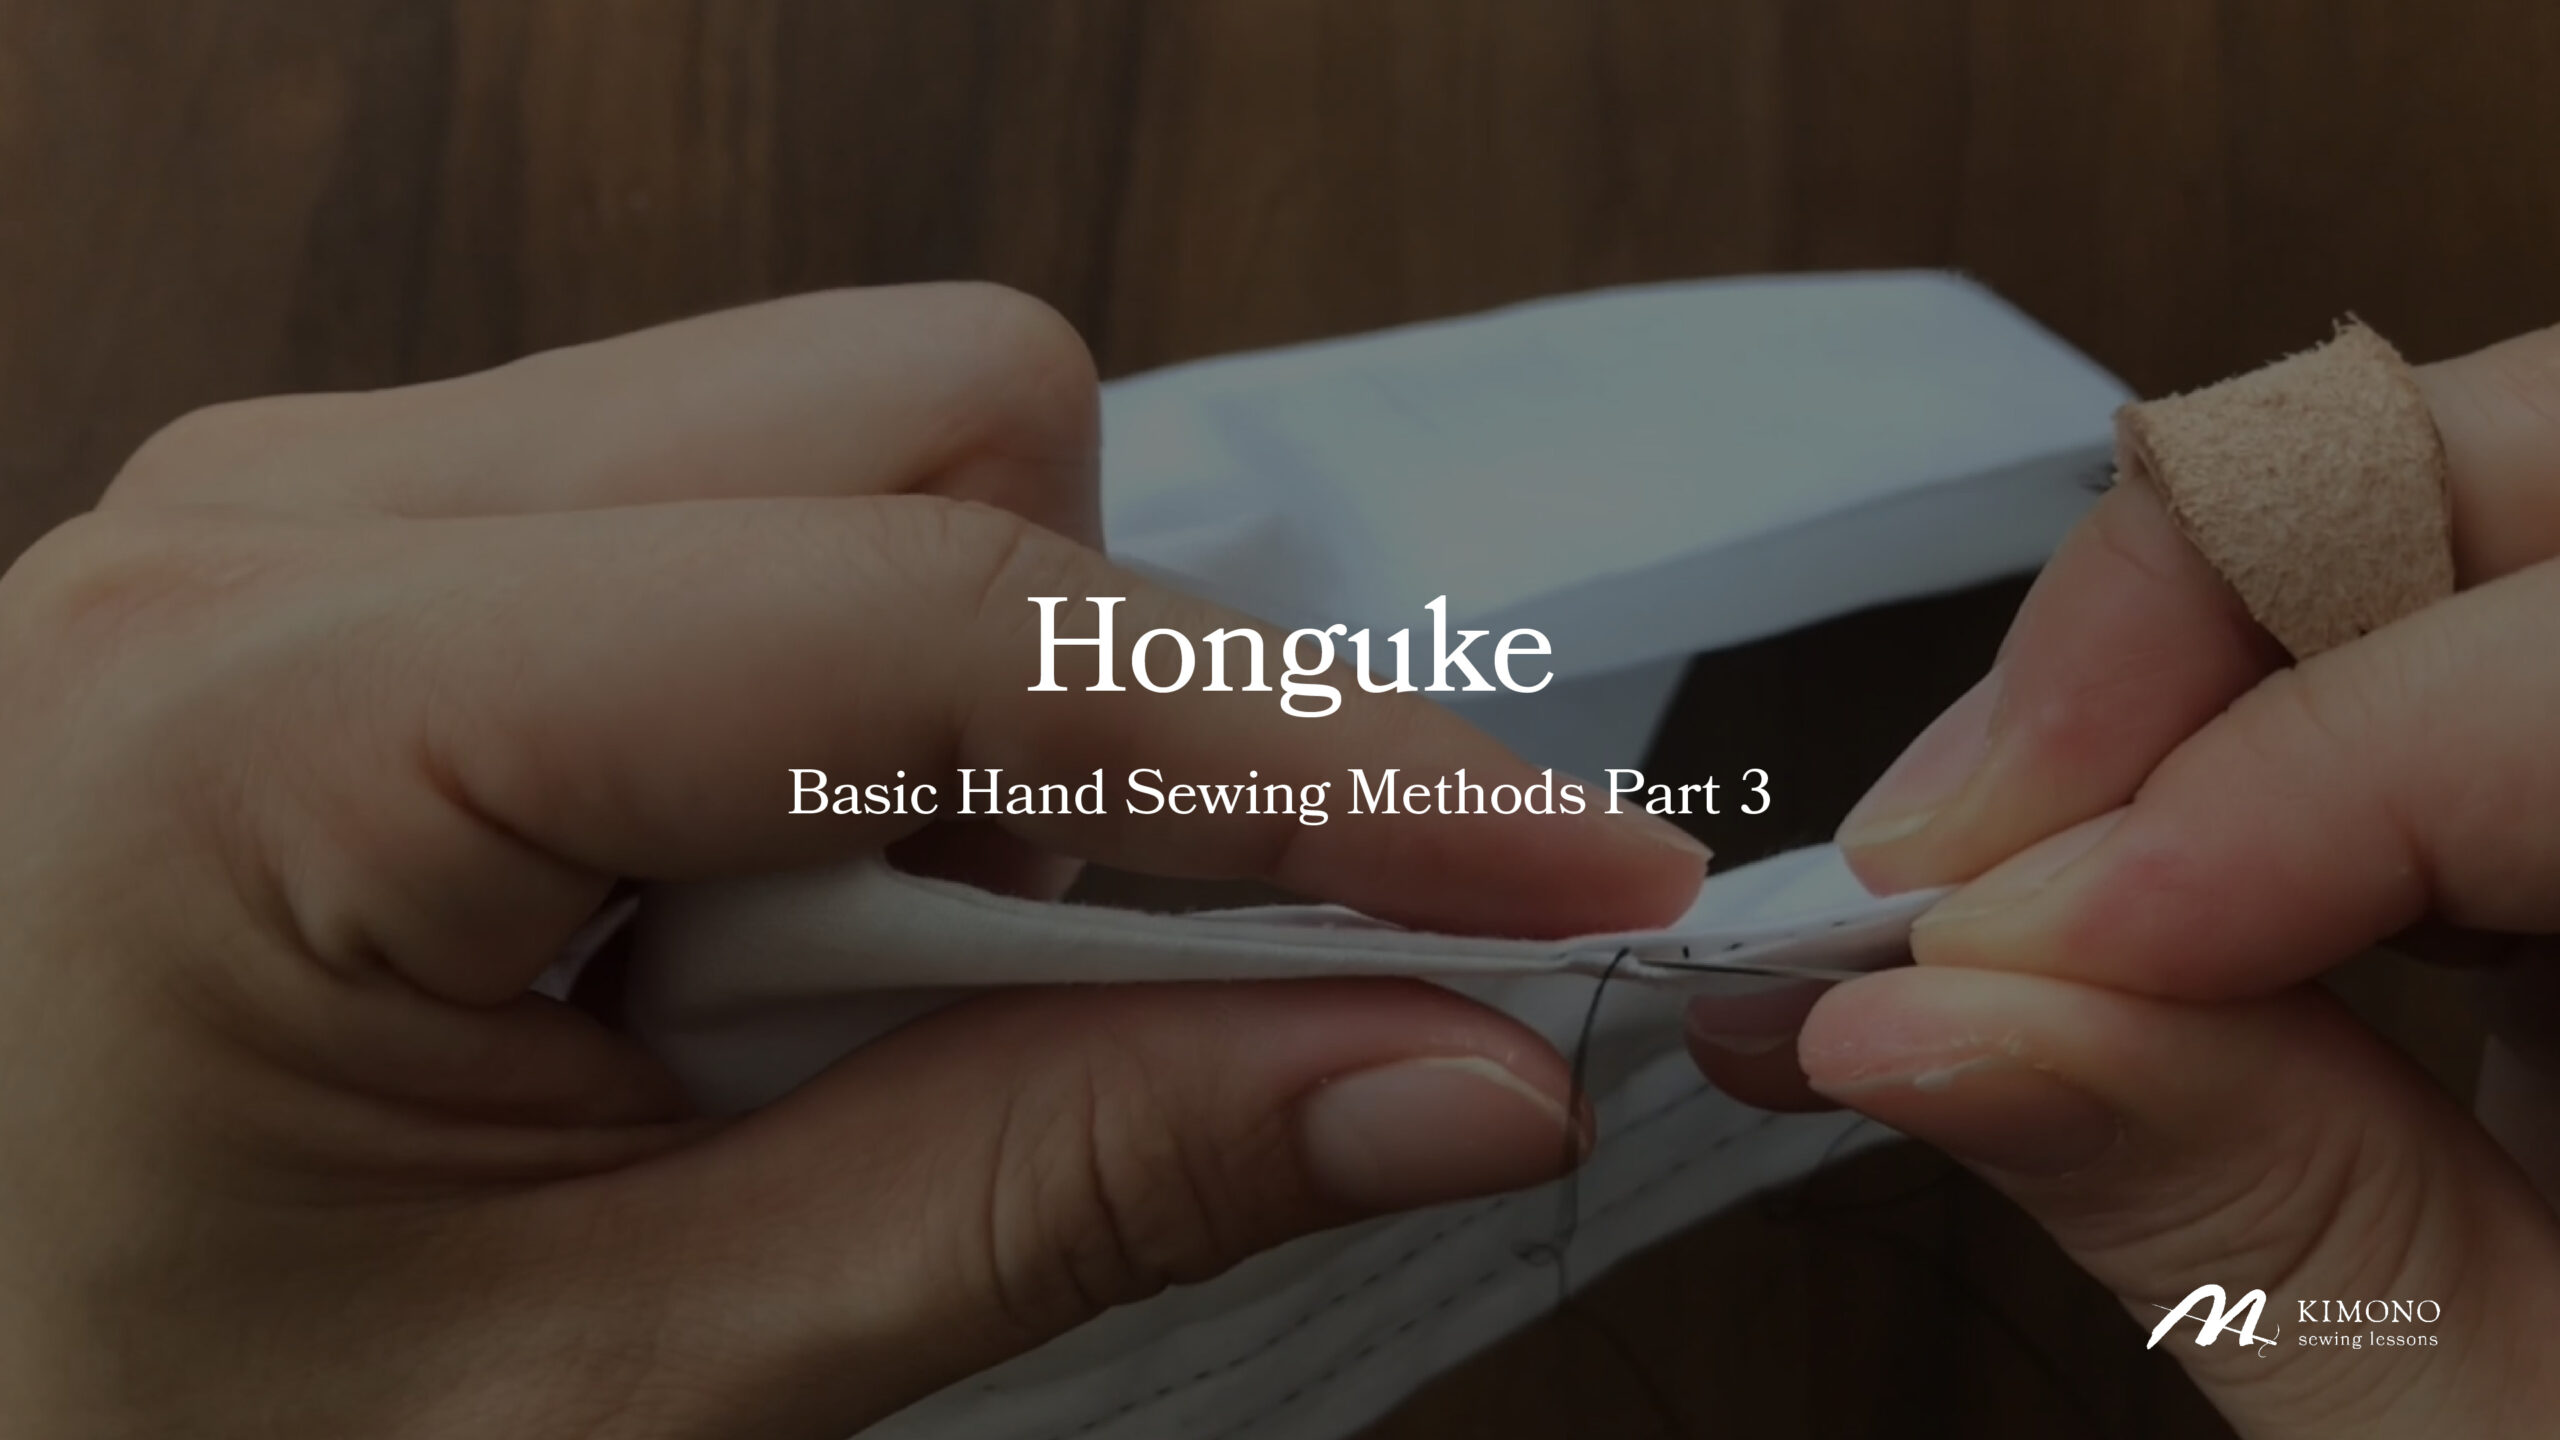
HONGUKE – Basic Sewing Techniques
The third basic sewing technique is “Honguke”.When sewing a yukata or a hitoe kimono, “honguke” is done at the […]-
 M KIMONO
-
-
 Basic sewing method
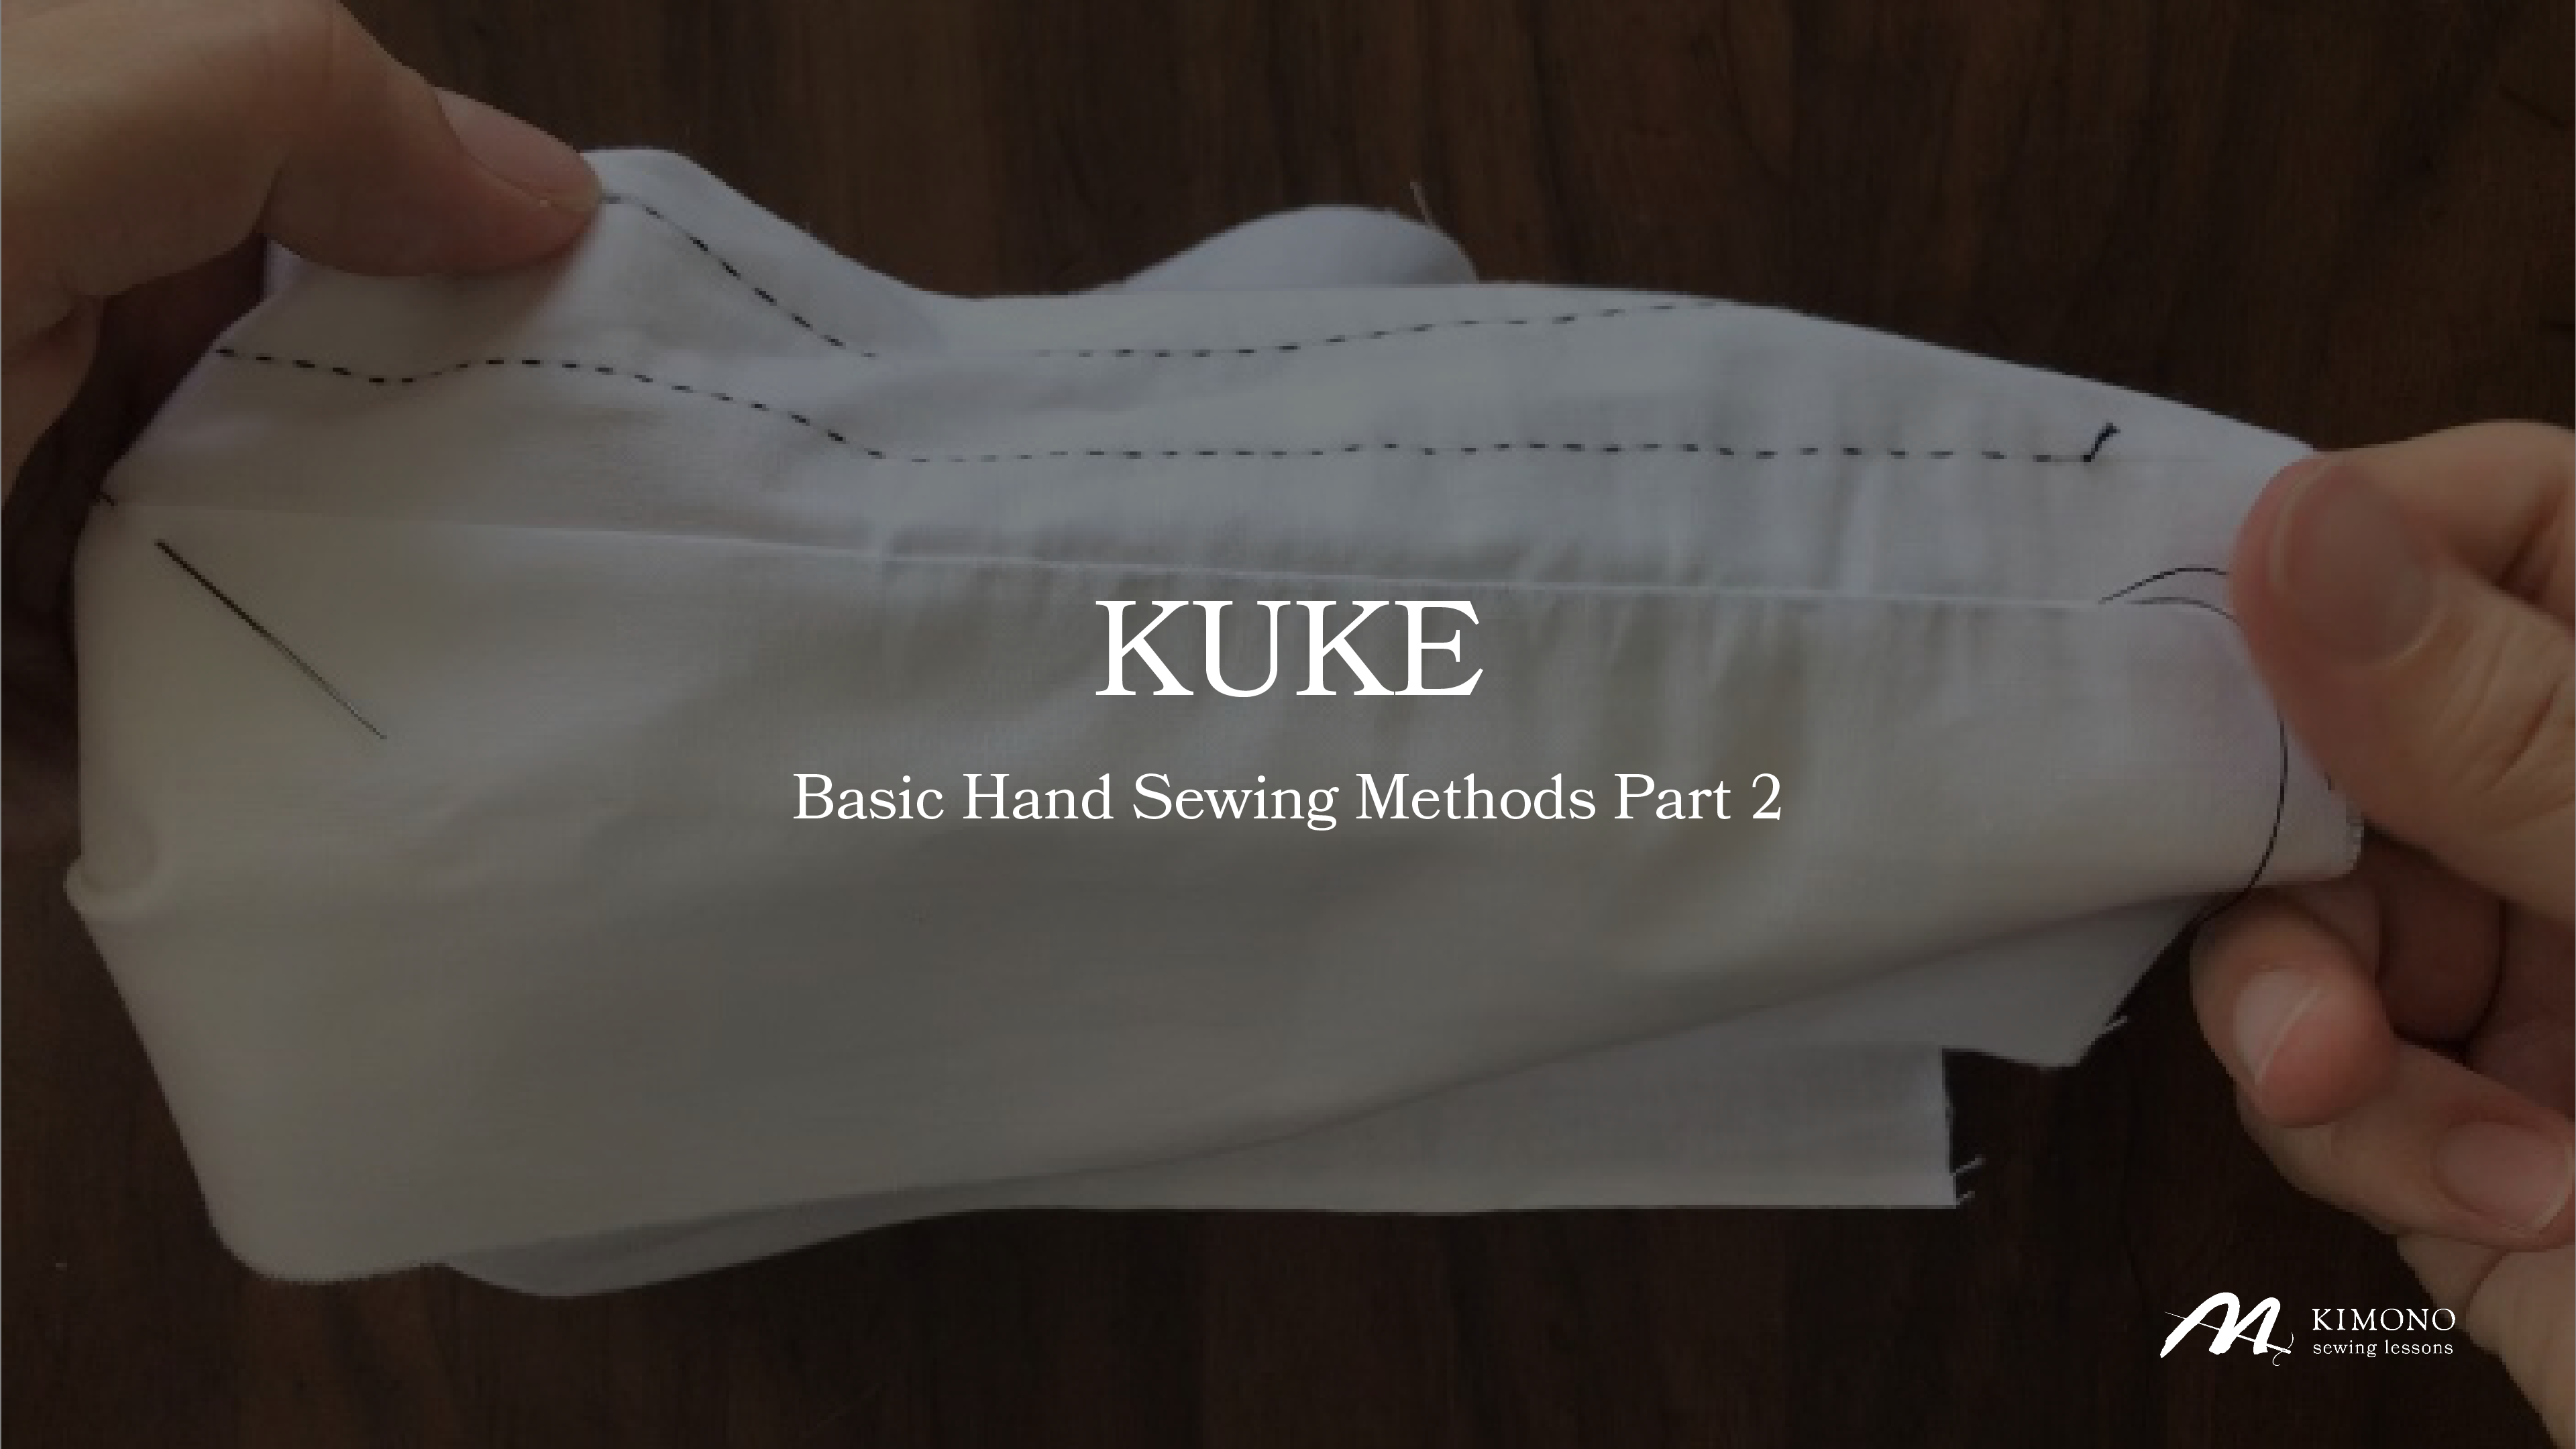
KUKE – Basic Sewing Techniques
This page introduces how to practice the basic Japanese sewing technique ” Kuke “.In yukata and Hitoe-kimono, […]-
M KIMONO
-
-
 Basic sewing method
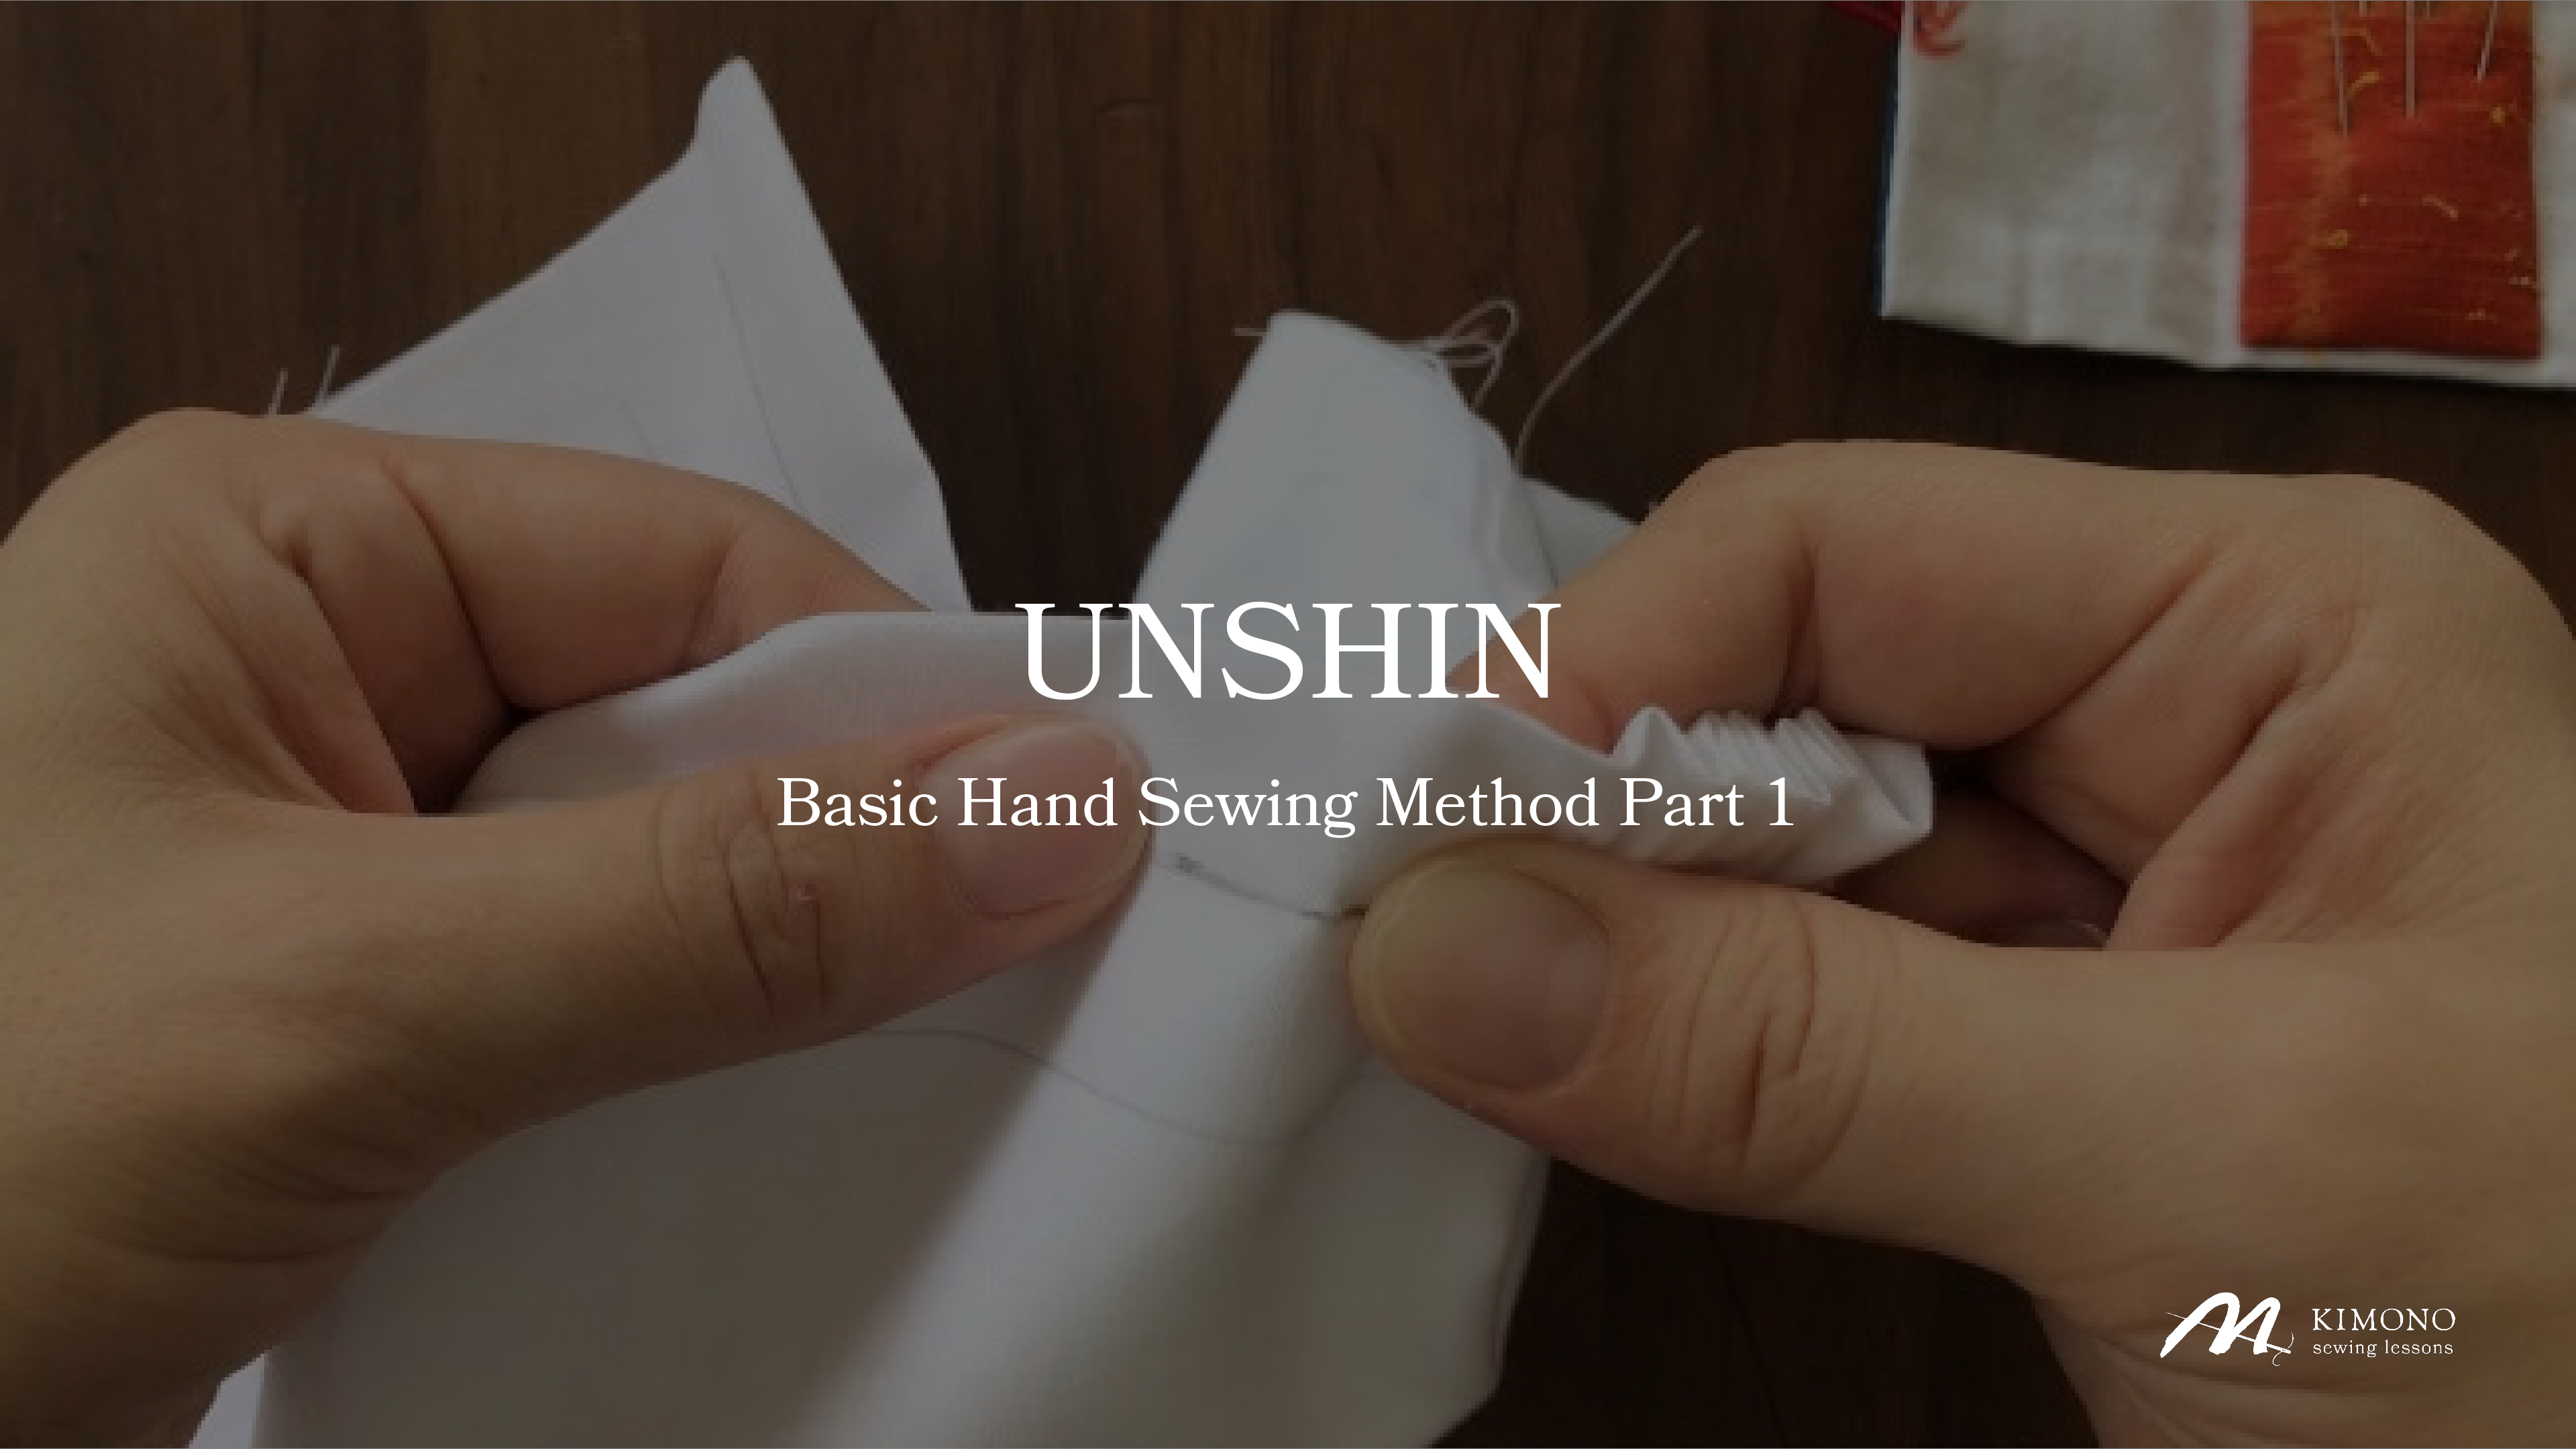
UNSHIN – Basic Sewing Techniques
“ UNSHIN (運針)” is the most basic technique in kimono sewing.It is essential to practice every day in order to […]-
M KIMONO
-
Kimono sewing tools
-
 Kimono sewing tools
Bunchin : Kimono Sewing Tools
Kimono Sewing tools are a necessity for all kimono sewers. Here are some of the tools that are especially […]-
M KIMONO
-
-
 Kimono sewing tools
Sewing Thread : Kimono Sewing Tools
Kimono Sewing tools are a necessity for all kimono sewers. Here are some of the tools that are especially nece […]-
M KIMONO
-
-
 Kimono sewing tools
Marumi : Kimono sewing tools
Kimono Sewing tools are a necessity for all kimono sewers. Here are some of the tools that are especially […]-
M KIMONO
-
-
 Kimono sewing tools
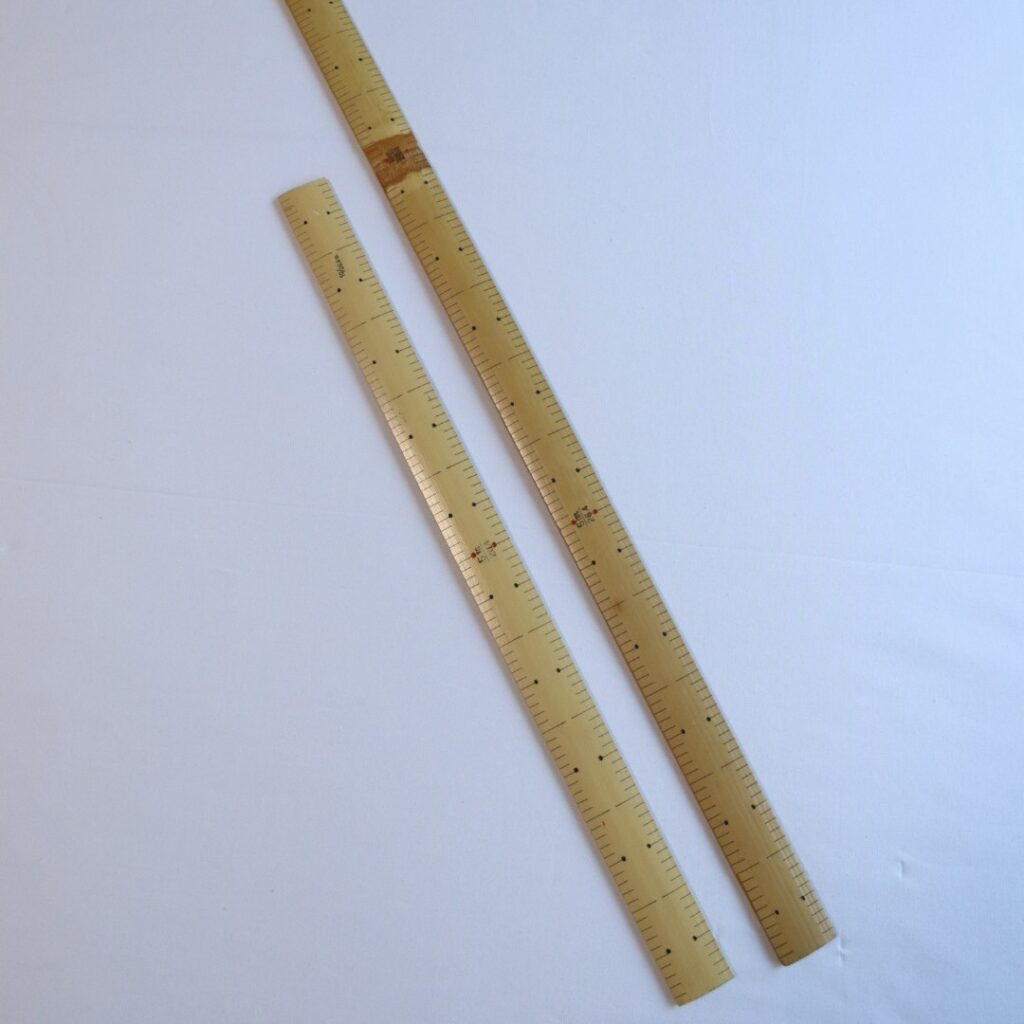
Kujira-syaku : Kimono sewing tools
Kimono Sewing tools are a necessity for all kimono sewers. Here are some of the tools that are especially […]-
M KIMONO
-
-
 Kimono sewing tools
Needles and Pins : Kimono Sewing Tools
Kimono Sewing tools are a necessity for all kimono sewers. Here are some of the tools that are especially nece […]-
M KIMONO
-
-
 Kimono sewing tools
YUBINUKI – Kimono Sewing Tool
Hand sewing is the basic method of kimono sewing. The tool called “Yubinuki(thimble)” is indispensable for han […]-
M KIMONO
-
Let’s have fun sewing kimonos
with M KIMONO!
You can sew kimono anytime, anywhere.
Here is an environment where you can learn kimono sewing wherever you are.
Click here for details >>> https://mkimono.tv/en/