Kimono Sewing tools are a necessity for all kimono sewers. Here are some of the tools that are especially necessary for kimono sewing. If you want to start sewing kimonos, but don’t know what kind of tools you need and how they differ from common sewing tools, this article may help you.
Tools needed for sewing kimonos are posted in the series “Kimono Sewing Tools“.
Please read about the other tools as well.
Kimono Sewing Tools
Many new kimono sewers ask themselves what are the best sewing tools and equipment to have in a beginners sewing kit.
Kimono sewing Tools can be divided into:
- Needles and Pins
- Sewing Thread
- Cutting Tools
- Measuring Tools
- Marking Tools
- Pressing Tools
- Miscellaneous Sewing Tools
If it is difficult to get tools specialized for kimono sewing, Western sewing tools are often sufficient.
What kind of thread is best
The most important thing is to choose a thread for hand sewing.
If you hand sew with sewing machine thread, the thread will tangle.
This is because the thread twist (S twist and Z twist ) is reversed between hand sewing and machine sewing.
Traditional kimono sewing is all done by hand-sewing.
Some kimonos are sewn with a sewing machine, but at M KIMONO, we introduce the method of hand-sewing.
How to choose a thread material
Match it to the material of the kimono you are about to sew.
If you are sewing a silk kimono, use silk thread.
If you are sewing a cotton kimono, use cotton thread or synthetic fiber sewing thread.
If you are sewing a synthetic fiber kimono, use synthetic fiber sewing thread.
Cotton thread is a little thick for kimonos even if you choose fine thread (is this only in Japan?). So I use polyester thread.
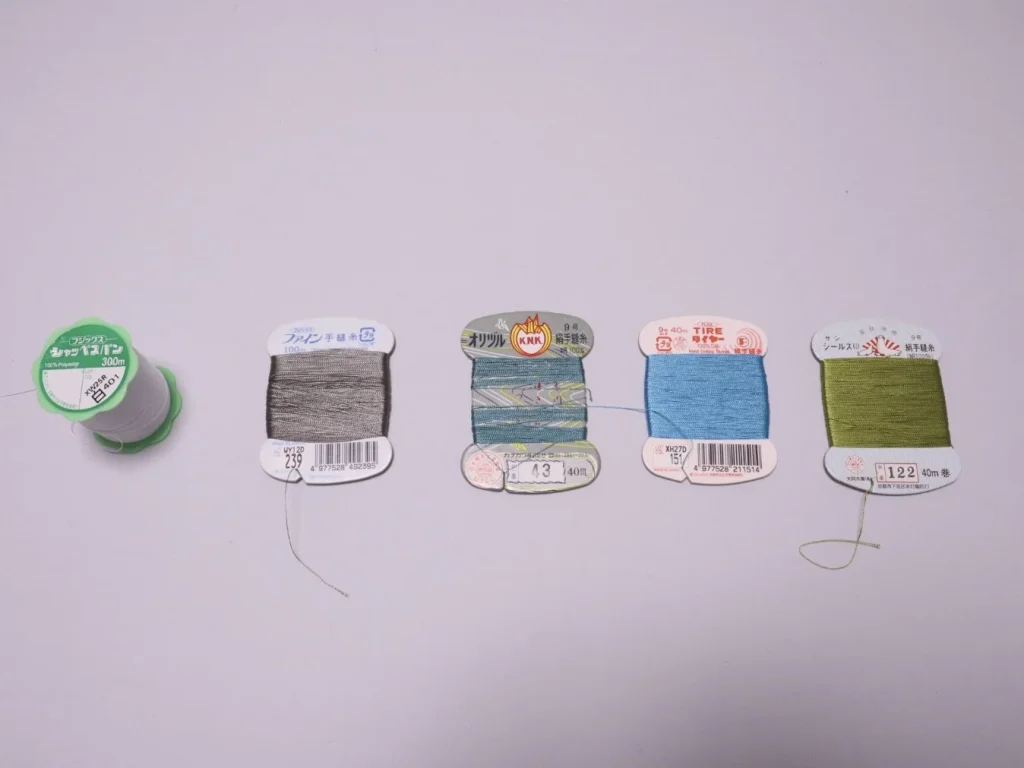
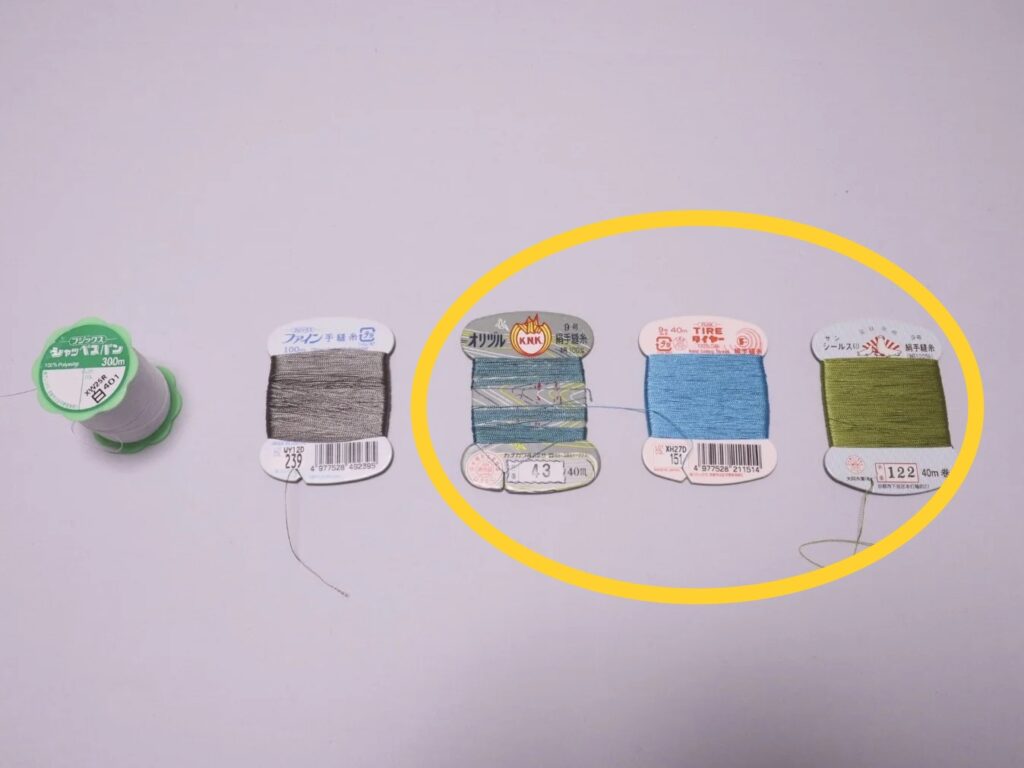
Silk hand sewing thread
For Japanese silk thread, use No.9 hand sewing thread.
There are threads from various manufacturers.
The picture below shows, from left to right, “Orizuru”, “TIRE”, and “Shi-lsu”.
“TIRE” in particular is a silk thread produced by Fujix, so you may be able to get it outside Japan.
Click here for the Fujix website. >>> https://www.fjx.co.jp/english/
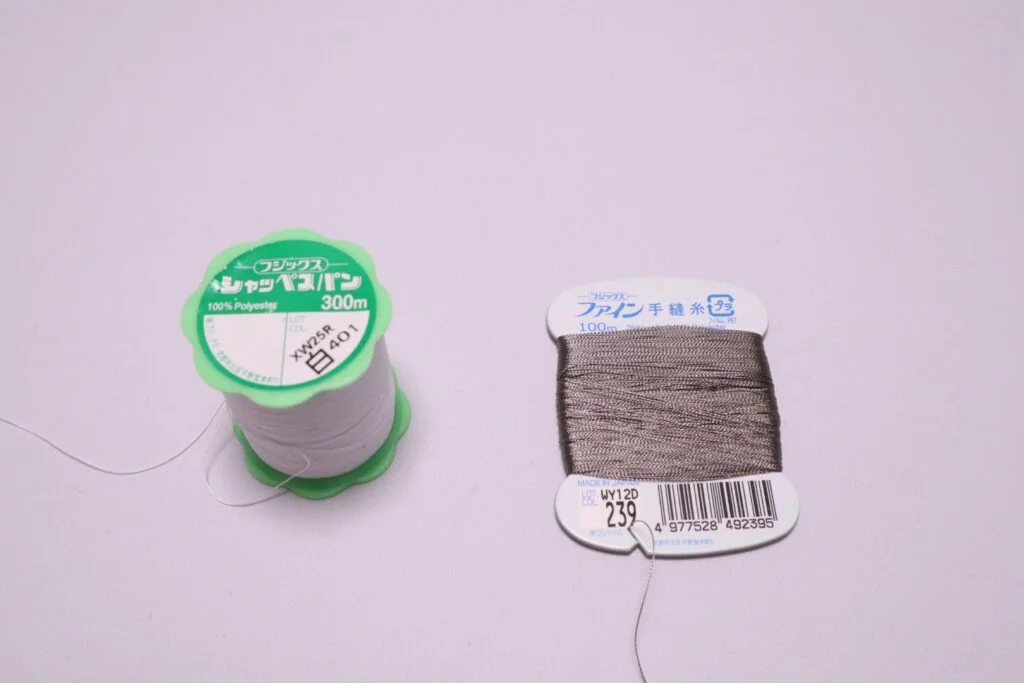
Synthetic fiber sewing thread
Choose a polyester one. The thread thickness should be about #50.
Synthetic fiber hand sewing thread is also famous and easily available in Japan, as is Fujix thread.
The photos below are both made by Fujix.
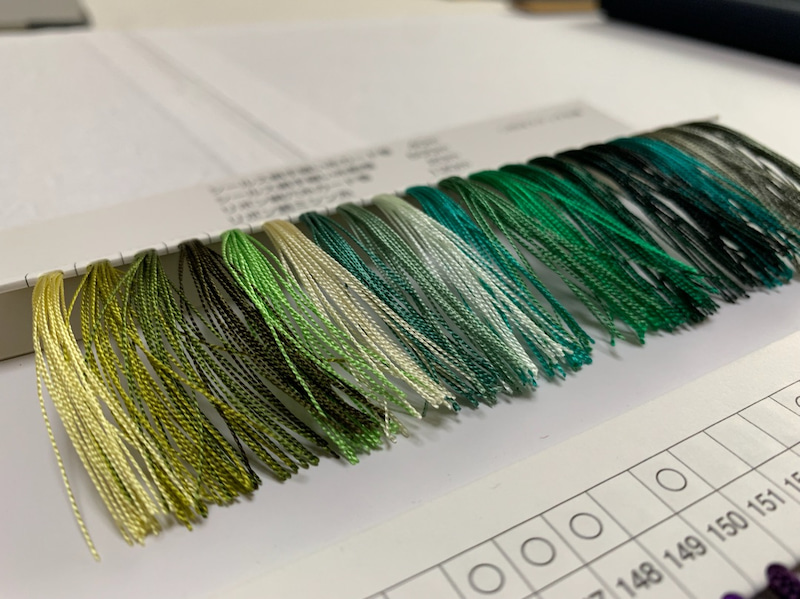
How to choose thread colors
Match the ground color of the fabric.
If you are not sure between a slightly lighter color and a slightly darker color, choose the slightly darker thread.
If the color of the patterned part is different from the base color, you should also prepare a thread that matches the color of the pattern.
What is the length of thread needed to sew one kimono?
To sew a Hitoe-kimono or yukata, you will need about 60 meters. 40 meters is often not enough.
For colored thread, we have card-type thread, and for white and black thread, which are often used, we have Koma-type thread.

Related Articles
-
 Basic sewing method
Basic of hand sewing : Kaeshibari and Itoshigoki
-
 Basic sewing method
How to make “chikara-Nuno” for attaching to Kataaki Part 2
-
 Basic sewing method
HONGUKE – Basic Sewing Techniques
-
 Basic sewing method
How to attach a “Hiki-ito” that can be used in place of a snap button Part 3
-
 Basic sewing method
Gakubuchi – How to make a corner. Part 1
-
 Basic sewing method
How to attach a “Hiki-ito” that can be used in place of a snap button Part 2