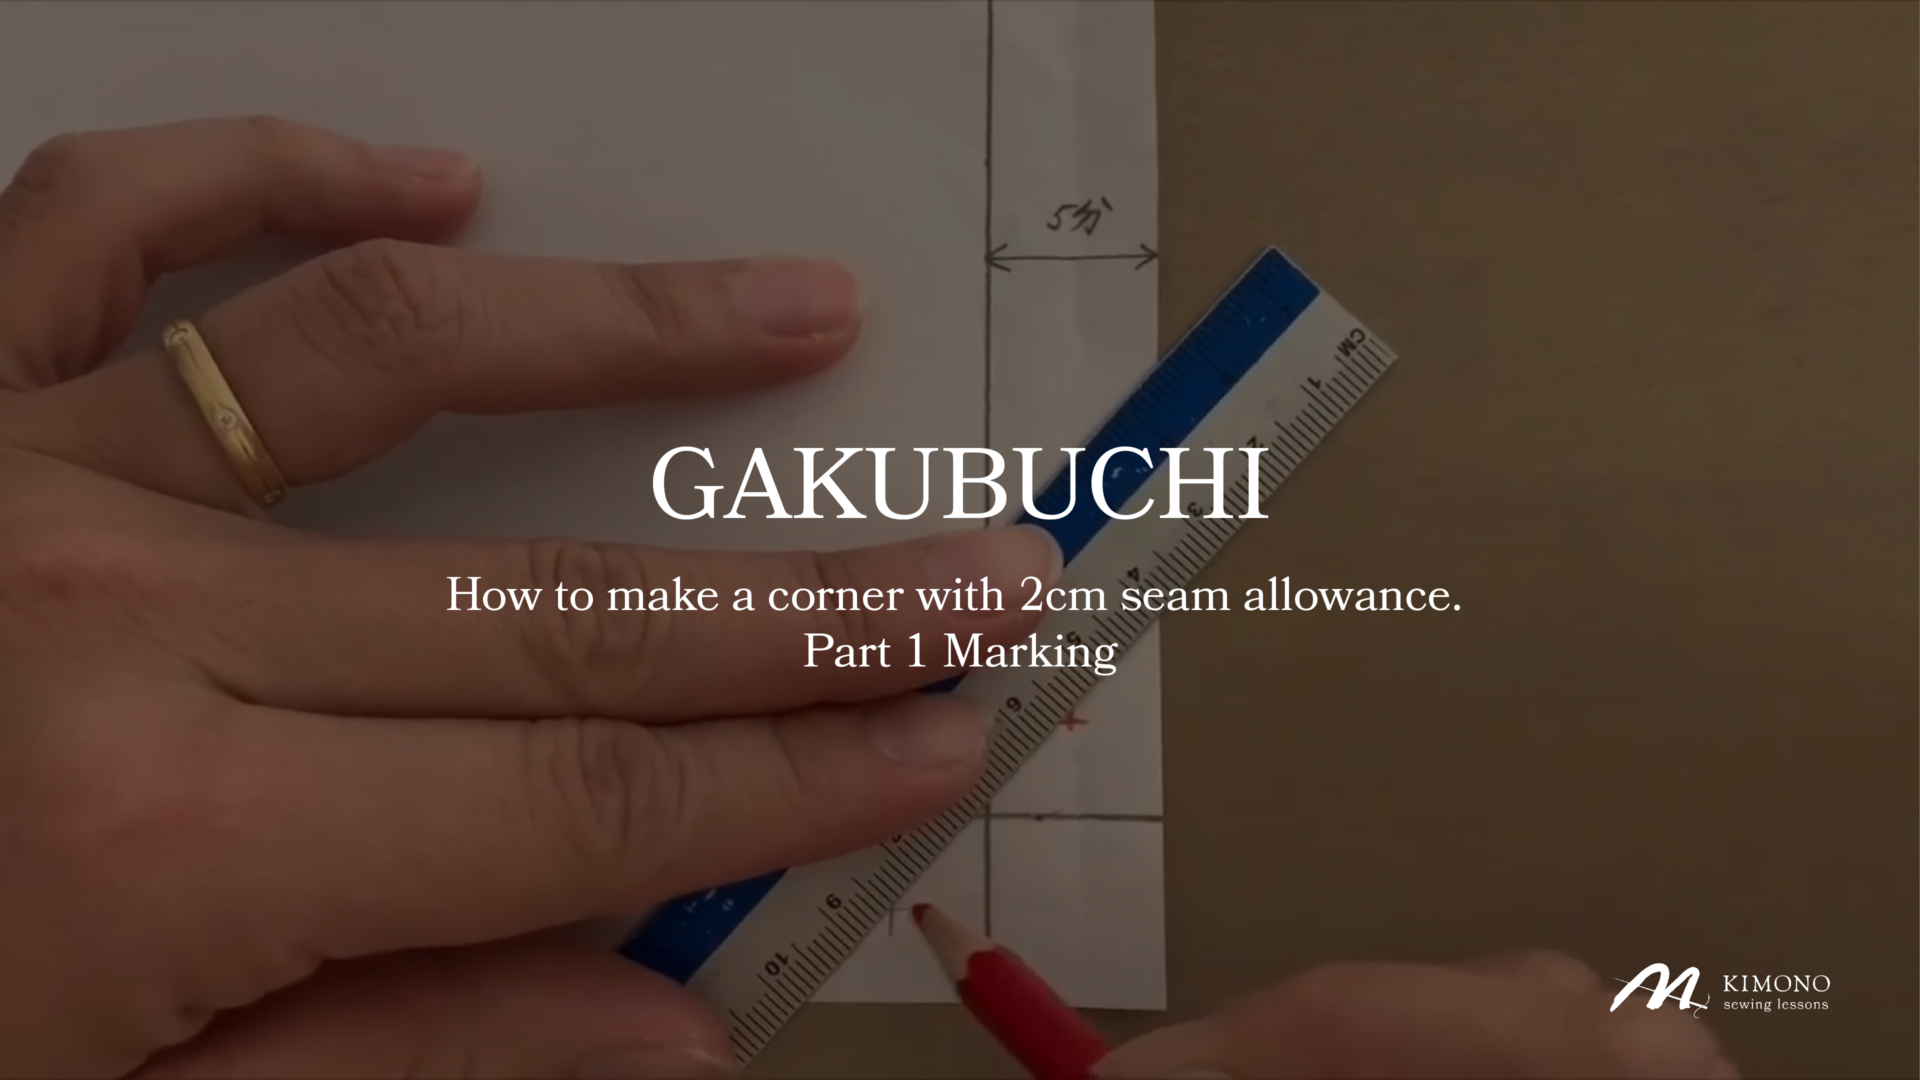
This is a sewing method called ” Gakubuchi ” used when sewing hitoe-kimonos and yukata.
This is how the seam allowance at the tip of the Okumi (Tsumasaki : the corner) is handled.
Here, I will show you in detail how to mark a 2cm hem seam allowance and a 2cm Tsuma-shita seam allowance.
Video: Gakubuchi – How to make a corner. Part1
Hem and Tsuma-shita seam allowance
- Hem:2cm
- Tsuma-shita:2cm
Hem seam allowance and Tsuma-shita seam allowance are not always 2cm.
Here we show you how to mark them with the most basic seam allowance.
Marking Procedure
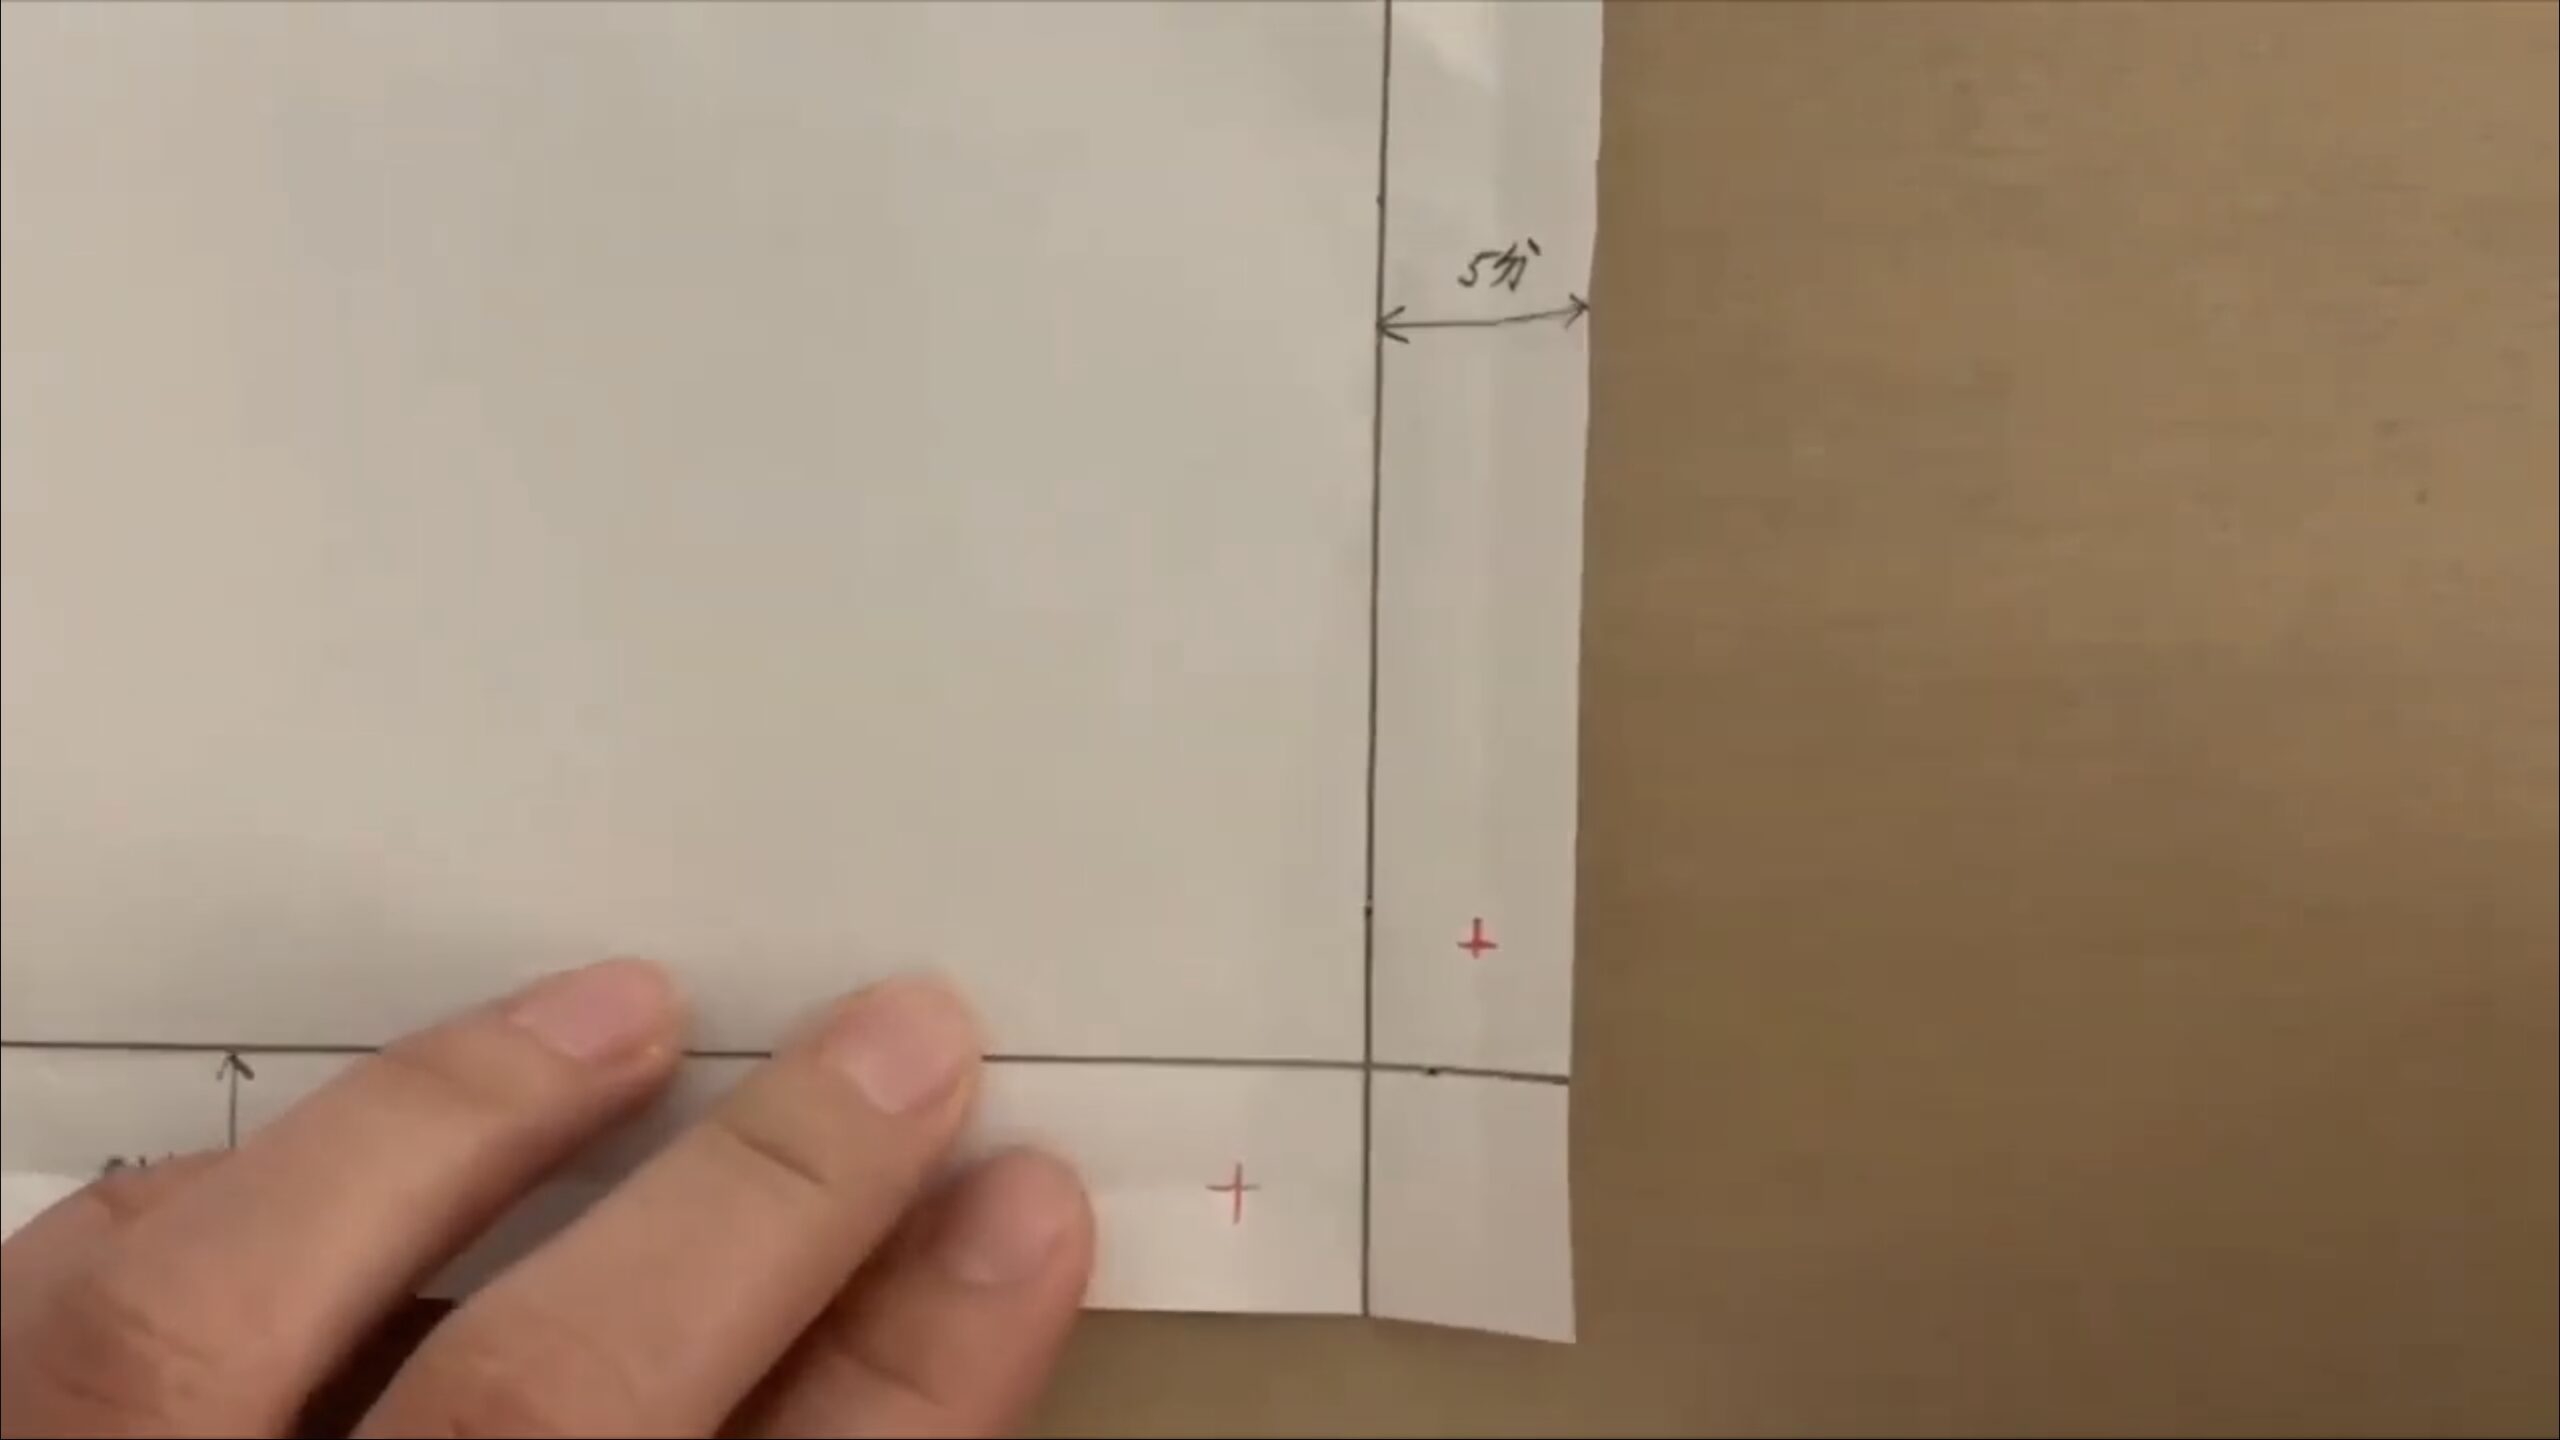
The line is written with a 2cm seam allowance at the hem and a 2cm seam allowance at the Tsuma-shita.
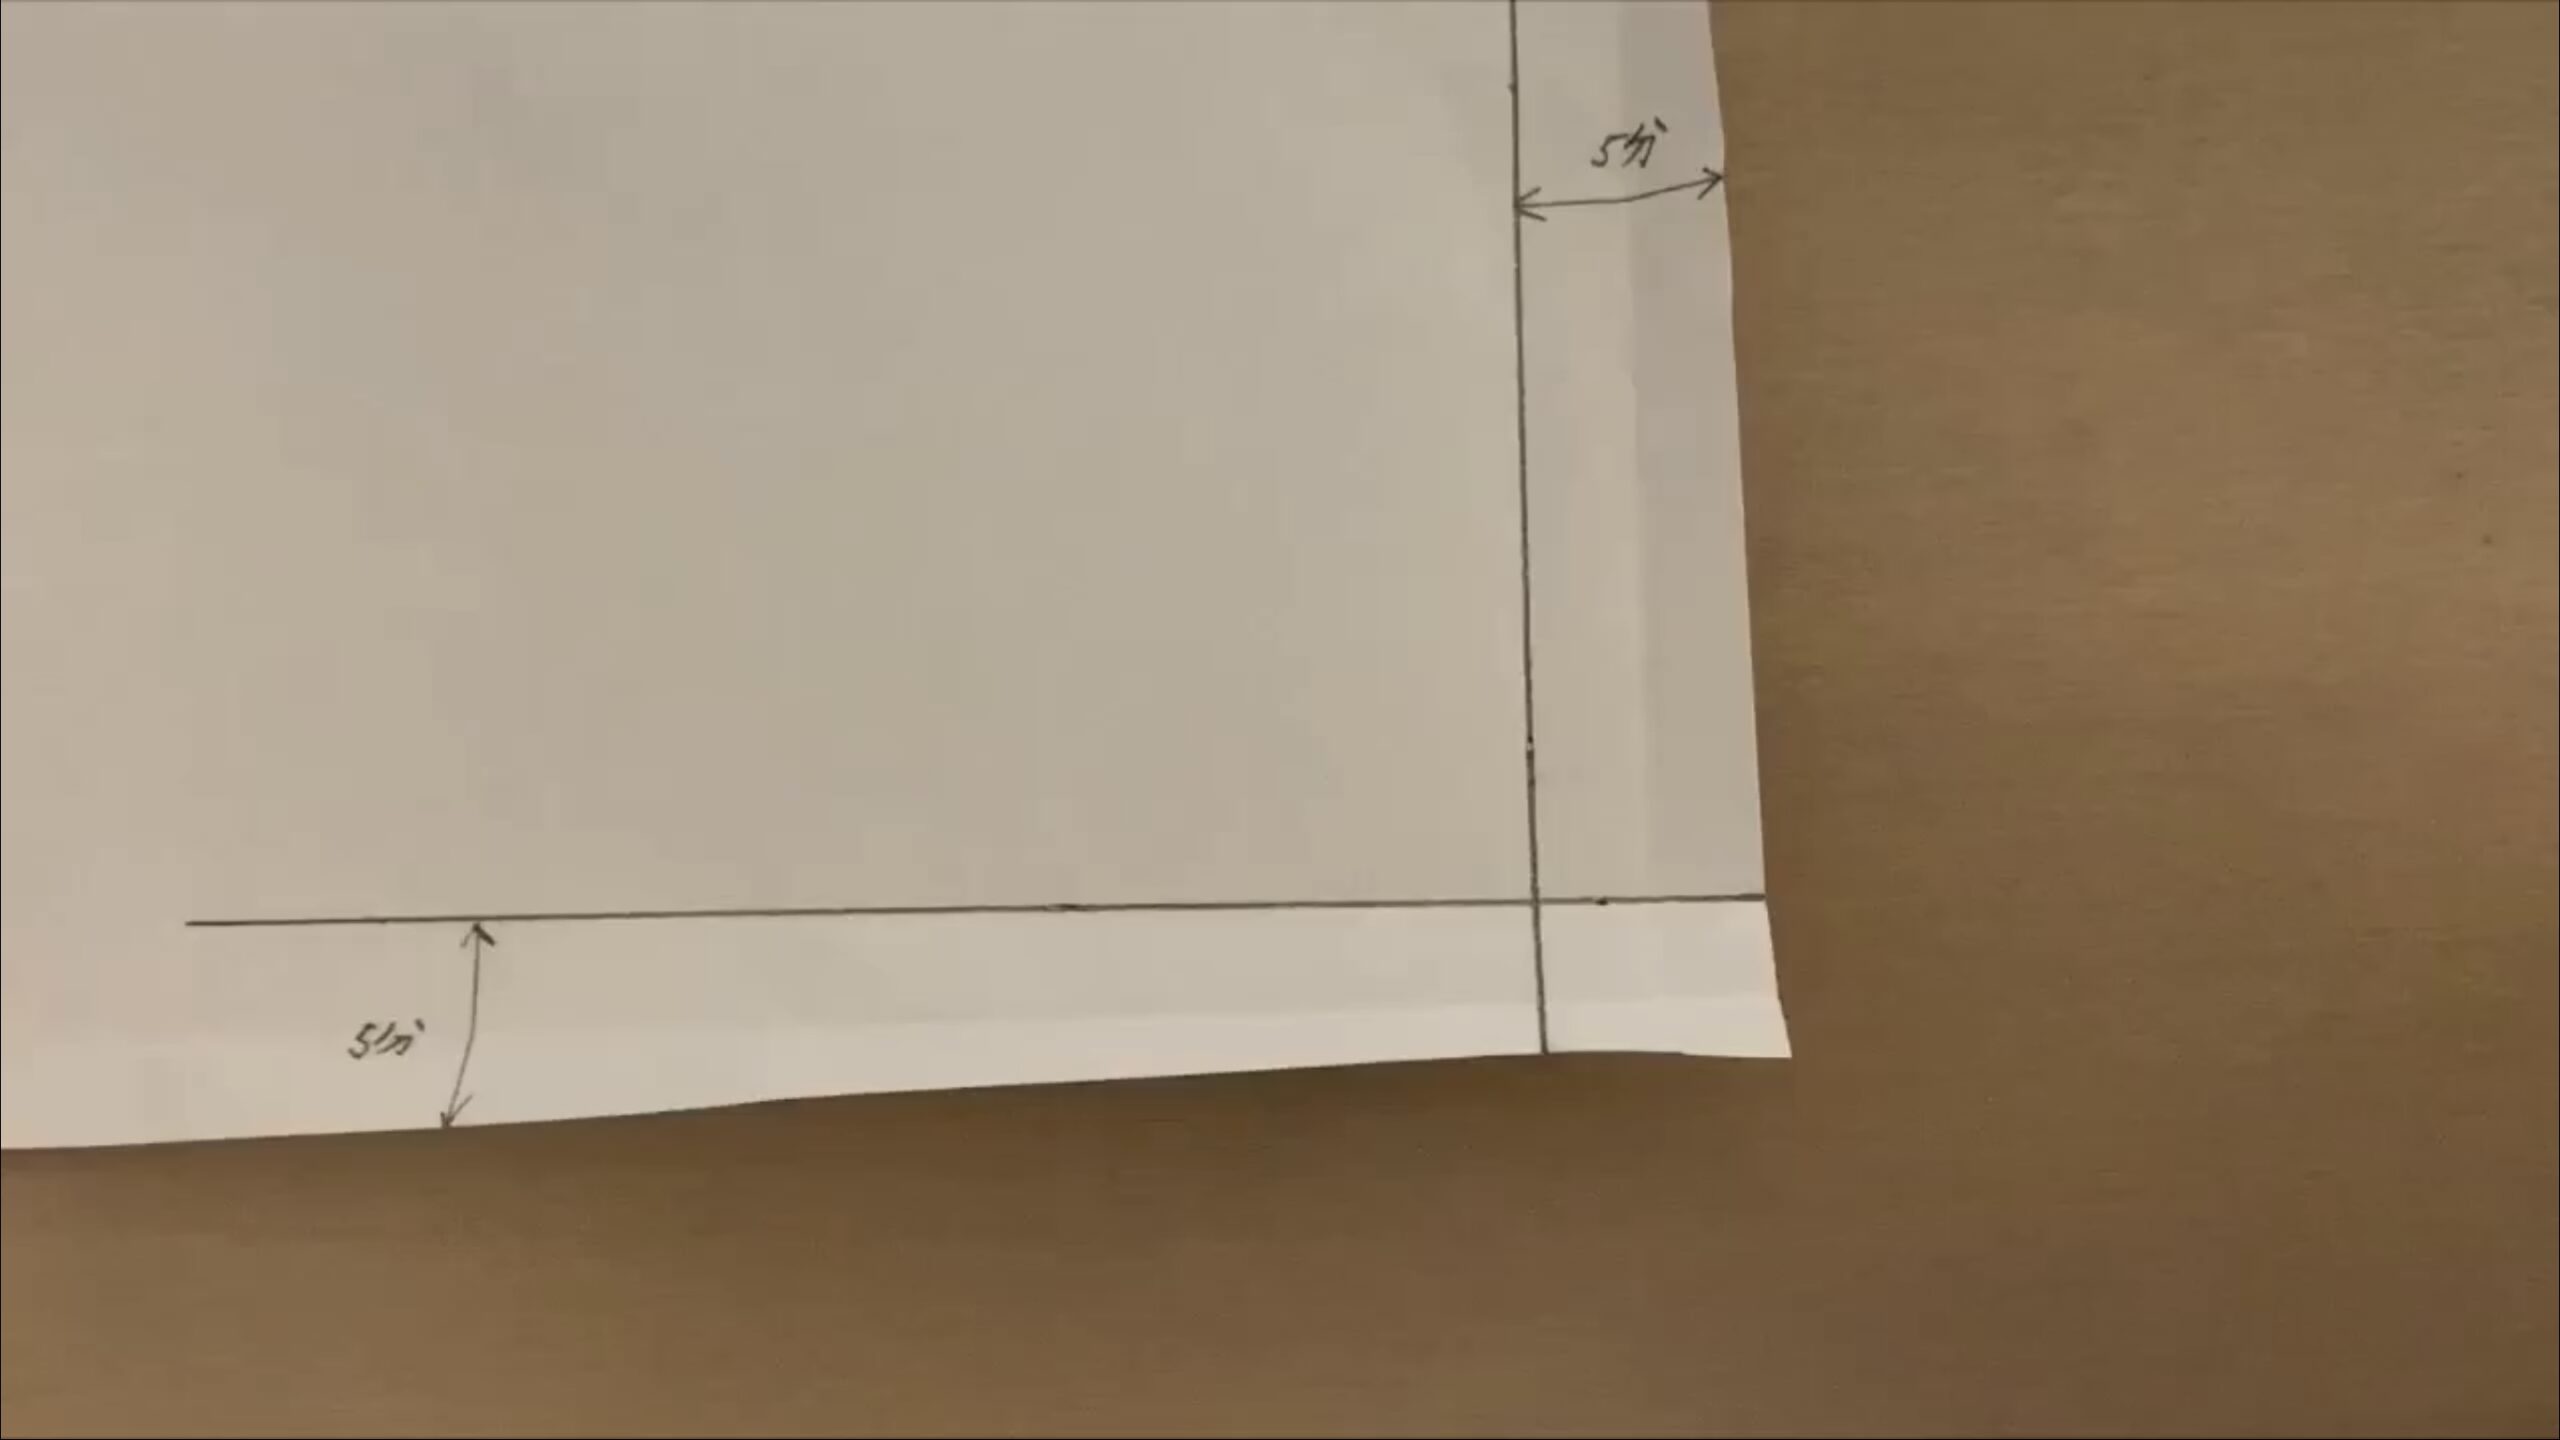
View from the back of the fabric. *5分=2cm
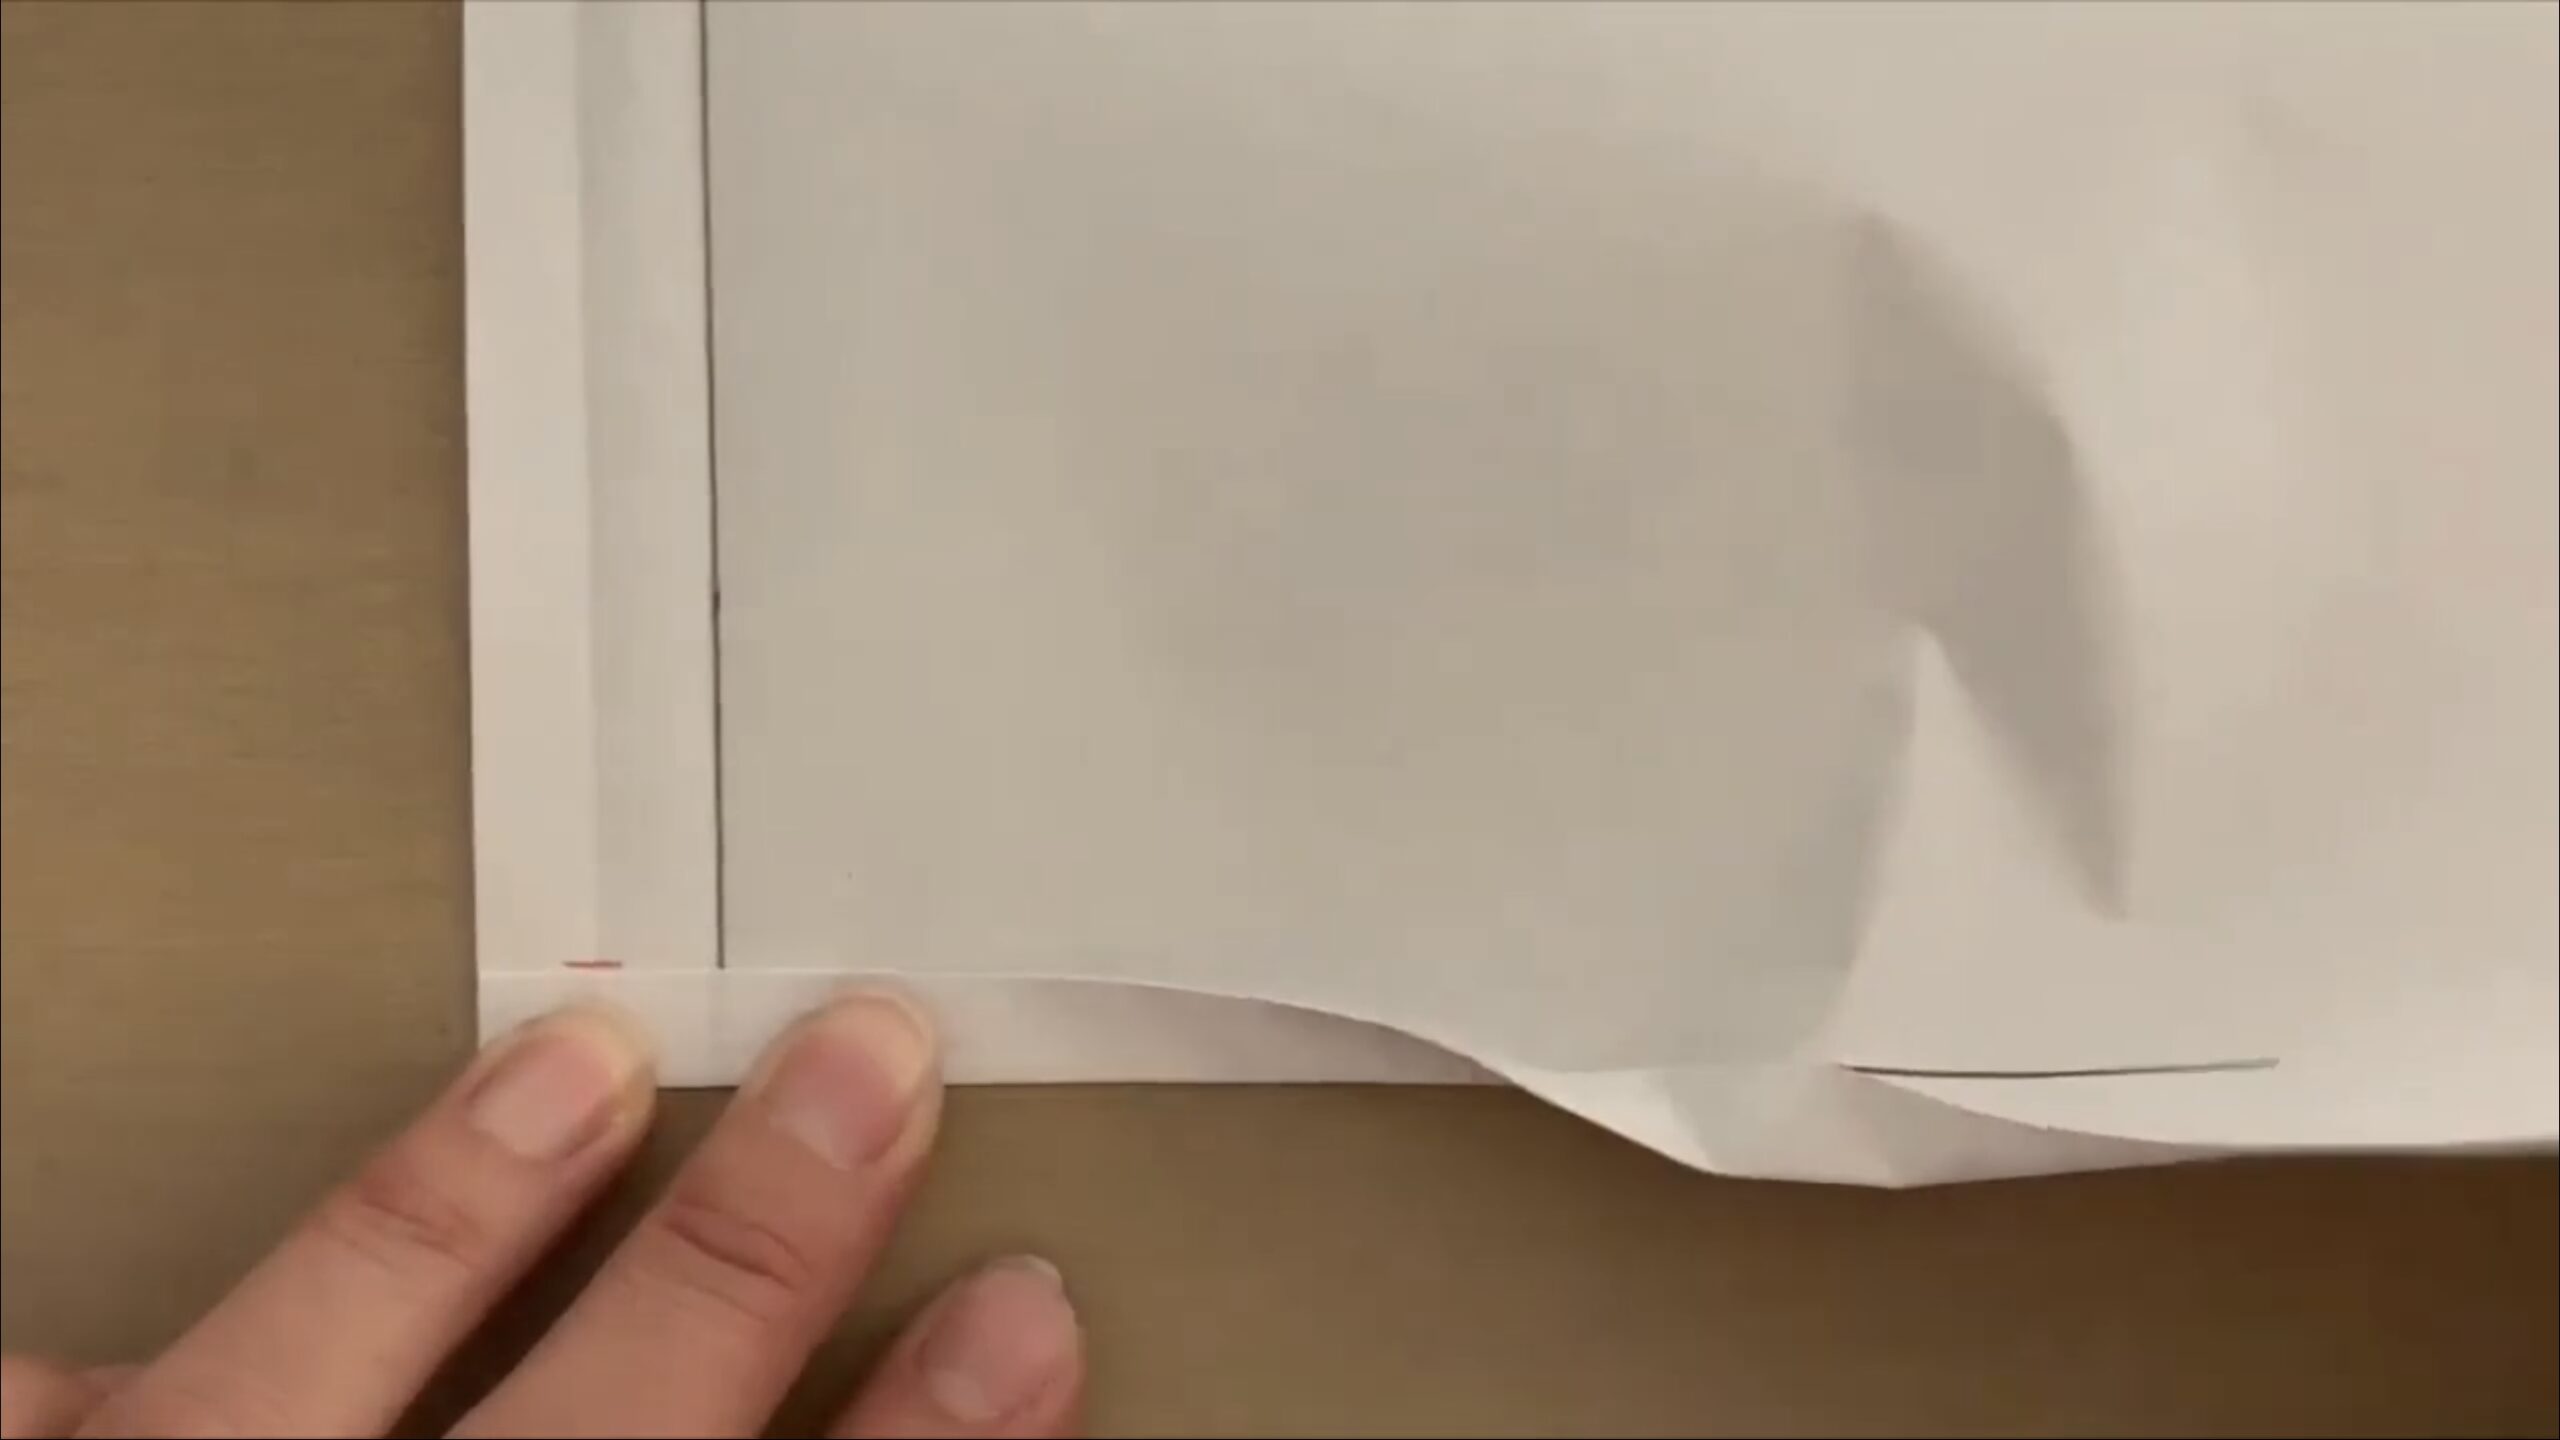
Fold the hem seam allowance in three and mark it.

Fold the Tsuma-shita seam allowance in the same way and mark it.
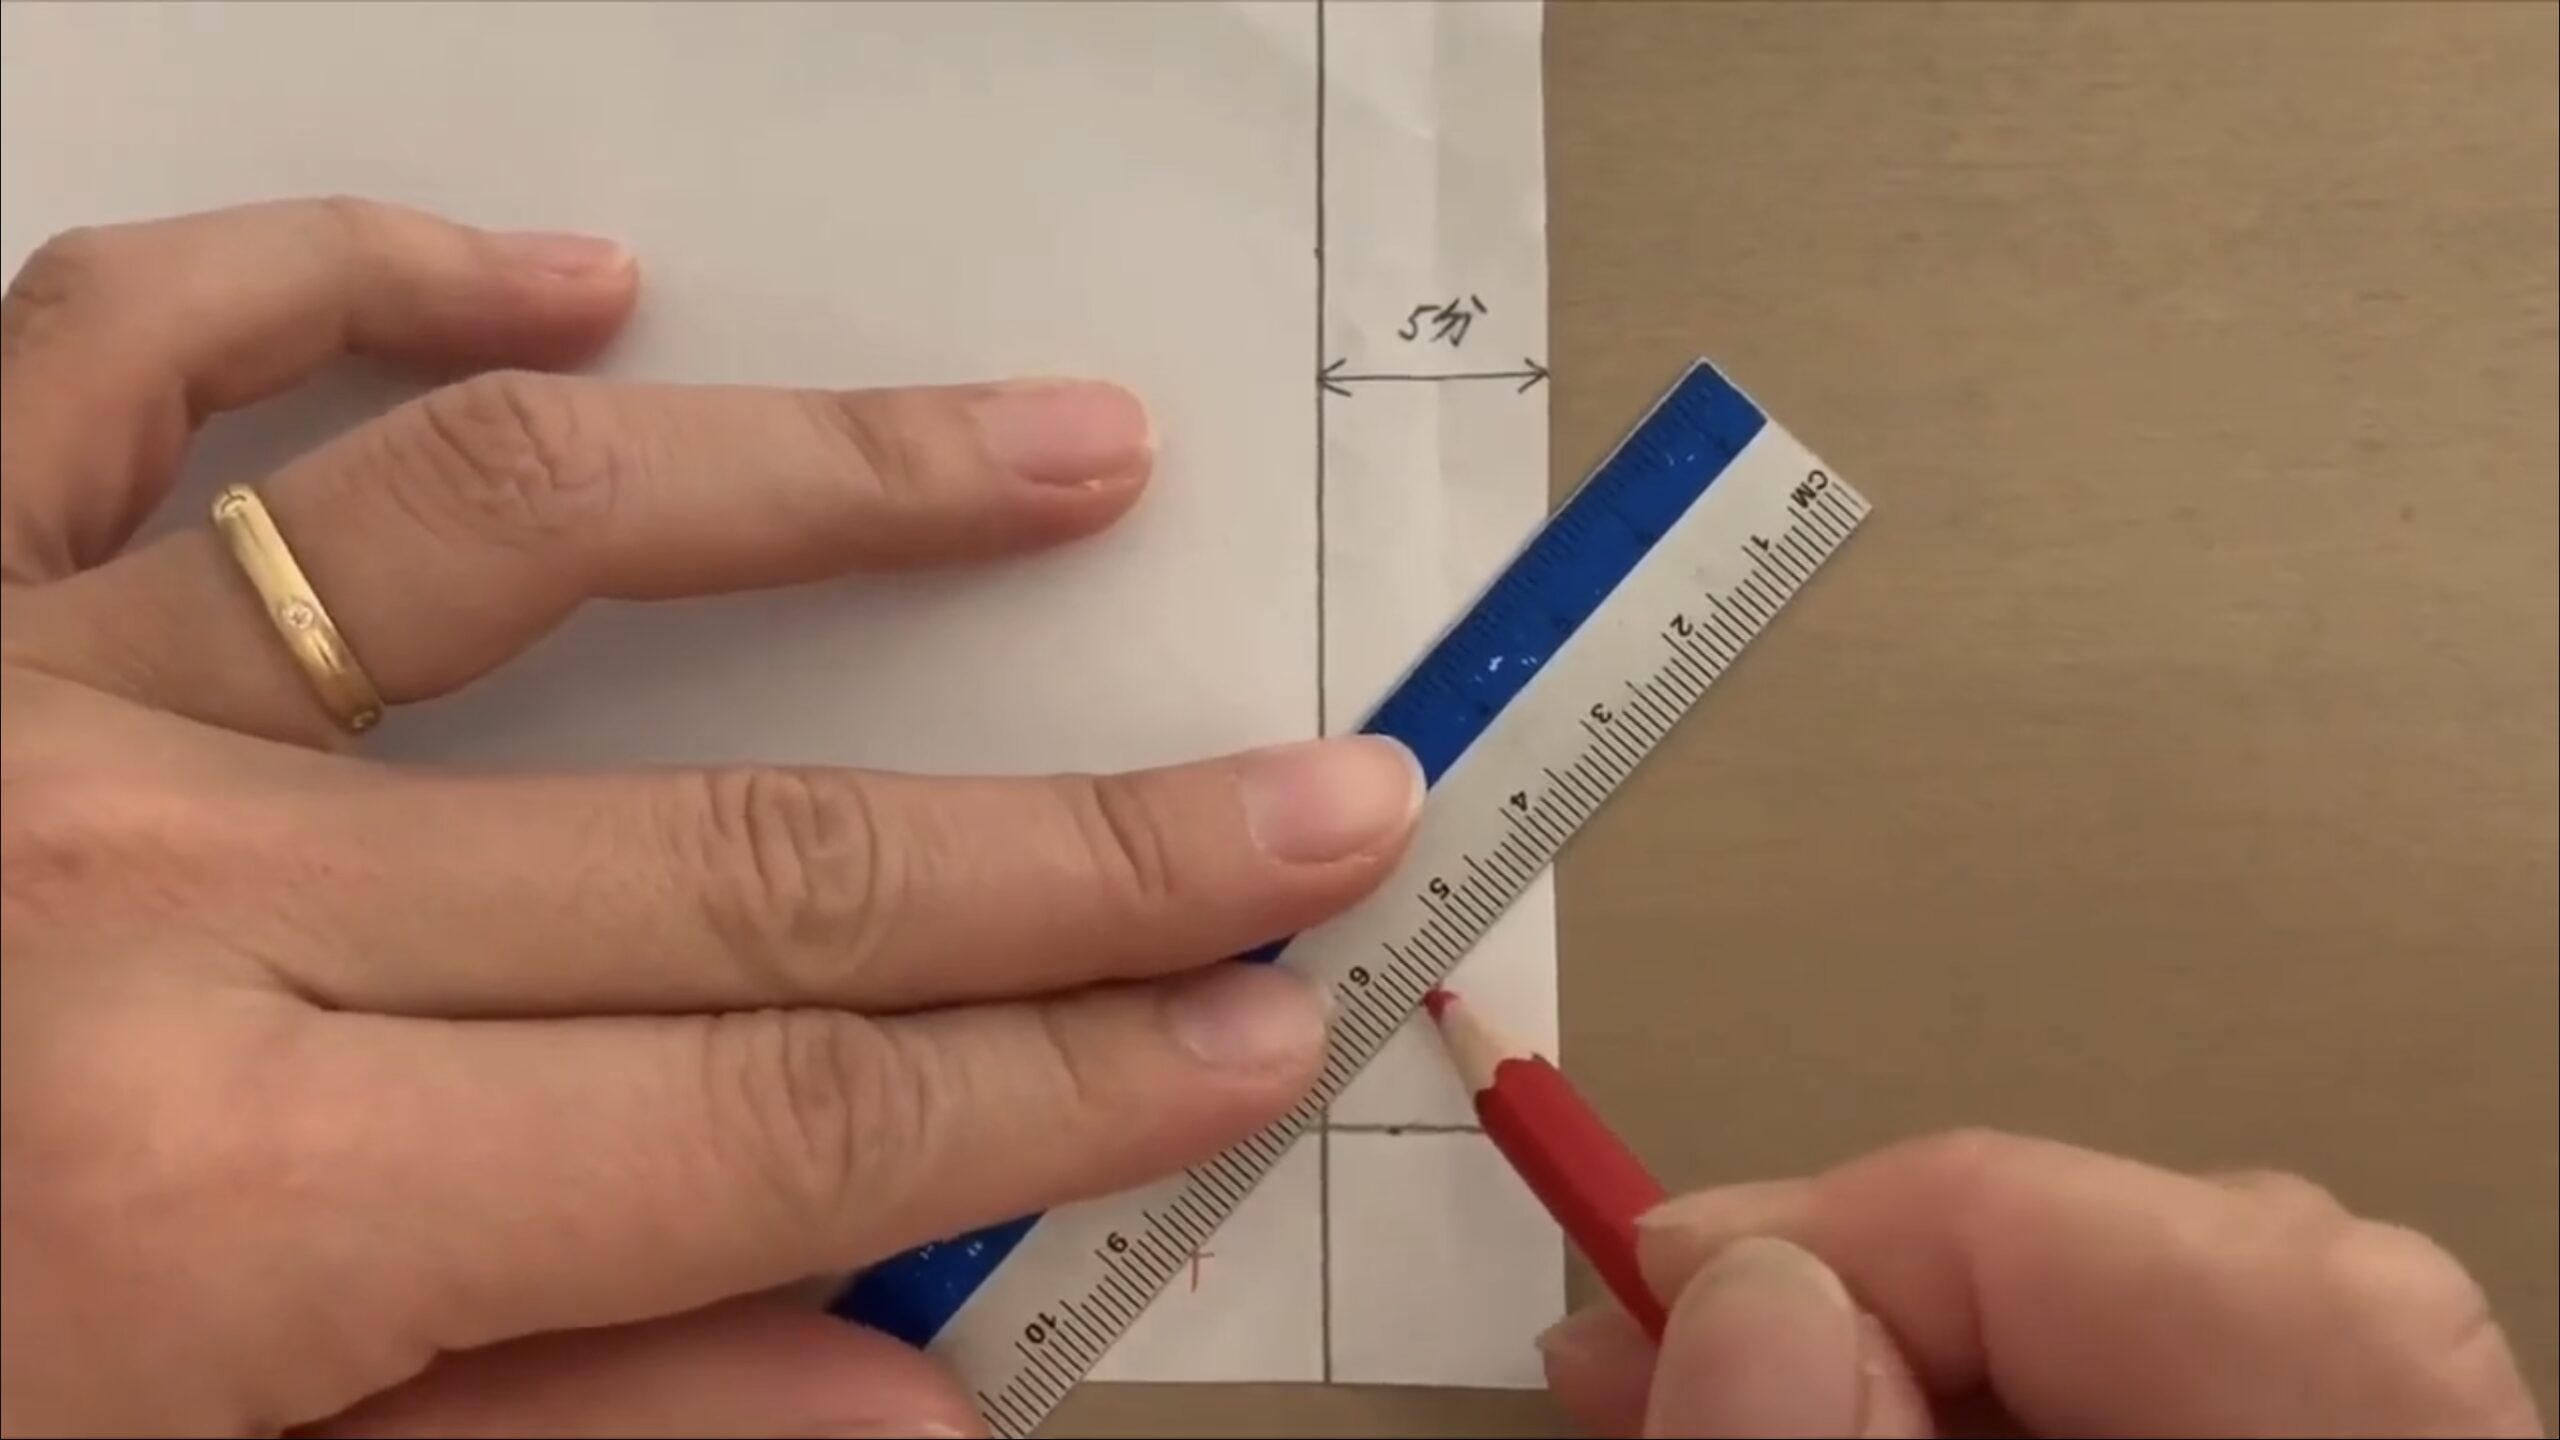
Spread out the seam allowance of the hem and the Tsuma-shita, and mark the folds and crosses when folded in thirds.
The photo below shows two red crosses.
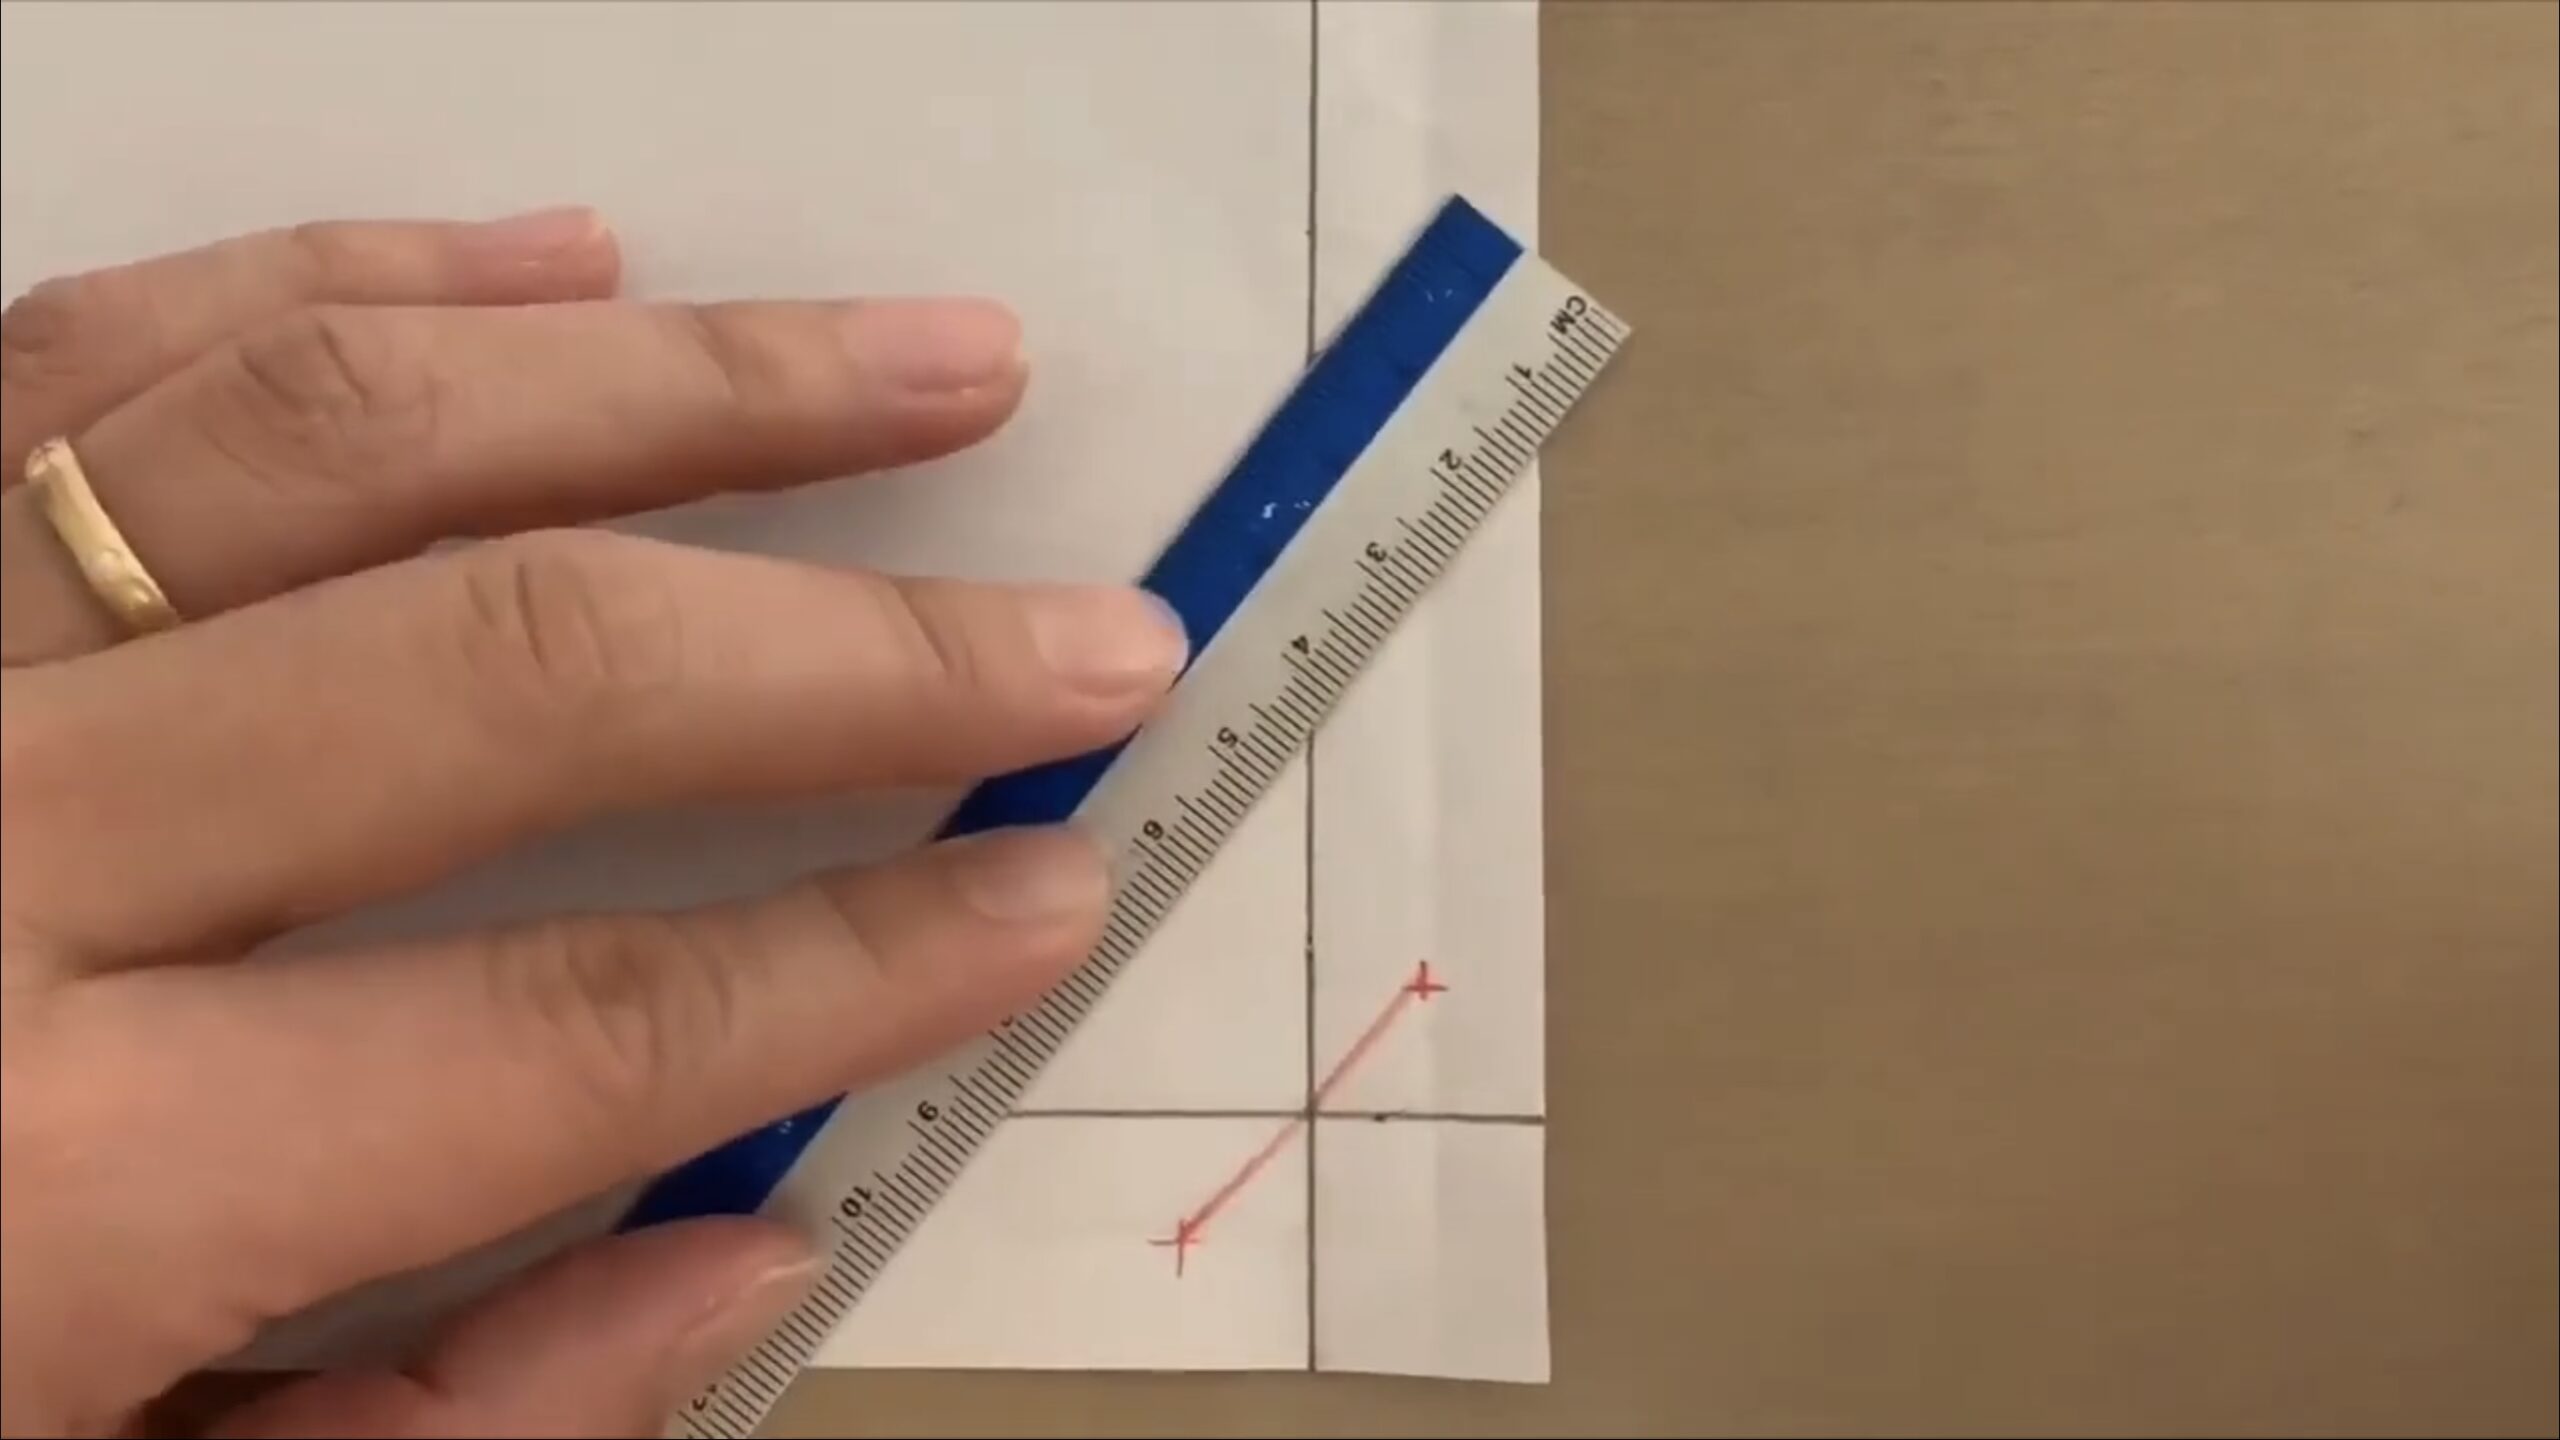
Connect the three points: the red cross, the finished points, and the red cross.
It looks like this. (Red line)
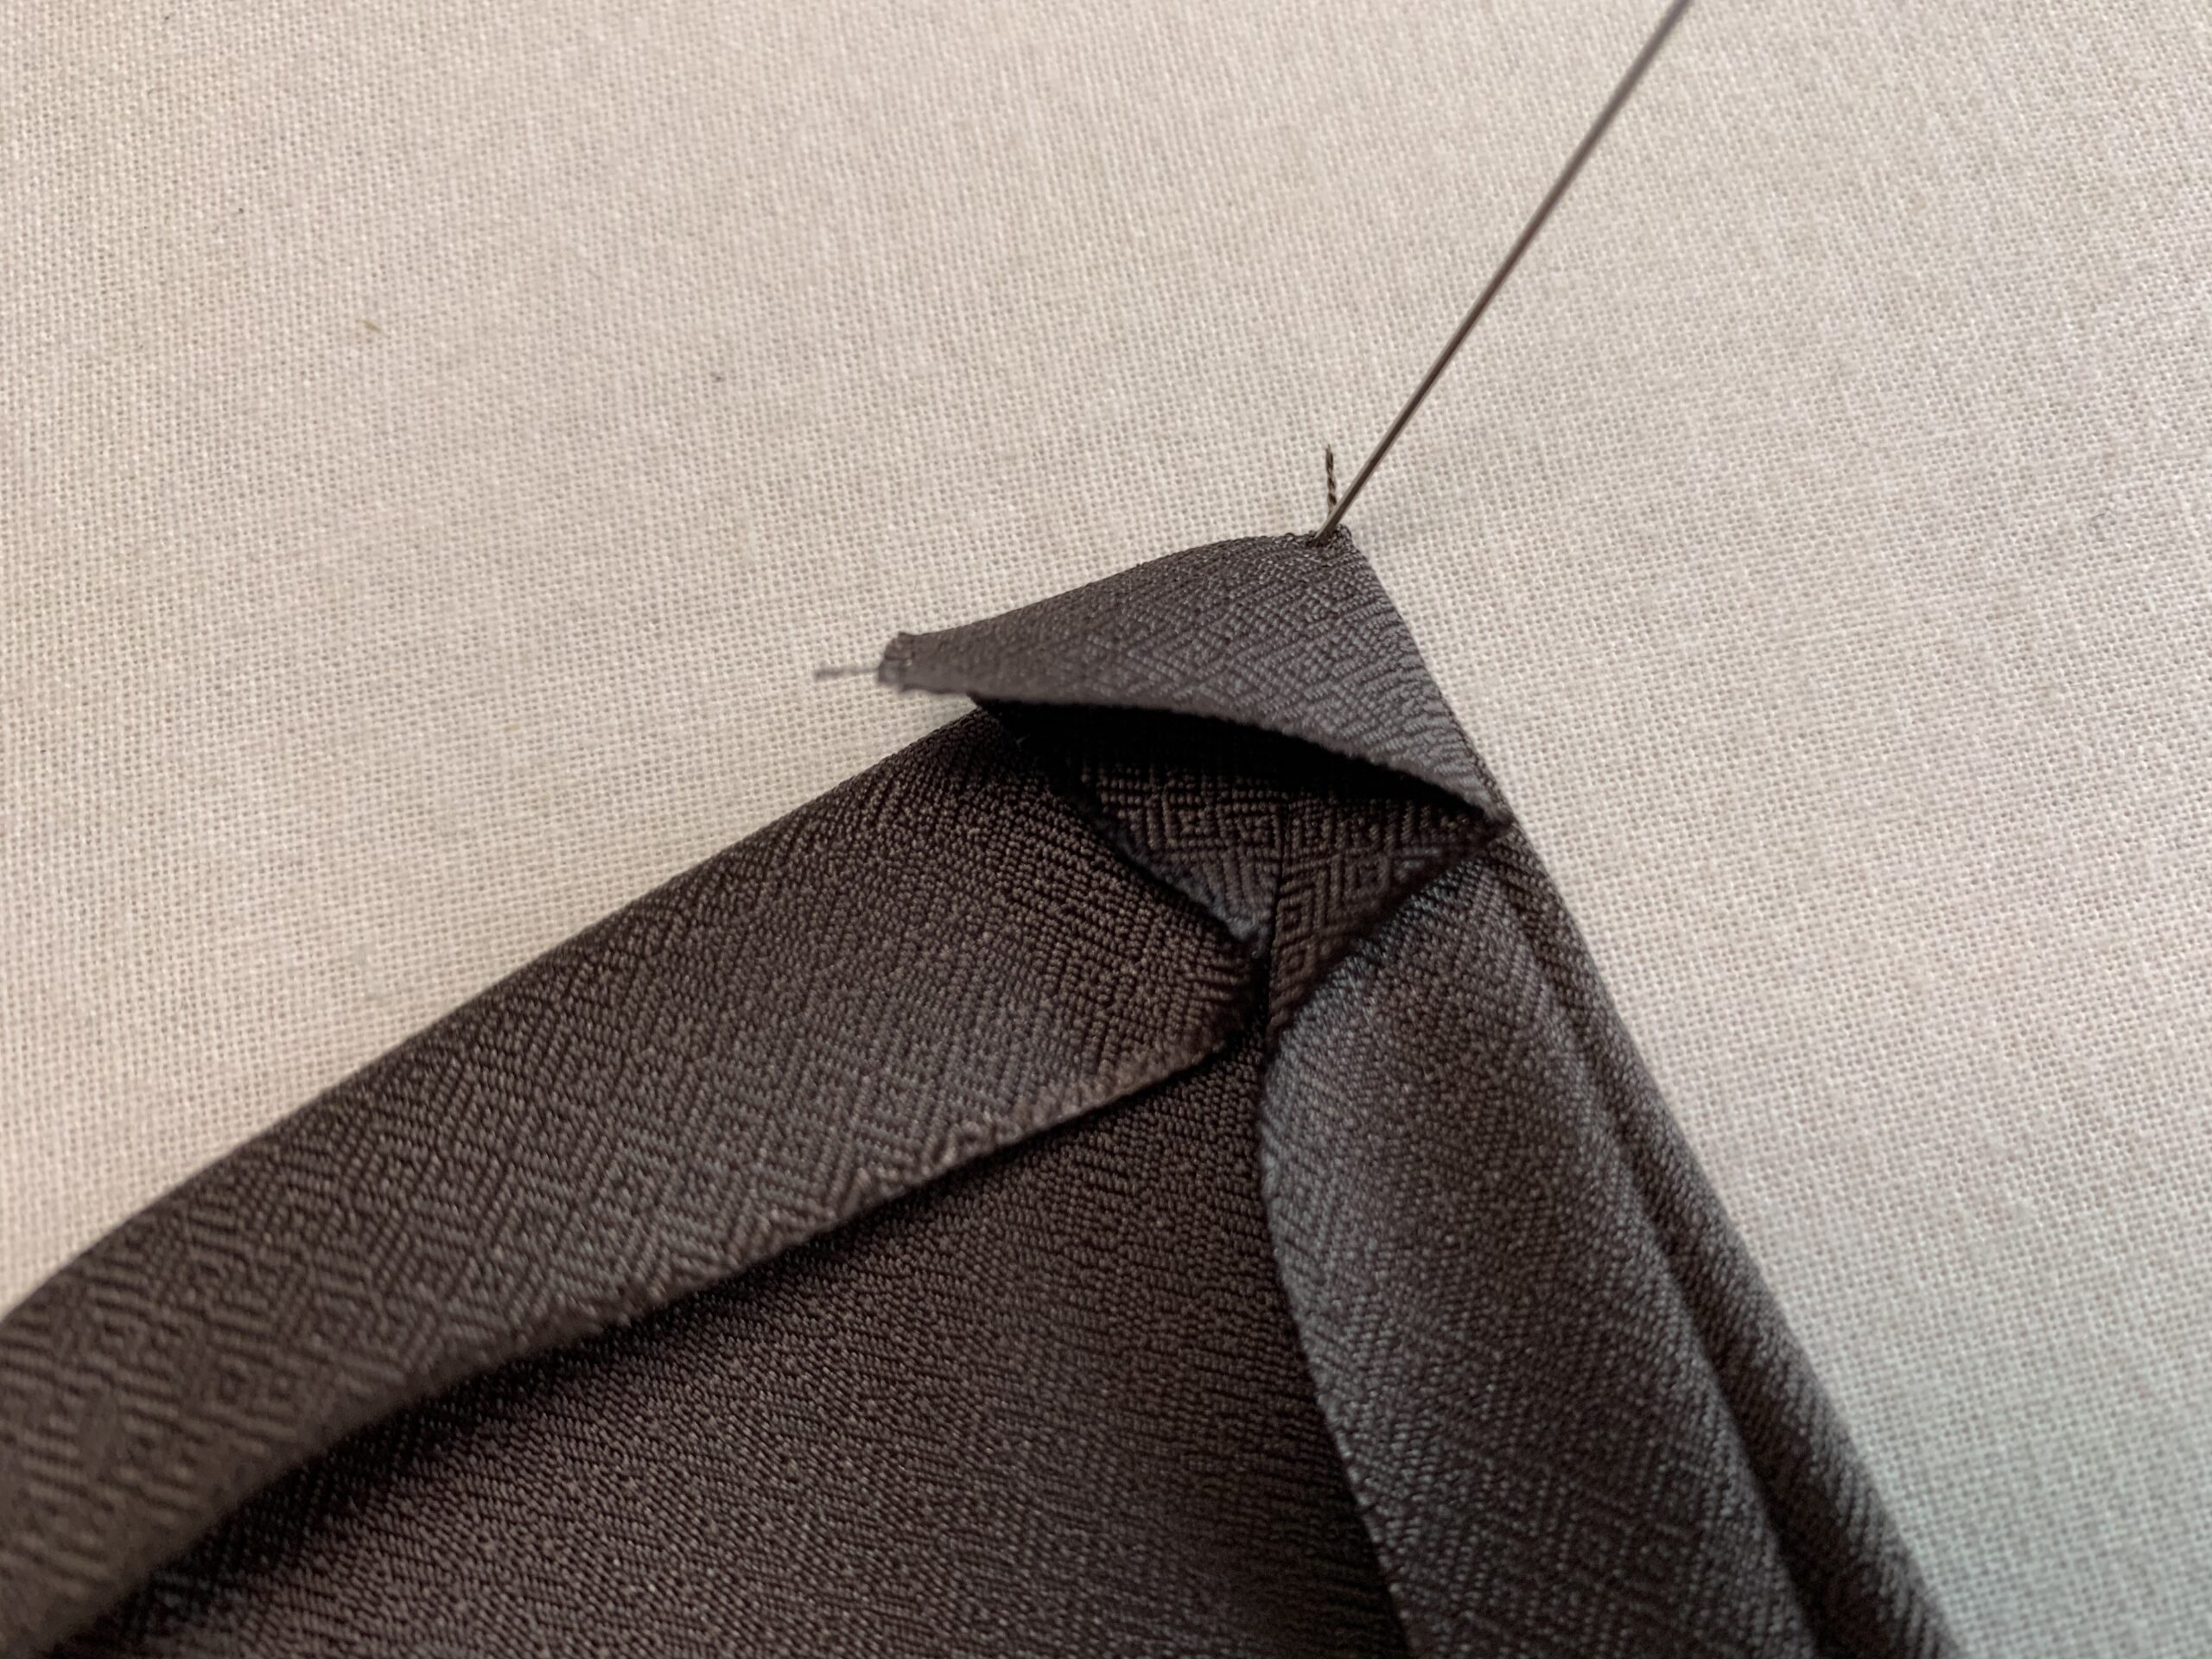
Fold inside out as shown in the photo below.
Pin the corner of the gakubuchi, aligning the red crosses and pinning them together.
Sew a backstitch and forth between the pins and turn the fabric inside out to complete the Gakubuchi.
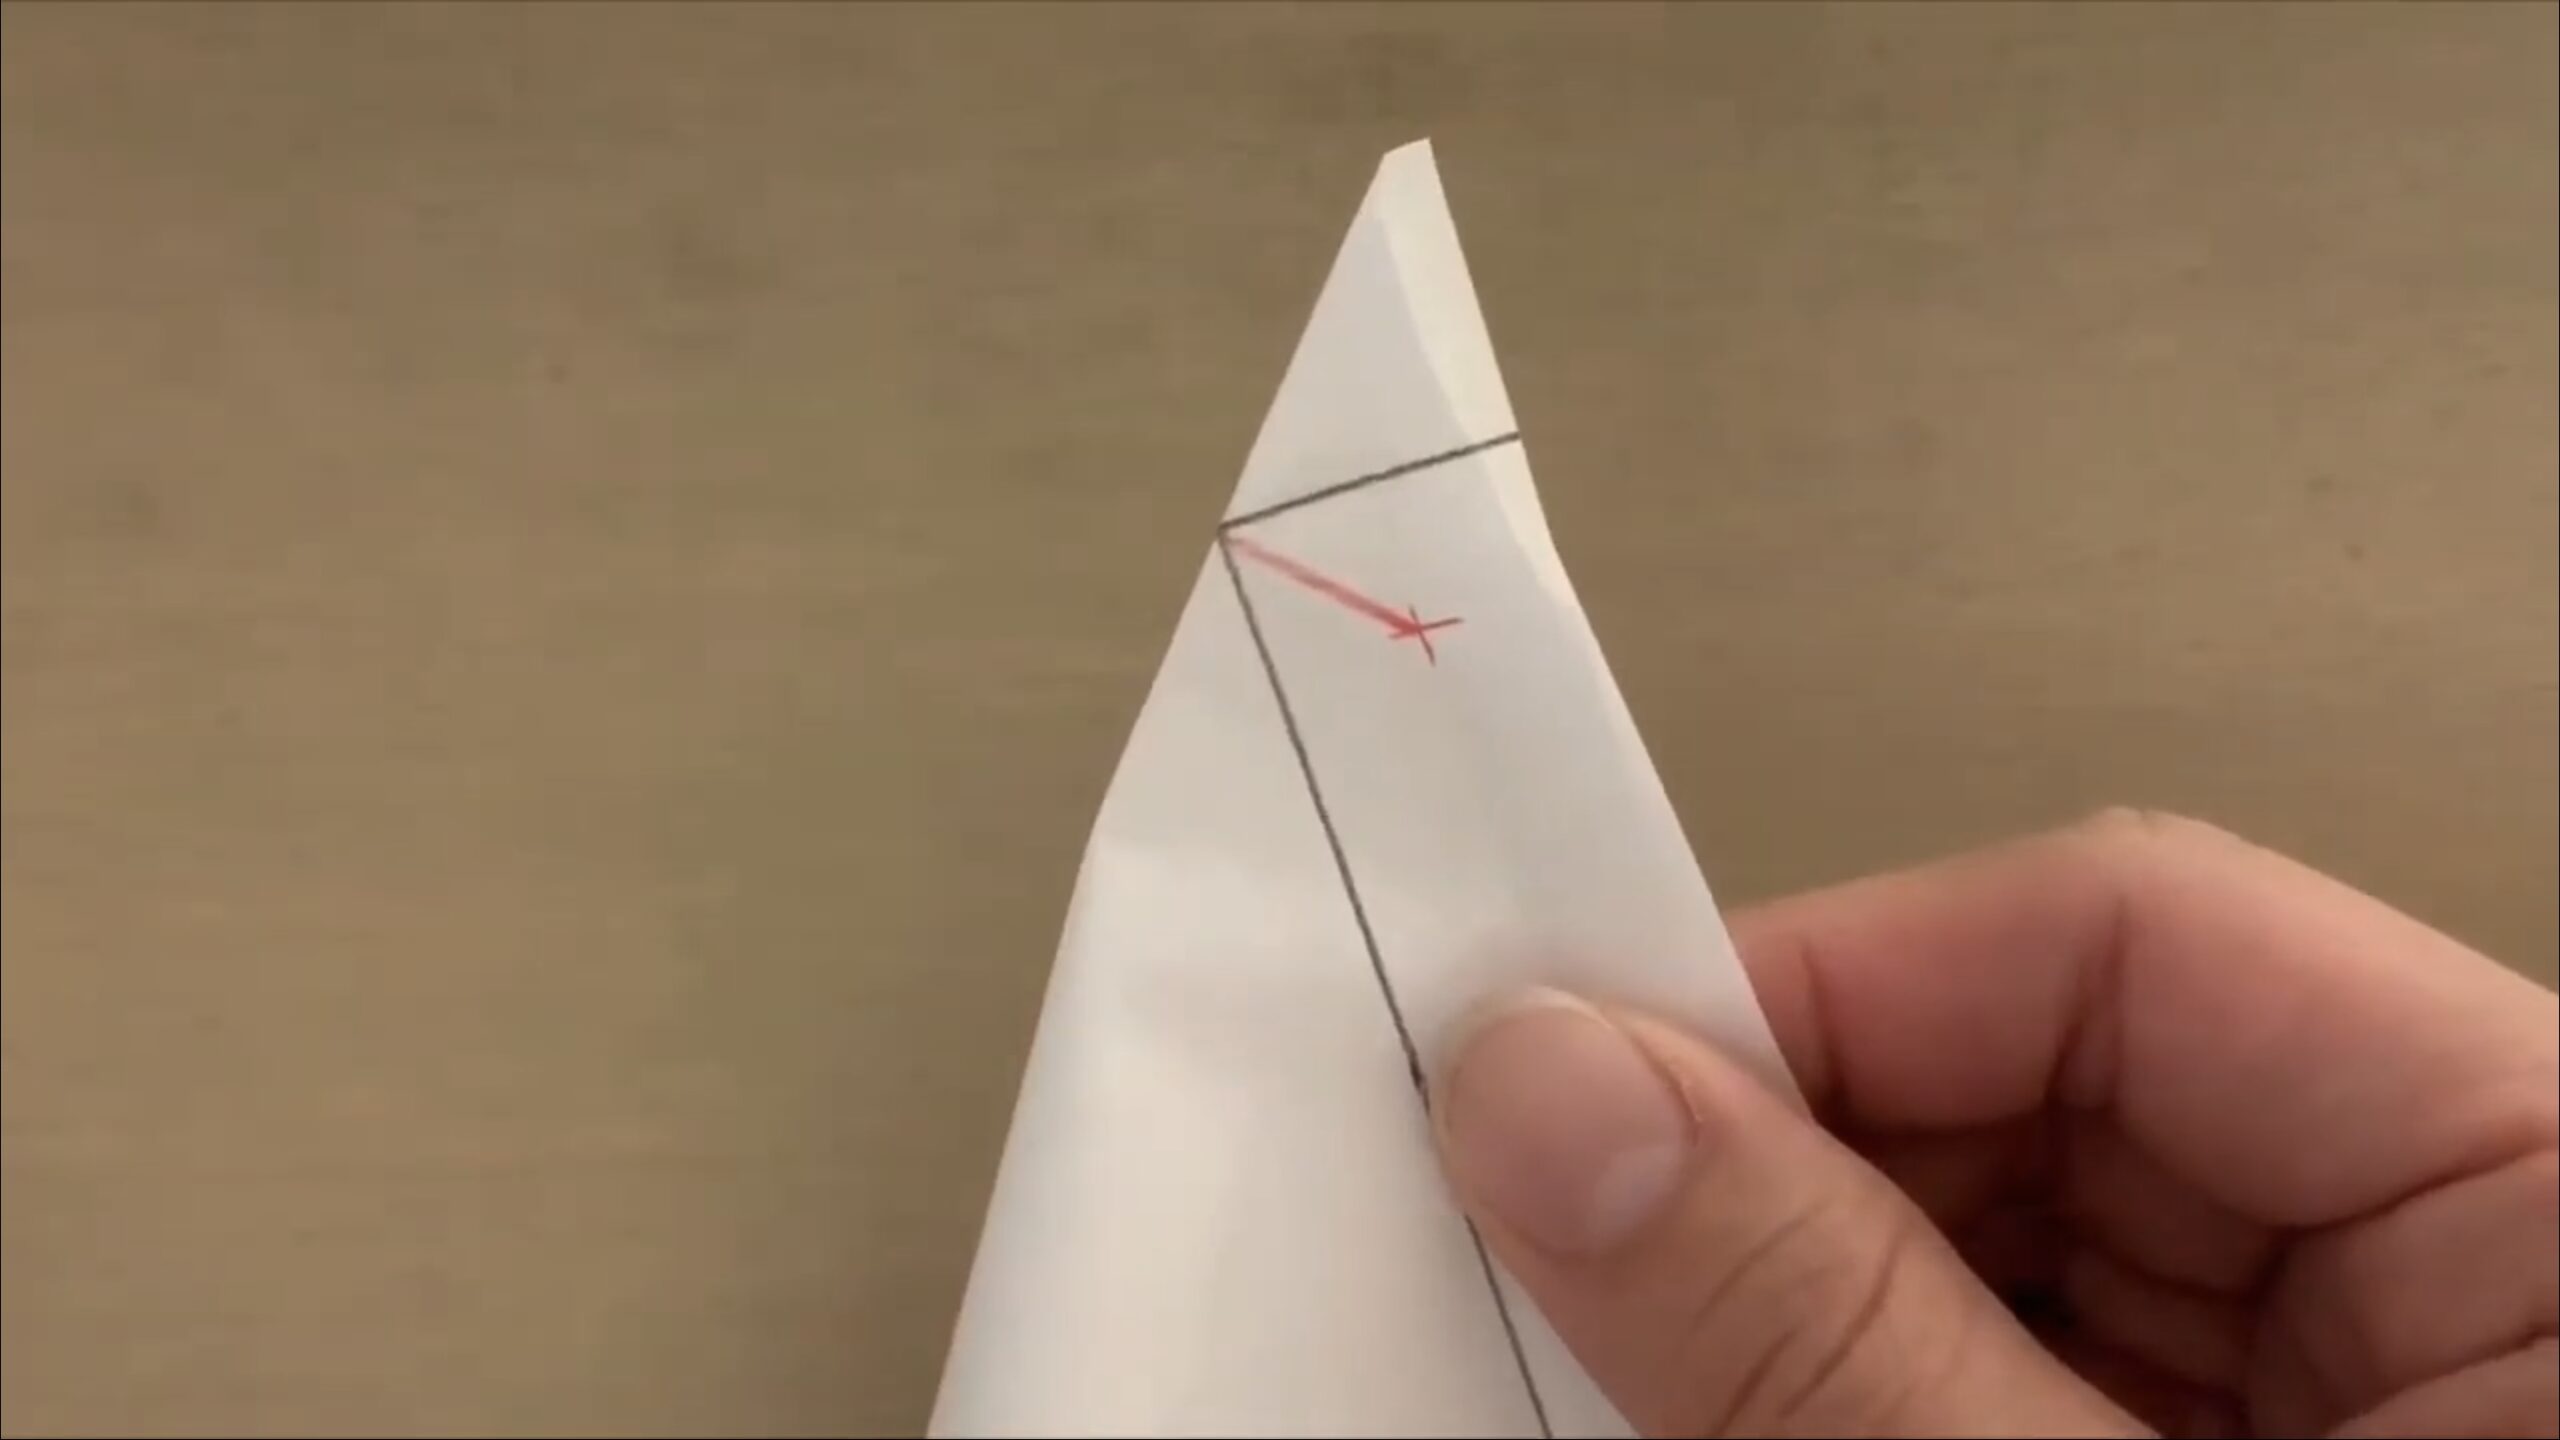
After marking
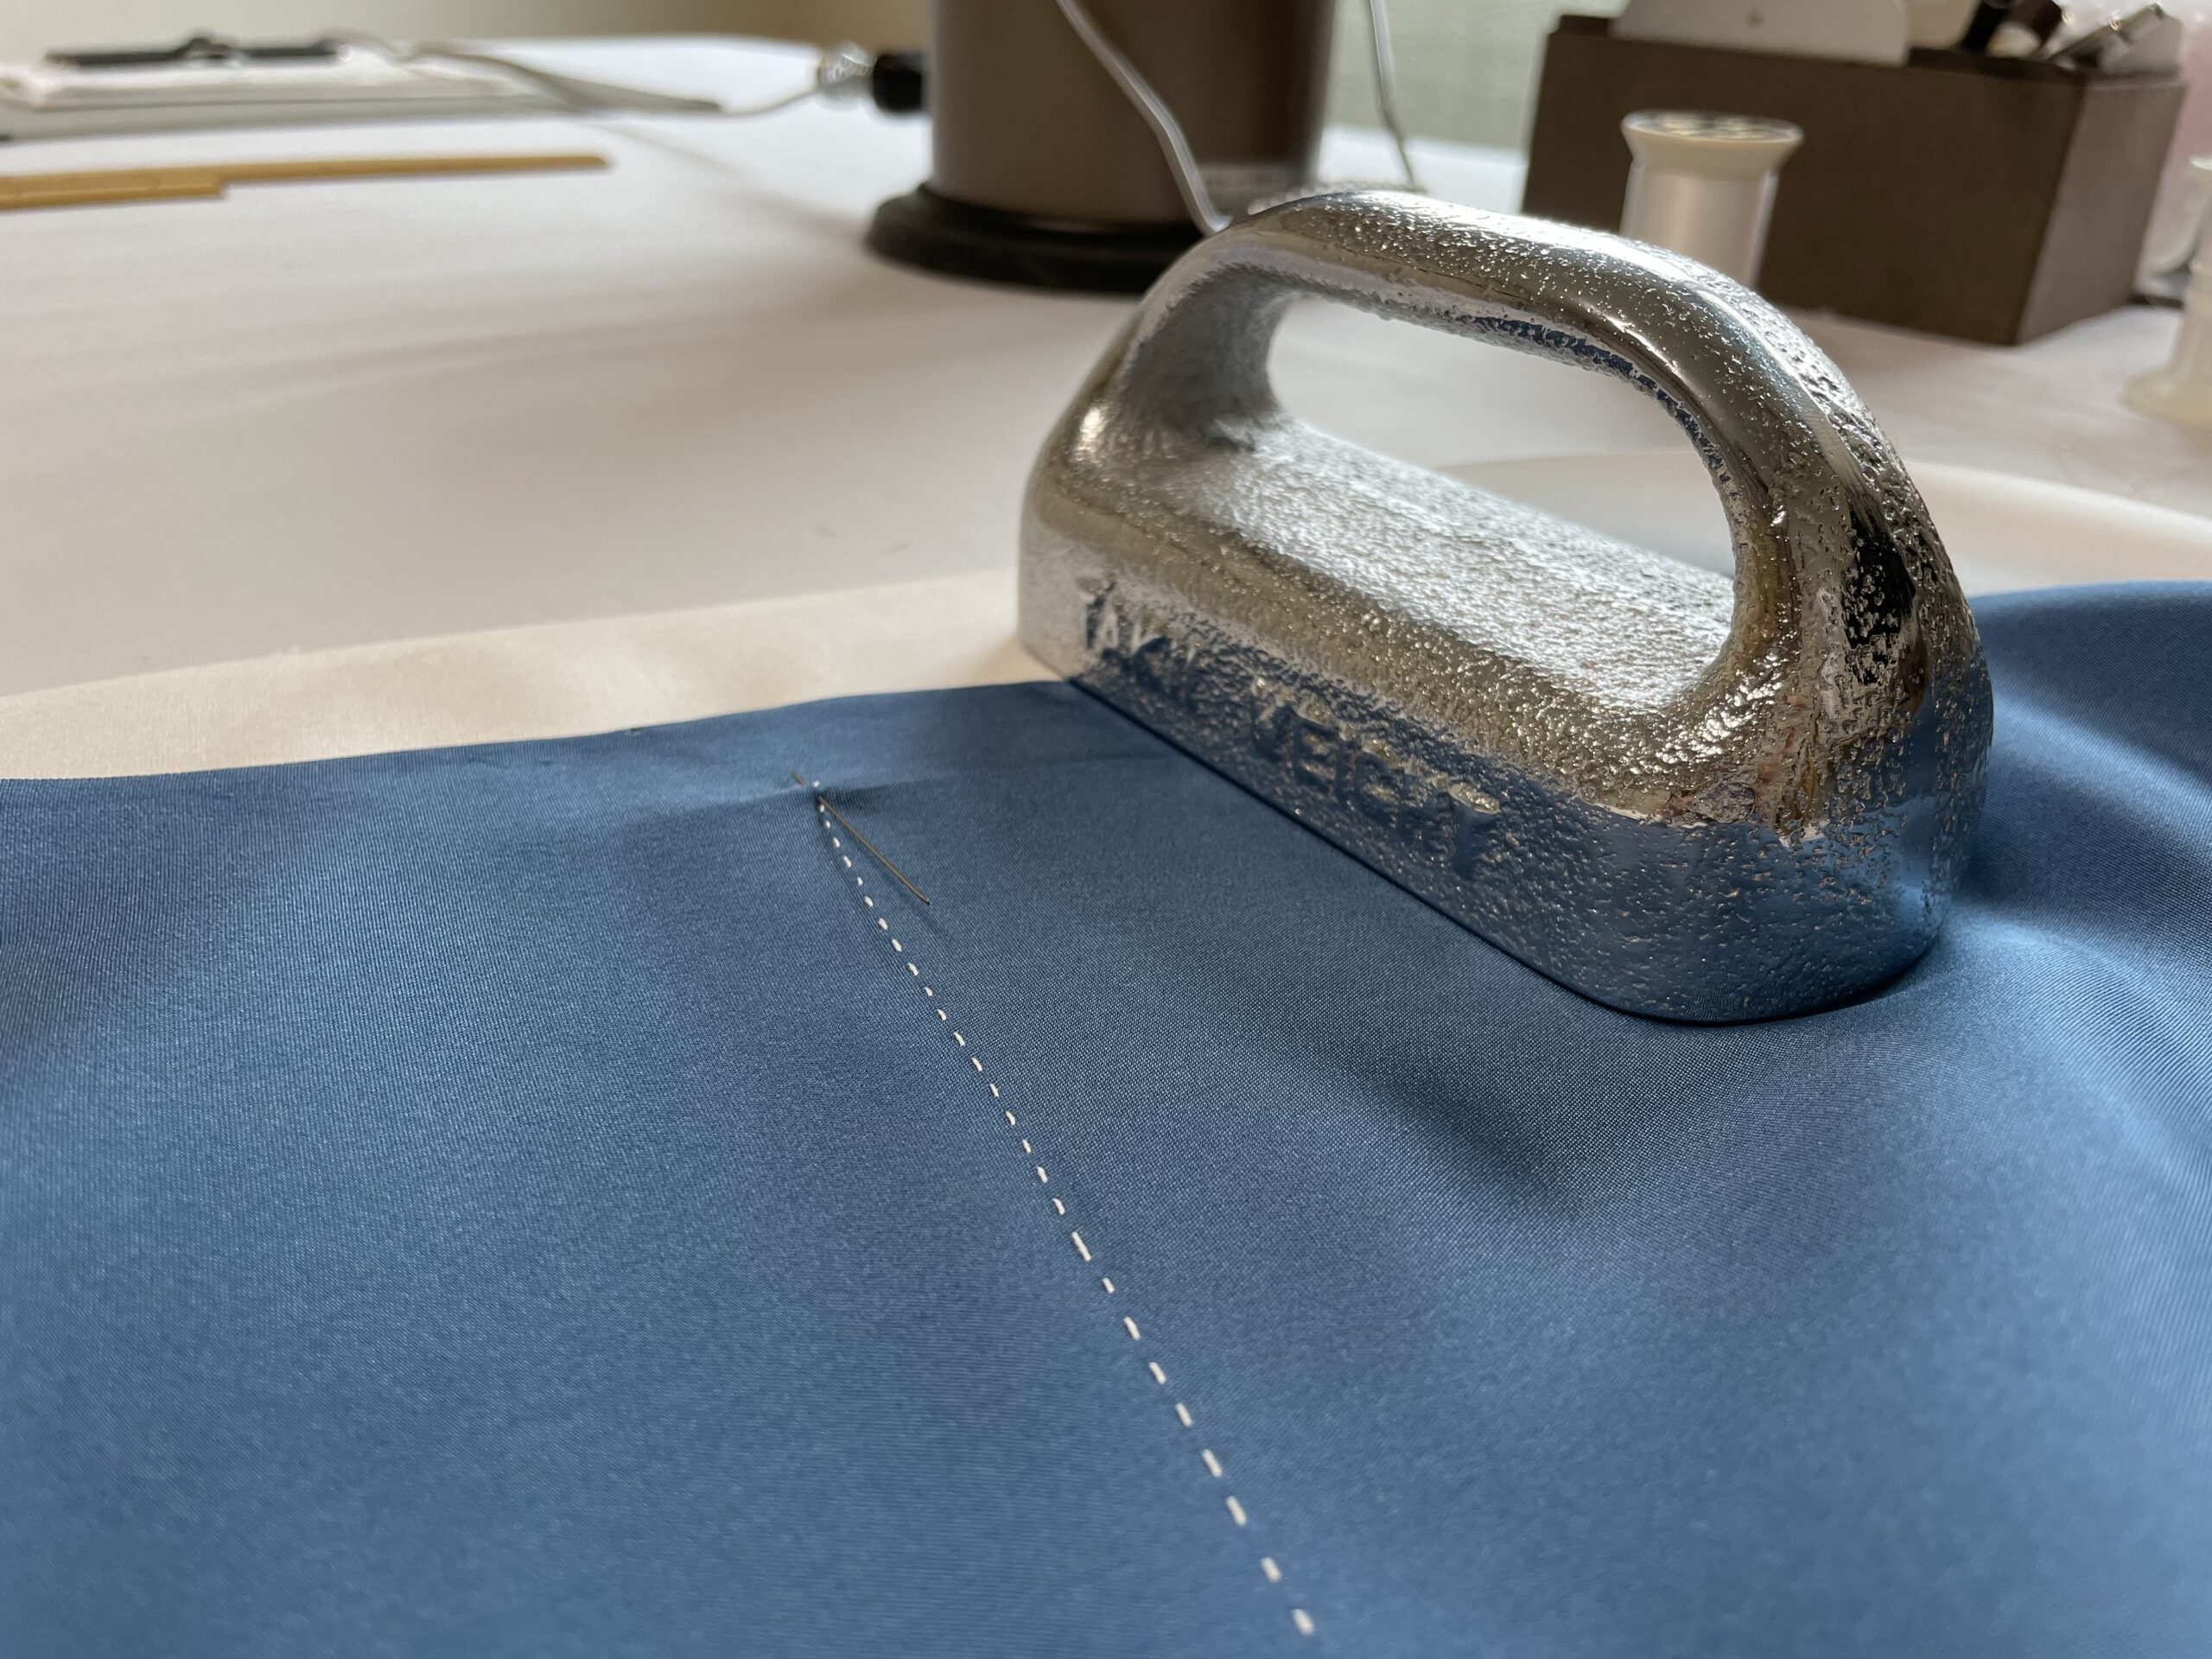
Stitch the red line in the photo above with a backstitch.The cloth has a visible backing.

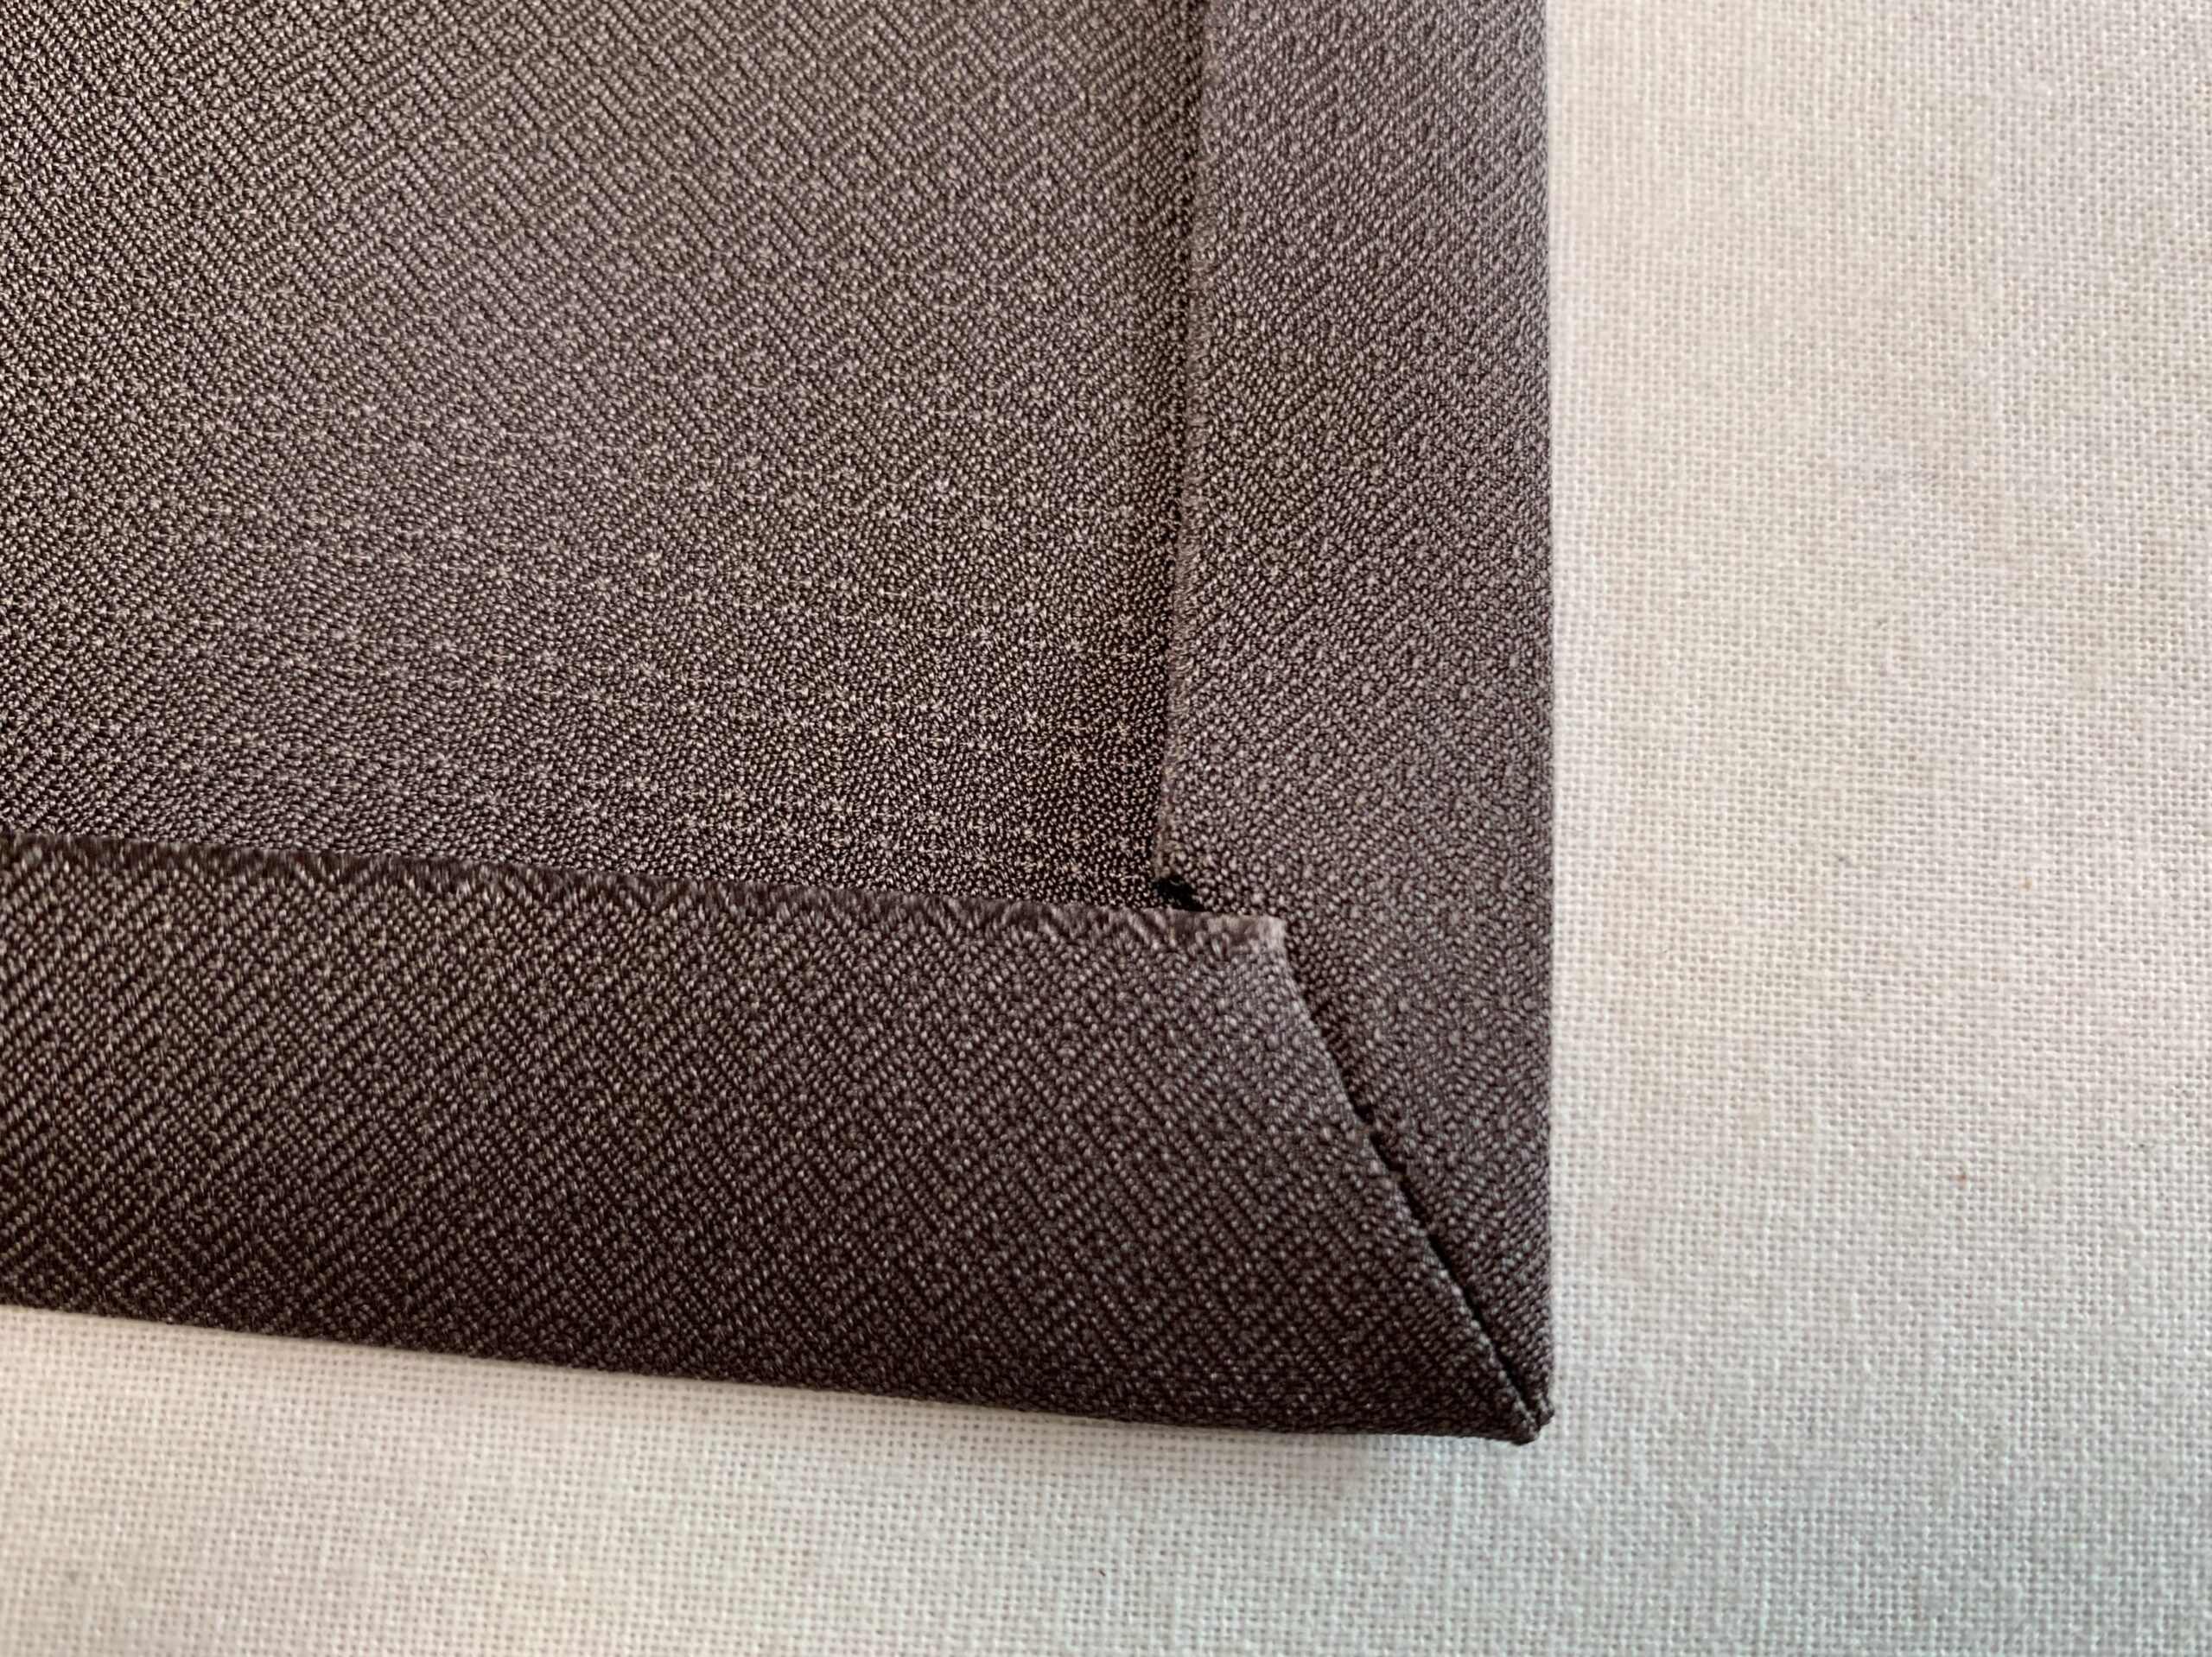
After sewing, open the seam allowance.
Open seam allowance, turn the cloth inside out.
When you want to determine the finished width of the hem seam allowance
With the method described in this article, the hem seam allowance will be 1 cm in finished width.
If you want to make the finished width 1.2 cm with a 2 cm hem seam allowance, you can make the seam allowance with the desired width by measuring and marking the finished width 1.2 cm, instead of folding the seam allowance in half and marking it.
If the amount of seam allowance for the hem and the Tsuma-shita is different
Gakubuchi can be made with the same marking as the method shown here.
If the amount of seam allowance is different, the angle of the red line in the sixth picture will be steeper, but it can be made without problems.
Conclusion
I have introduced the case where the hem and the Tsuma-Shita seam allowance are the same width.
In order to make a nicely gakubuchi, it is important to mark exactly.
If you are conscious of the thickness of the line used to make the mark, you will be able to make a more precise Gakubuchi.
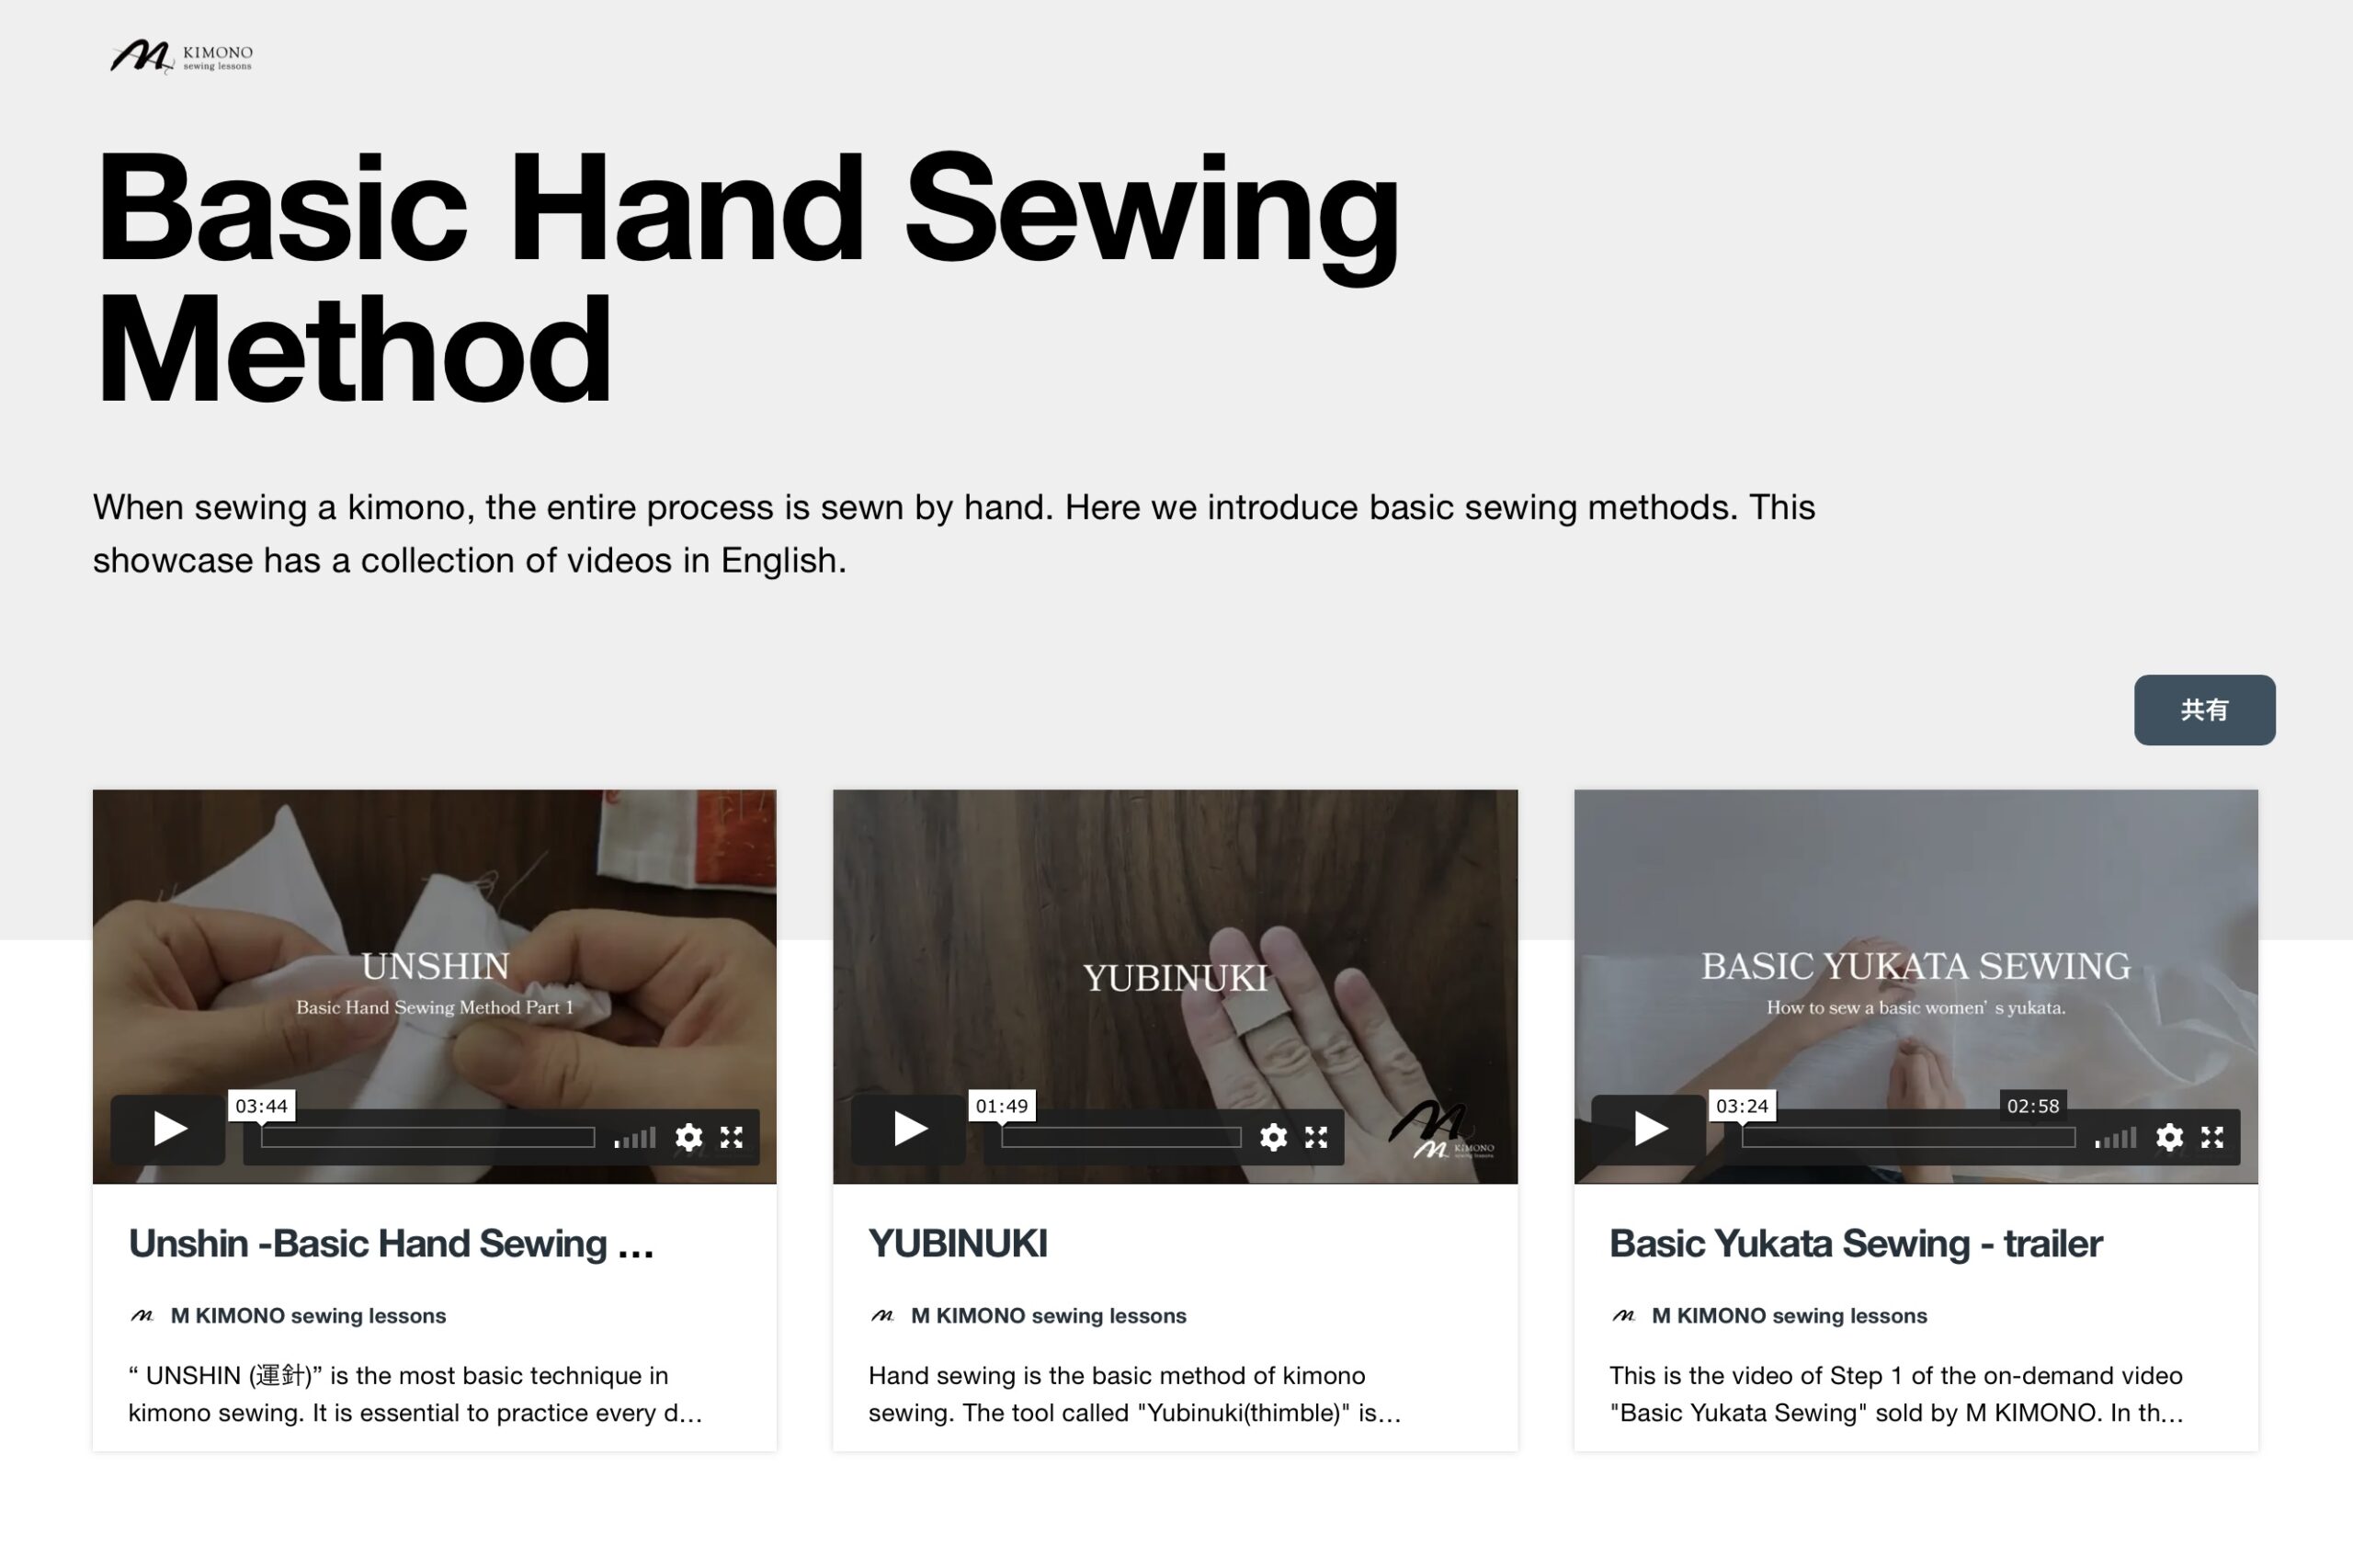
Video Collection
Online store
Japanese sewing tools are sold.
関連記事
-
 Kimono sewing tools
Bunchin : Kimono Sewing Tools
Kimono Sewing tools are a necessity for all kimono sewers. Here are some of the tools that are especially […]-
 M KIMONO
-
-
 Kimono sewing tools
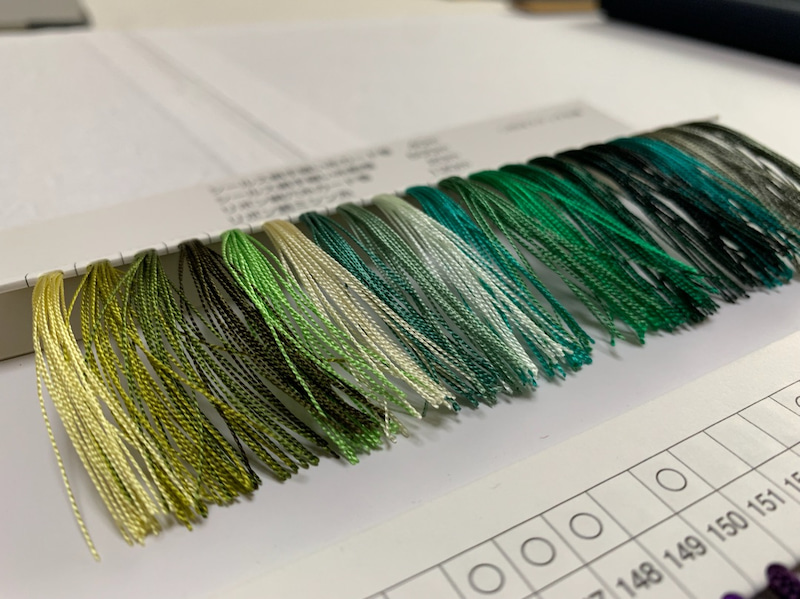
Sewing Thread : Kimono Sewing Tools
Kimono Sewing tools are a necessity for all kimono sewers. Here are some of the tools that are especially nece […]-
M KIMONO
-
-
 Kimono sewing tools
Marumi : Kimono sewing tools
Kimono Sewing tools are a necessity for all kimono sewers. Here are some of the tools that are especially […]-
M KIMONO
-
Let’s have fun sewing kimonos
with M KIMONO!
You can sew kimono anytime, anywhere.
Here is an environment where you can learn kimono sewing wherever you are.
Click here for details >>> https://mkimono.tv/en/