In kimono sewing, which does not use patterns, T and V marks are used as landmarks for marking.
In this time, I will tell you about the meaning and usage of these marks.
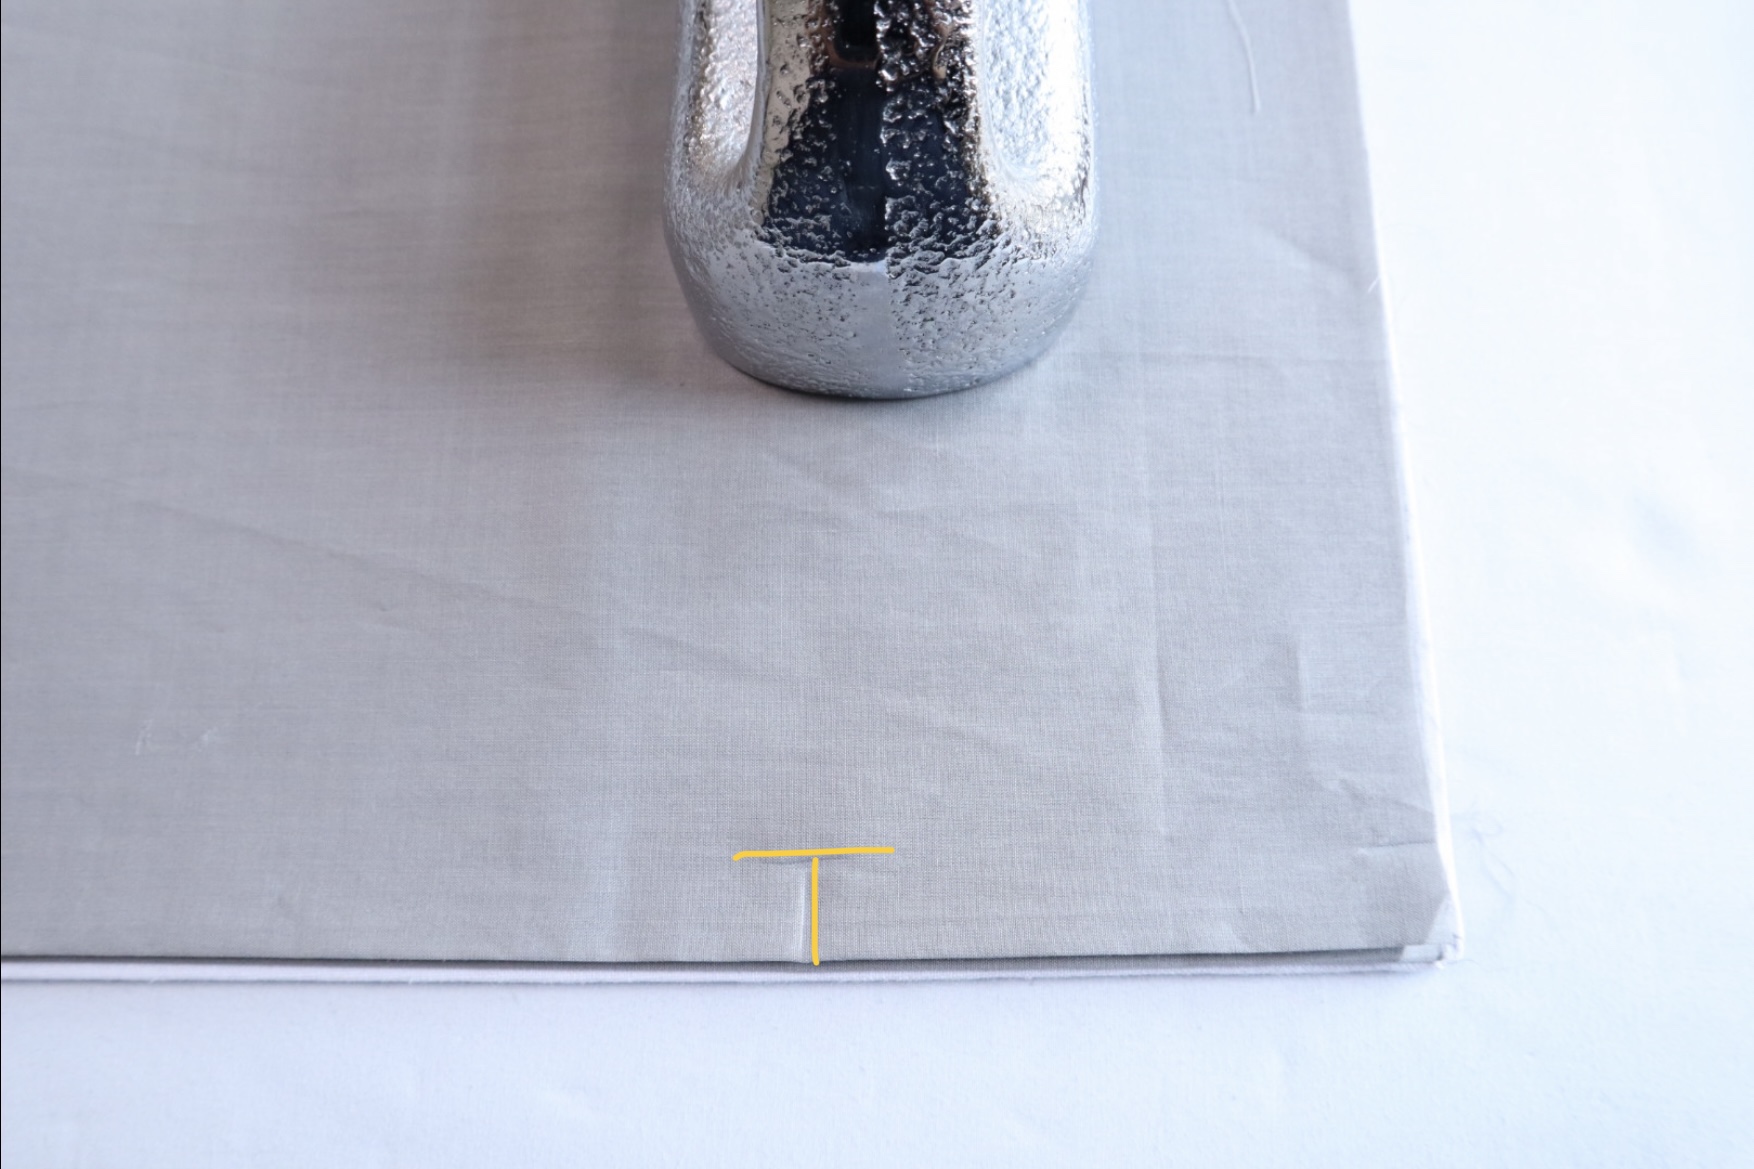
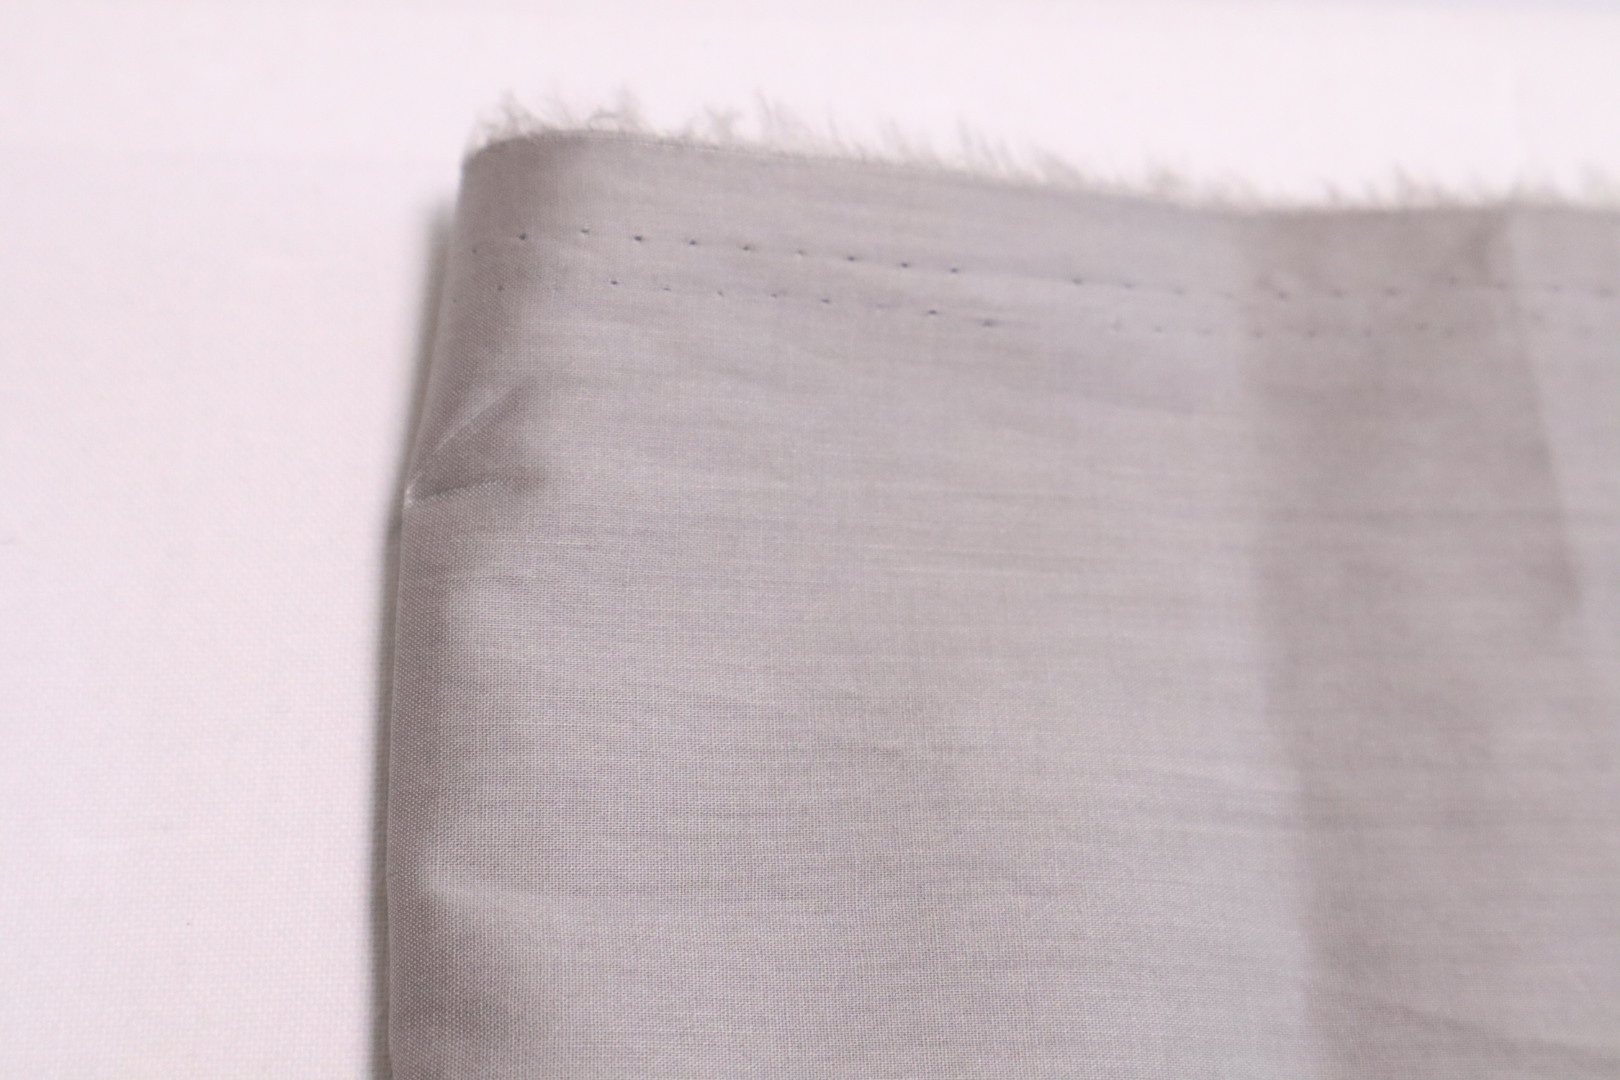
What T-mark is.
The T mark is shaped like the letter “T” in the alphabet.
It is used like a “notch” in Western sewing, and is attaching mark when sewing two pieces of fabric together.
When sewing a long distance, such as backstitching or side stitching, one T mark is attached to each 尺(1-syaku : 37.9cm) of fabric.
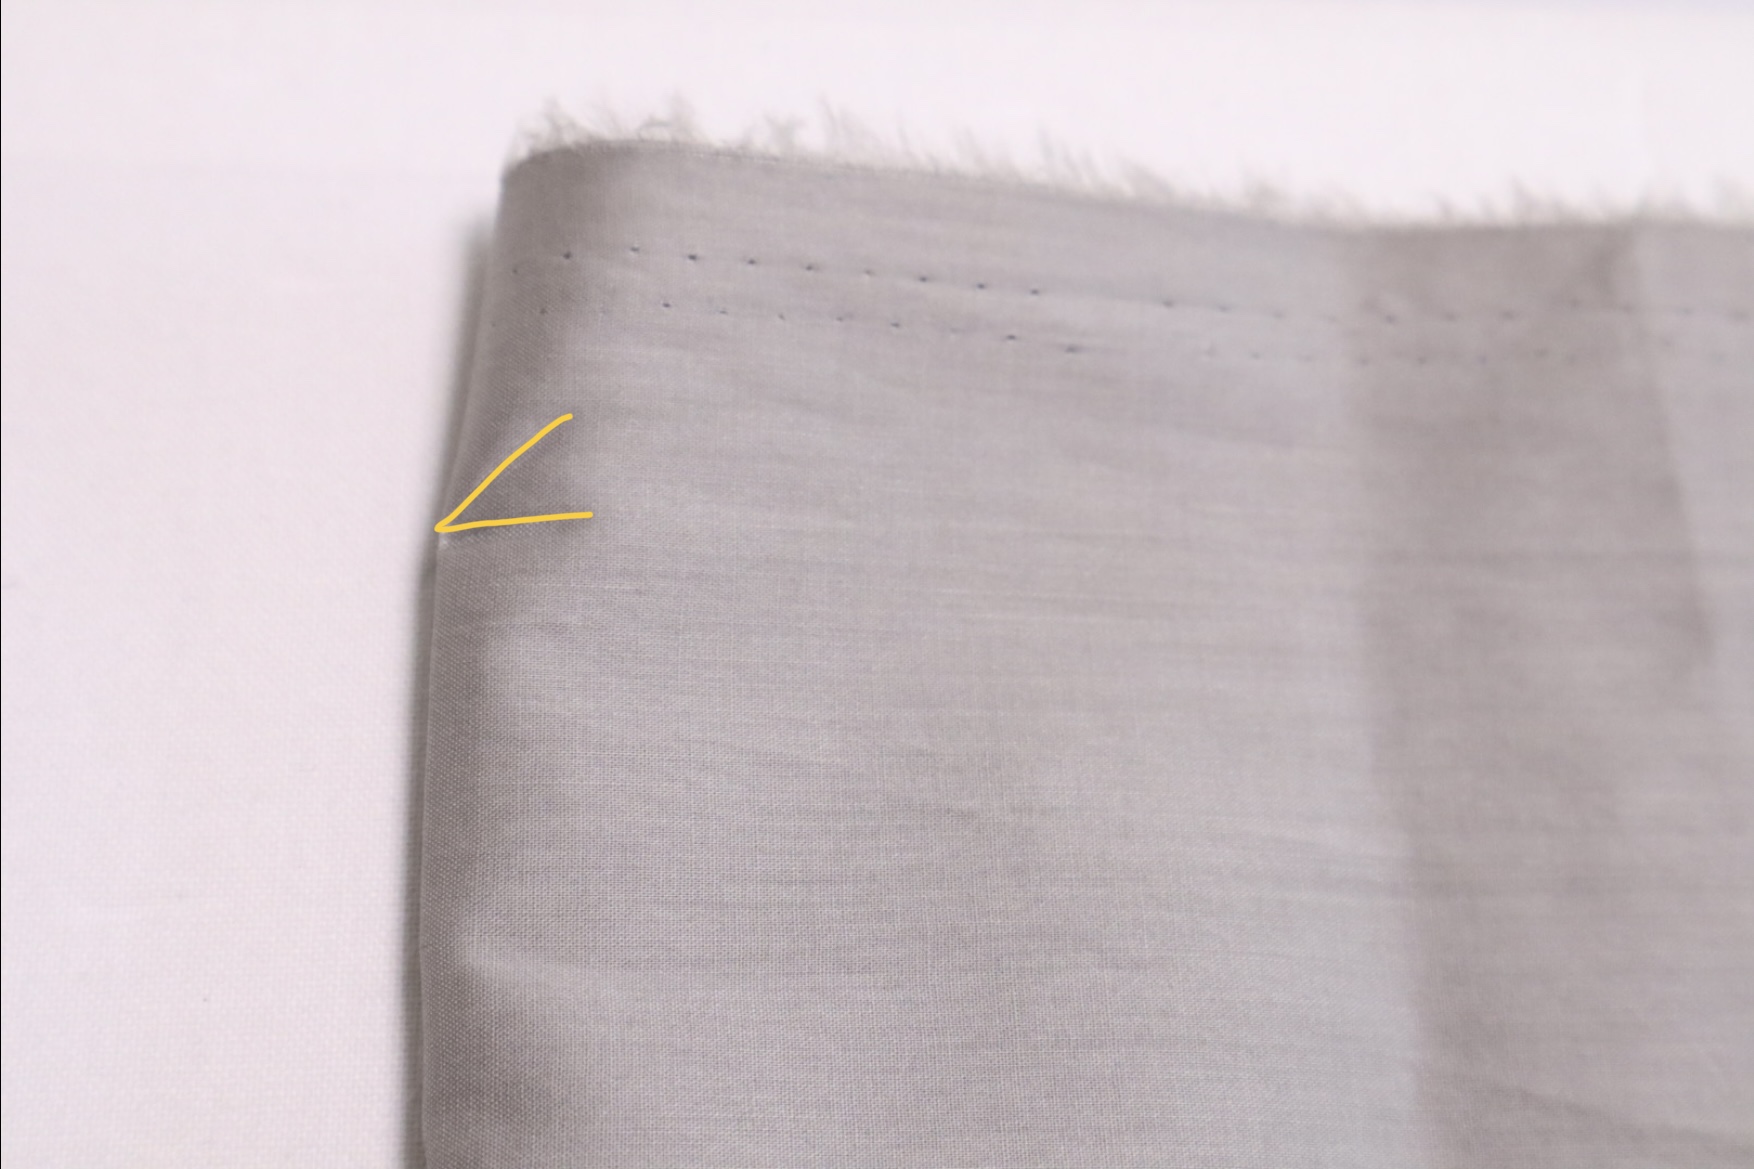
What V-mark is.
The V mark is a mark shaped like the letter “V” of the alphabet.
It represents “top” such as a kata-yama (top-of-shoulder) or a side-yama (top-of-sleeve).
It may also represent a “center” such as the sechushin (back center).
Marking diagram
In kimono sewing, which does not use paper patterns, marks are made on the cut cloth by measuring with a ruler.
The following is a document showing how the marks are made.
If you apply the measurements of the kimono to the diagram, you can make marks even without a pattern.
Online store
Related Articles
-
 Basic sewing method
Basic of hand sewing : Kaeshibari and Itoshigoki
Next to the Unshin, the basics of hand sewing that you should learn are the “Kaeshibari at the first and the l […]-
 M KIMONO
-
-
 Basic sewing method
How to make “chikara-Nuno” for attaching to Kataaki Part 2
In addition to small “mikazuki”, you may also see kimonos with long, thin stay cloth.In this time, I will show […]-
M KIMONO
-
-
 Basic sewing method
HONGUKE – Basic Sewing Techniques
The third basic sewing technique is “Honguke”.When sewing a yukata or a hitoe kimono, “honguke” is done at the […]-
M KIMONO
-
-
 Basic sewing method
How to attach a “Hiki-ito” that can be used in place of a snap button Part 3
This is a method of attaching a thread instead of a snap attached to the Hiro-eri (collar) of a kimono. This t […]-
M KIMONO
-
-
 Basic sewing method
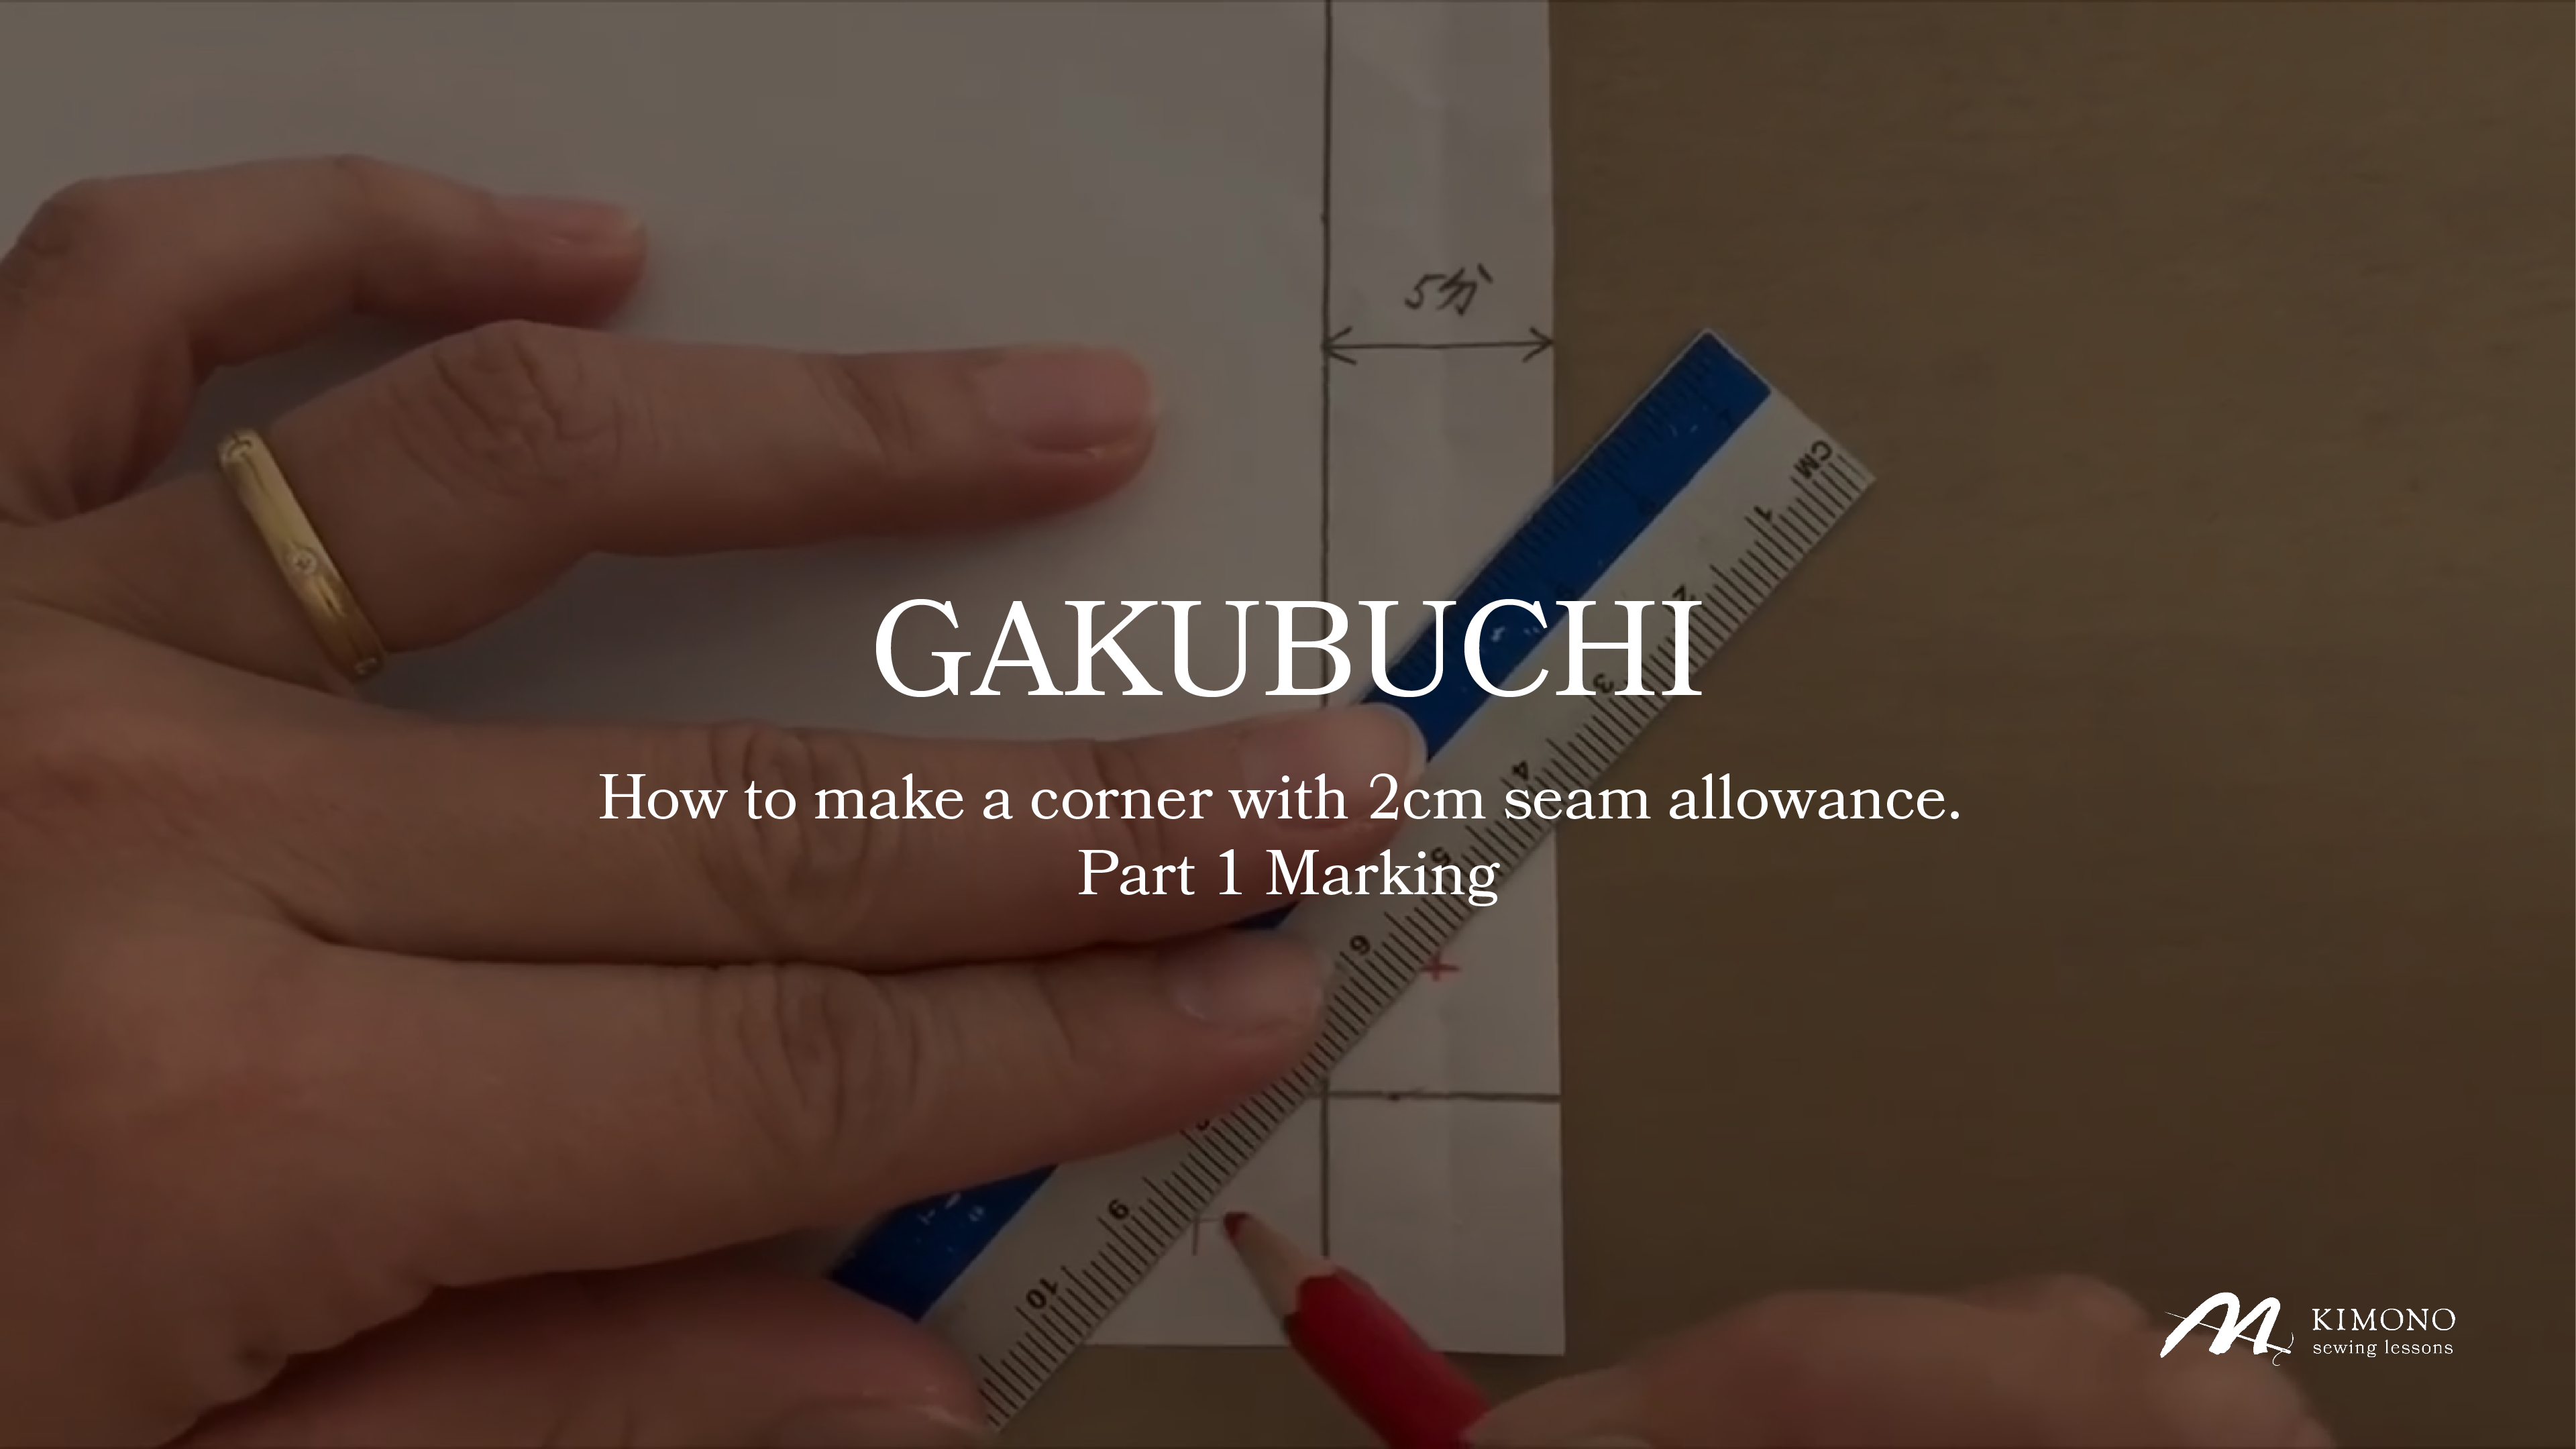
Gakubuchi – How to make a corner. Part 1
This is a sewing method called ” Gakubuchi ” used when sewing hitoe-kimonos and yukata.This is how the seam al […]-
M KIMONO
-
-
 Basic sewing method
How to attach a “Hiki-ito” that can be used in place of a snap button Part 2
This is a method of attaching a thread instead of a snap attached to the Hiro-eri (collar) of a kimono. This t […]-
M KIMONO
-
Let’s have fun sewing kimonos
with M KIMONO!
You can sew kimono anytime, anywhere.
Here is an environment where you can learn kimono sewing wherever you are.
Click here for details >>> https://mkimono.tv/en/