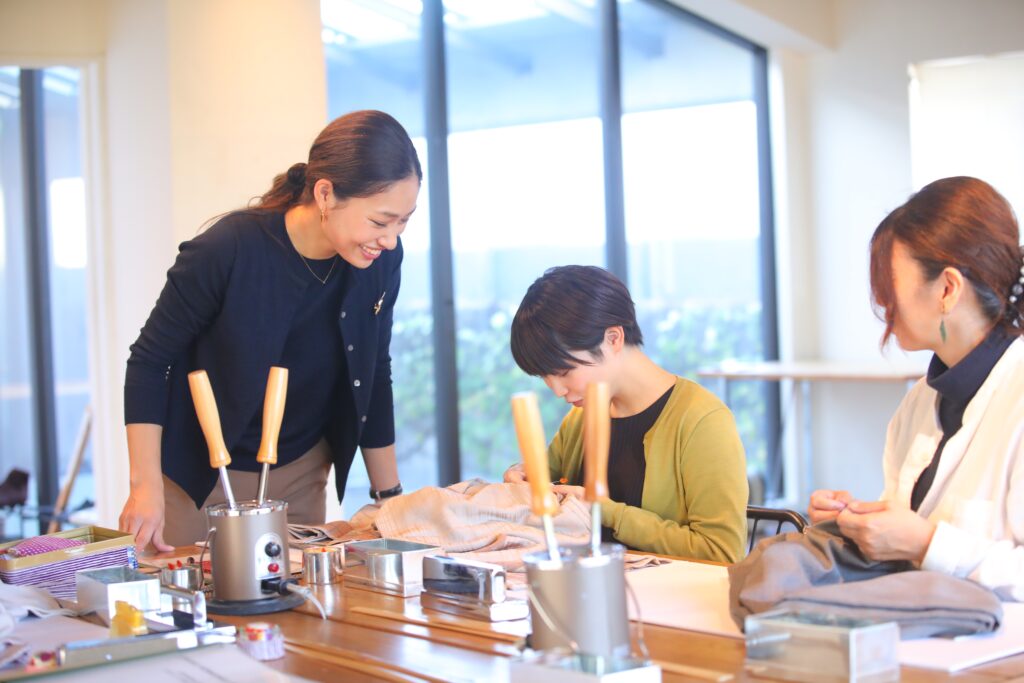
“Corrections” are used when wearing a kimono.
In this blog, I show you how to make my favorite loofah hip pad.
These are shaped, easy to wear, washable, and non-sticky! I use them all year round, spring, summer, fall, and winter. The shape and amount of correction varies from person to person, but I’ve included my loofah correction process for your reference.

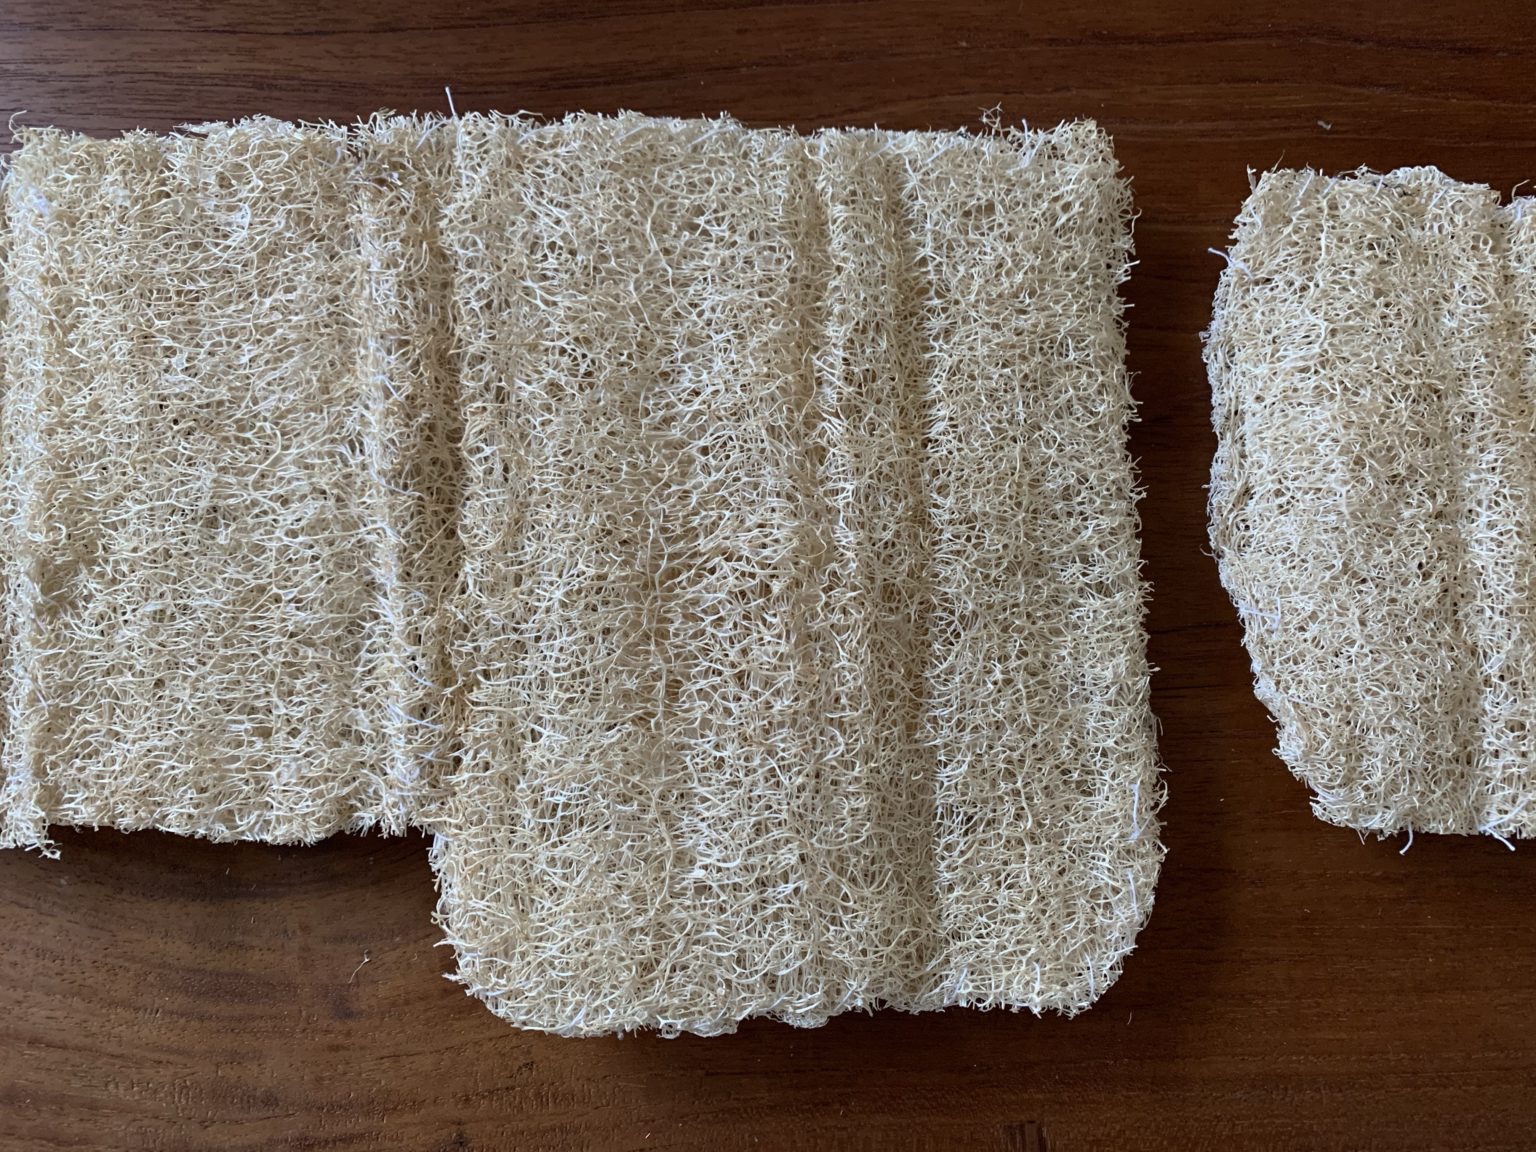
Processing of loofah
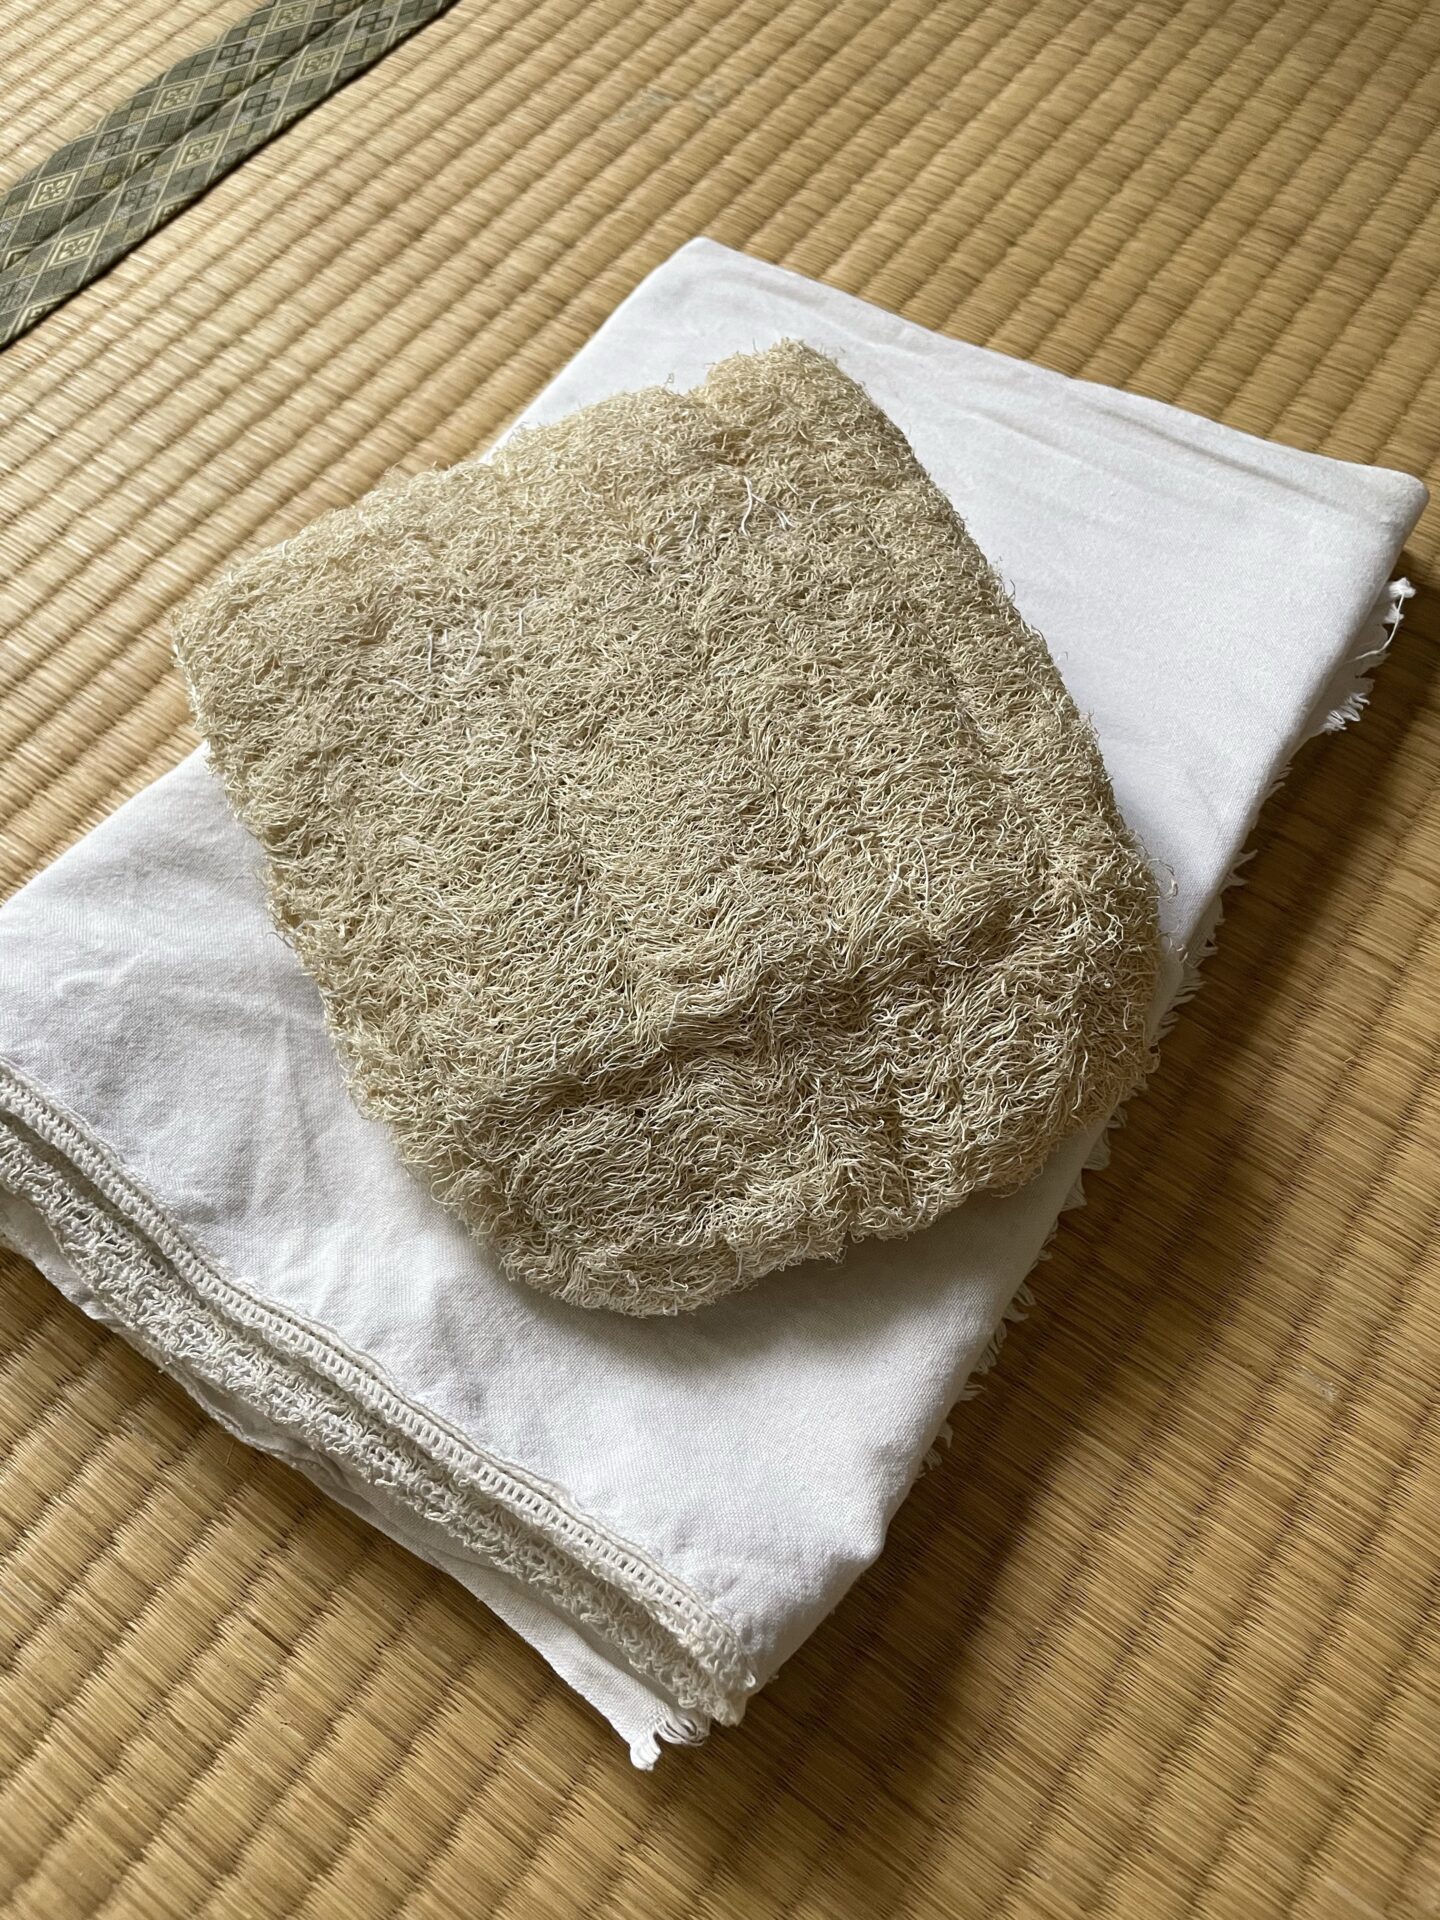
Determine the size of the correction and cut the loofah after it has soaked in water and softened slightly.
Craft scissors will suffice.
You can cut the loofah without soaking it in water, but you will get a lot of small chips and it will hurt a little.It is also sting slightly.
A little water is sufficient to soften them.
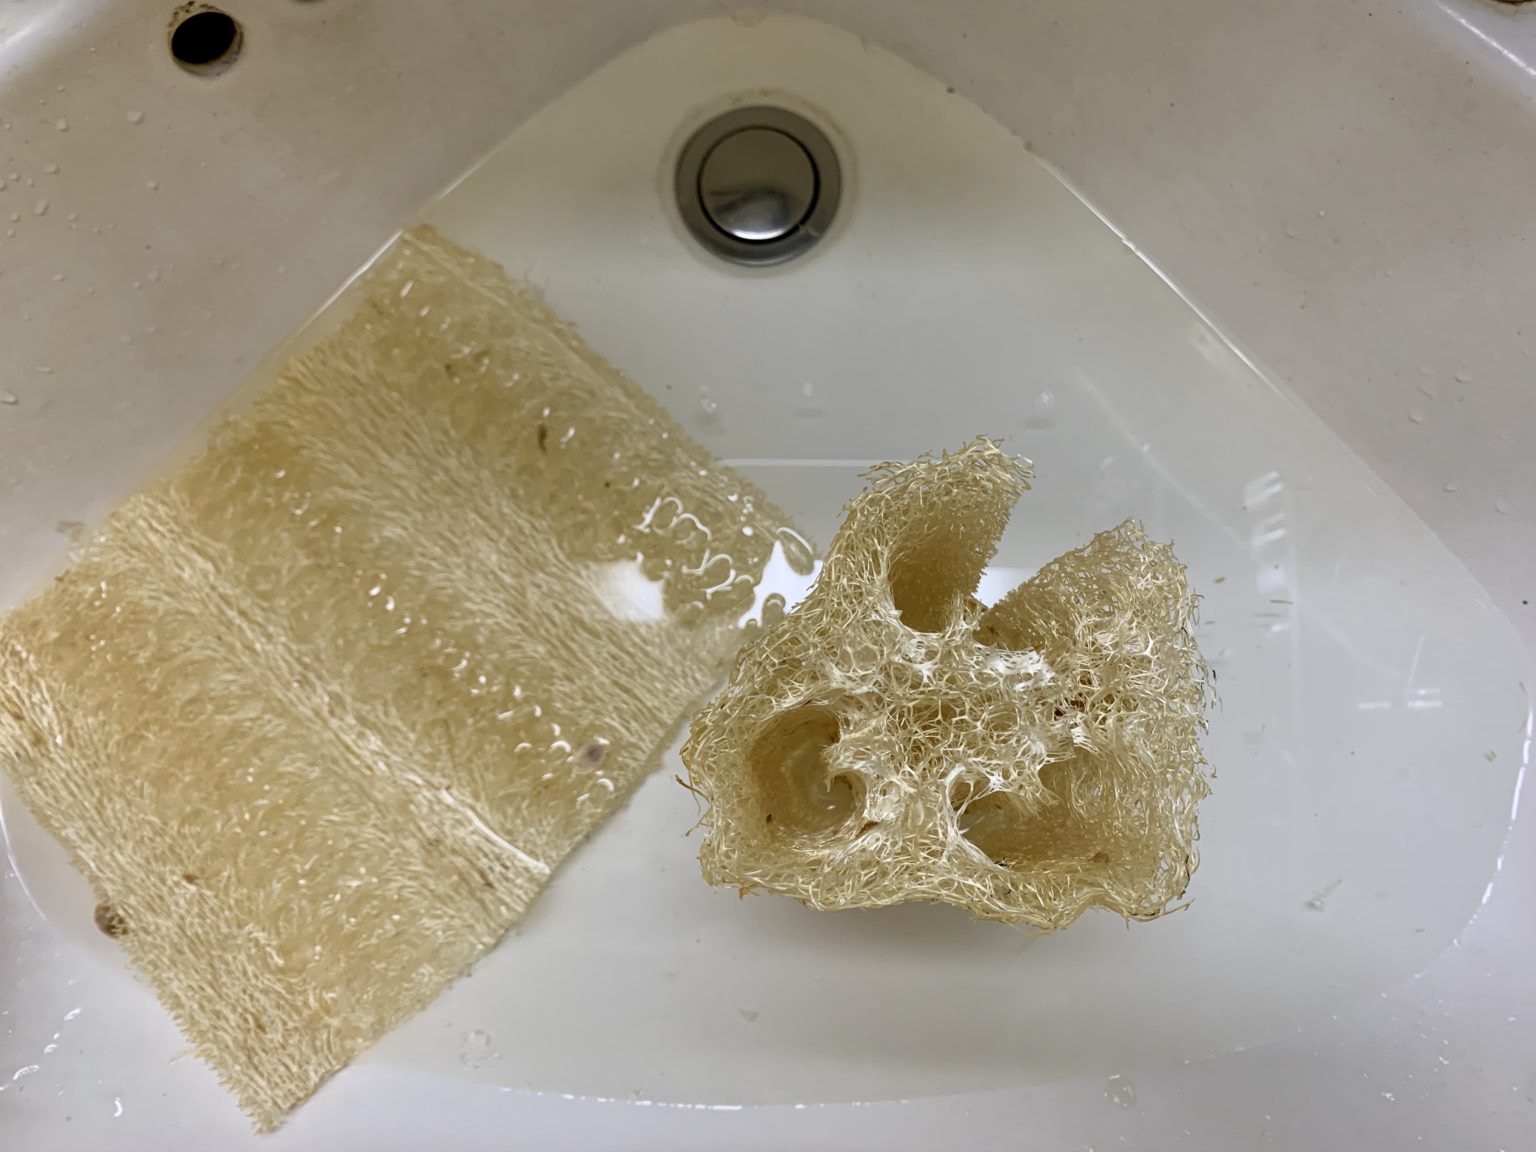
Remove the center portion as well.
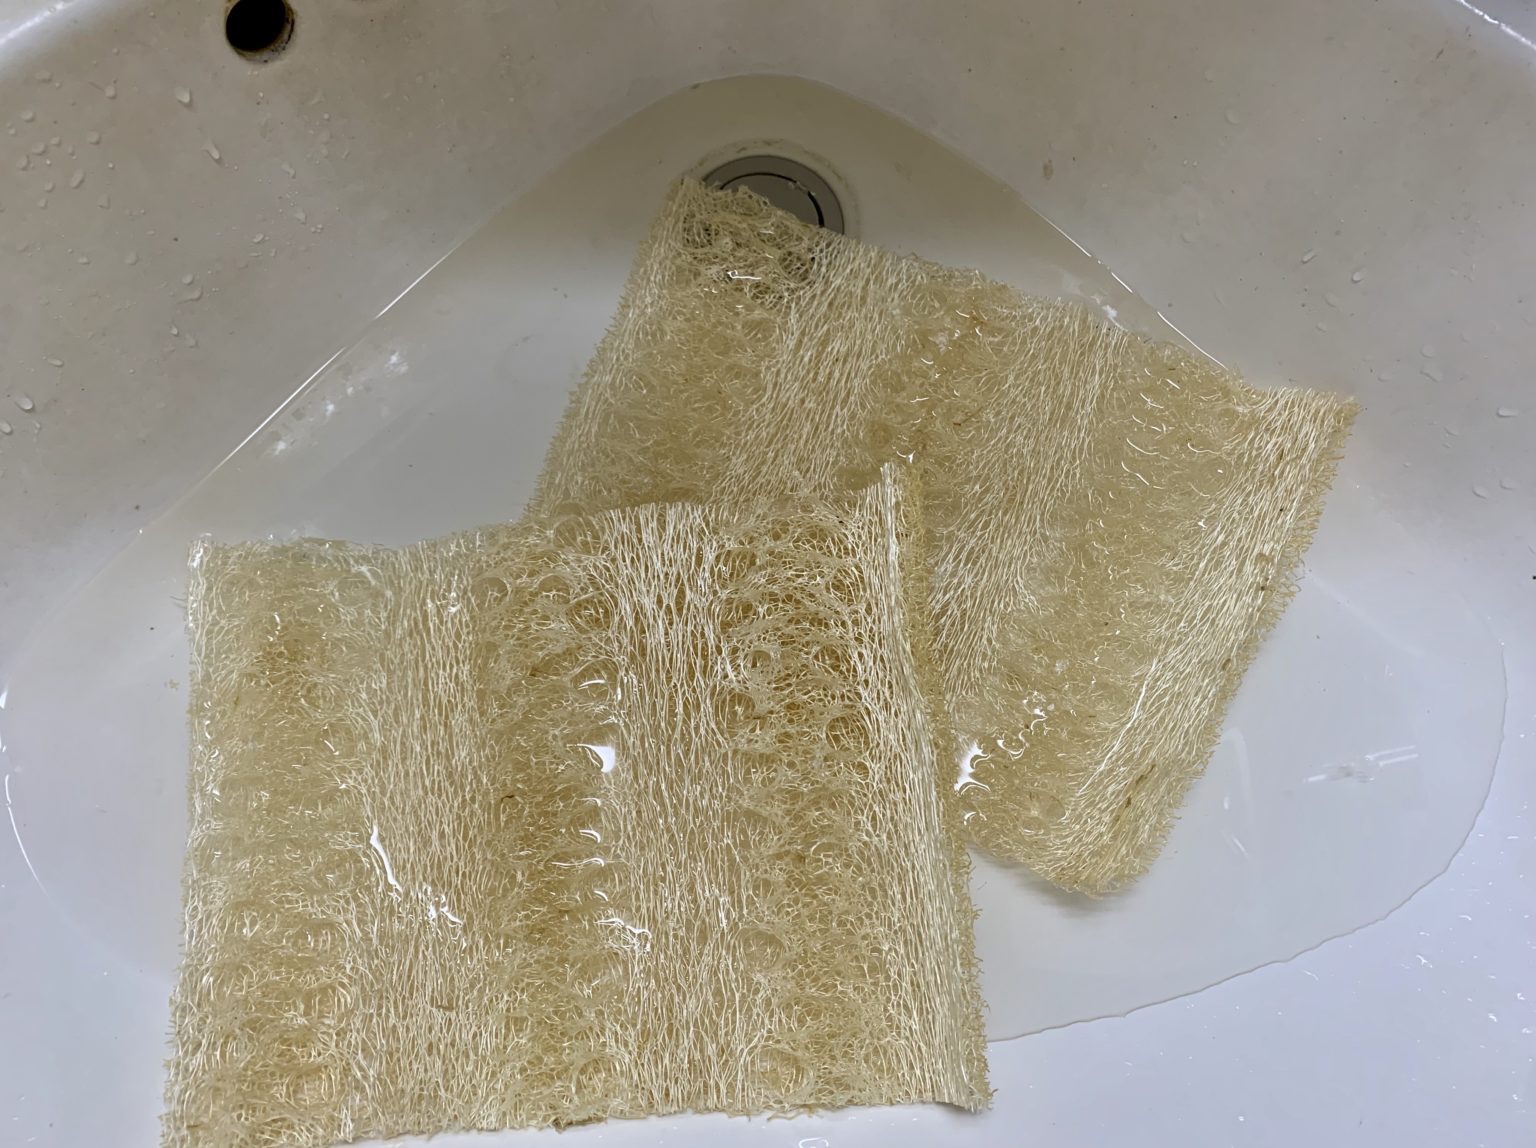
Cut open and flatten the rounded loofah in the water.
The seeds and skin remain, so wash them clean here.
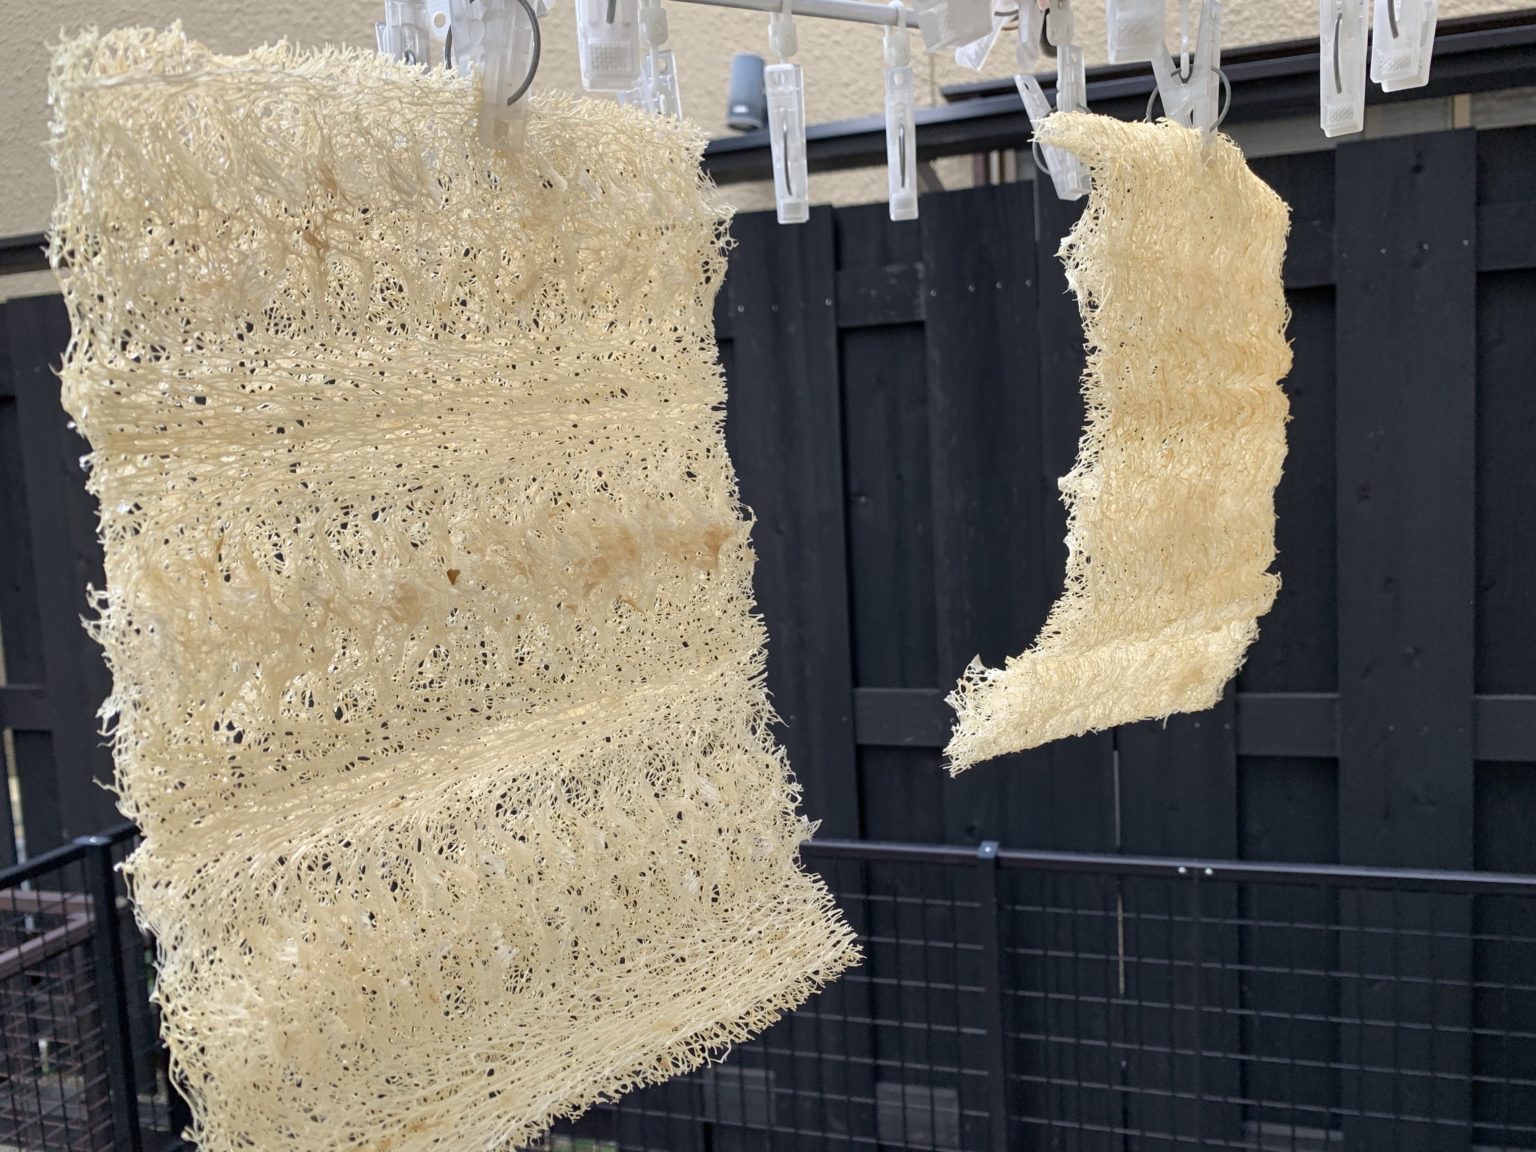
Hang to dry.
Form into hip pad shape
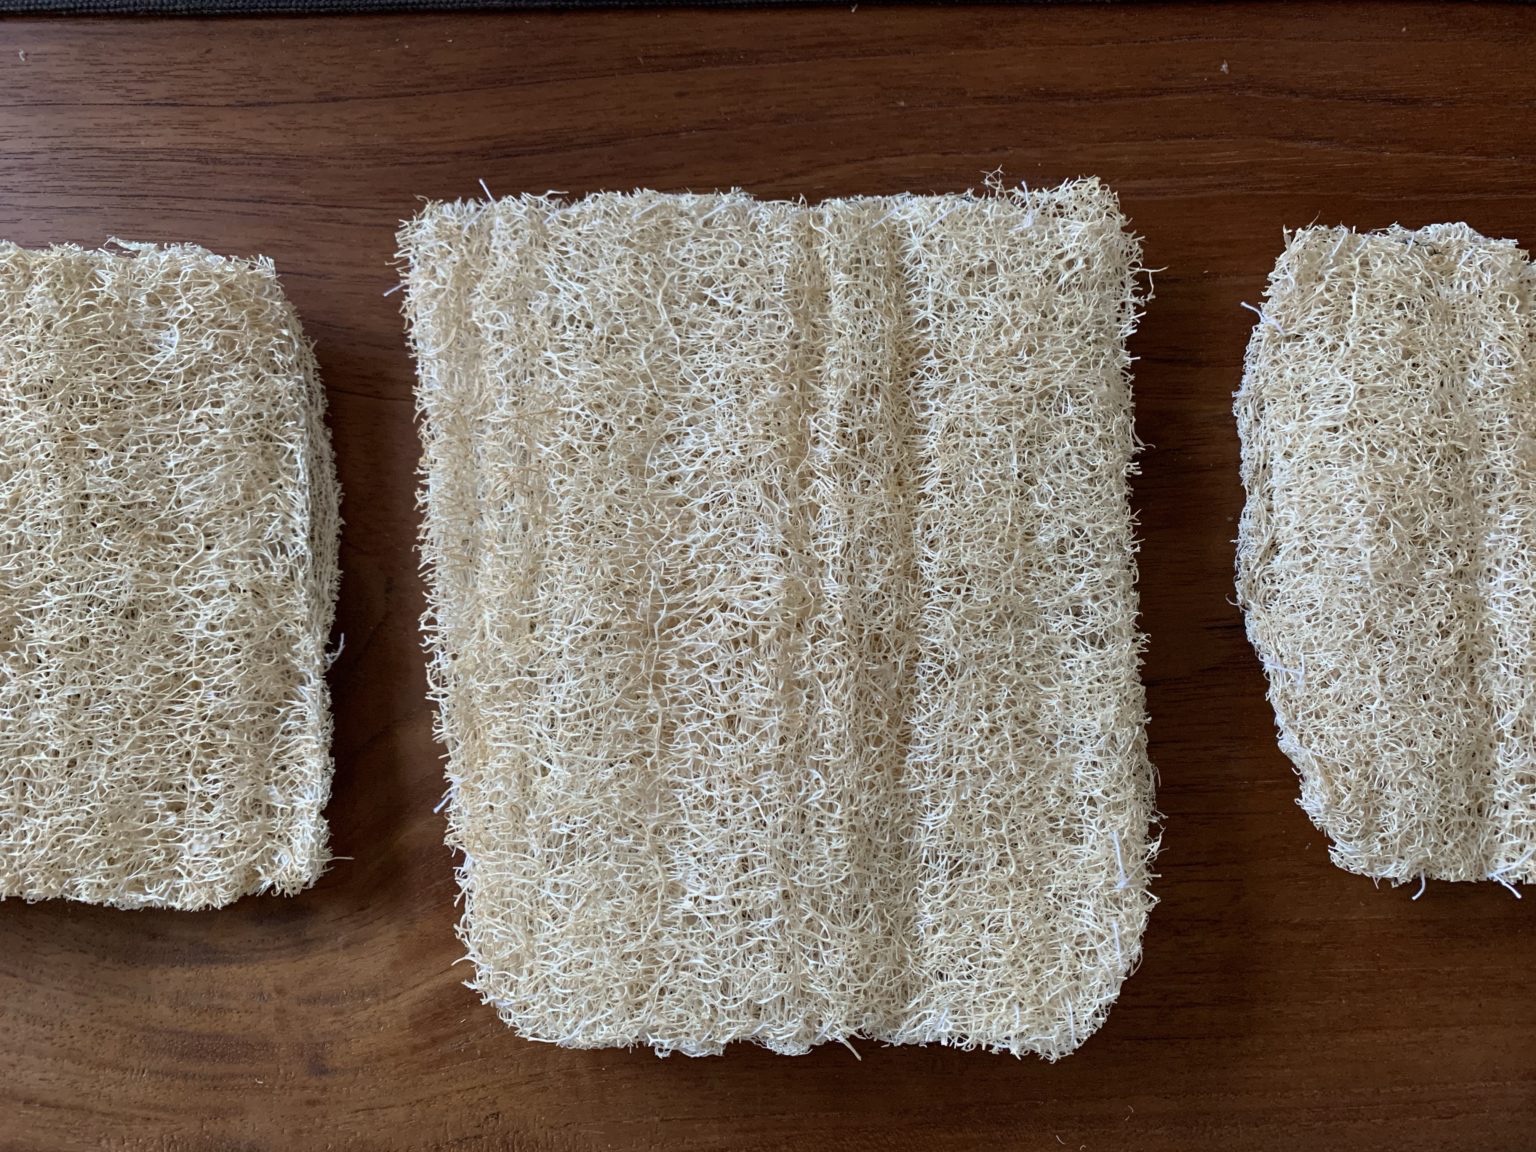
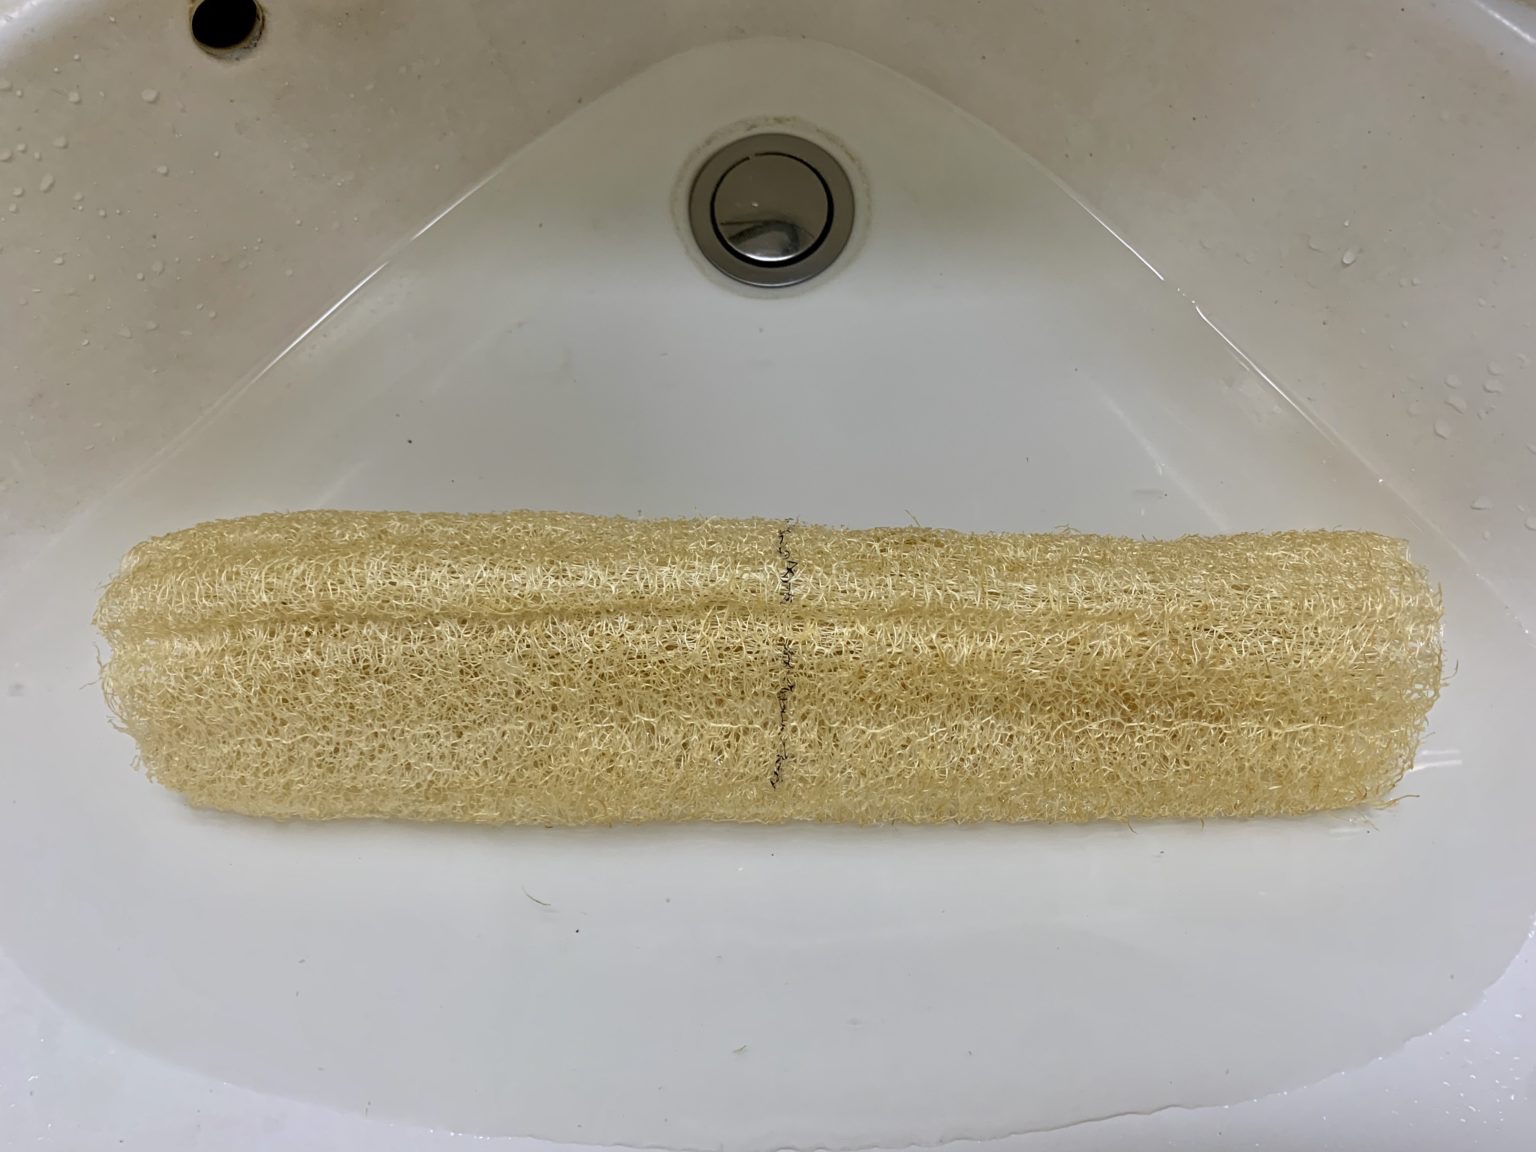
Sew the loofah divided into three parts together with thread.
Stitch them together perfectly.
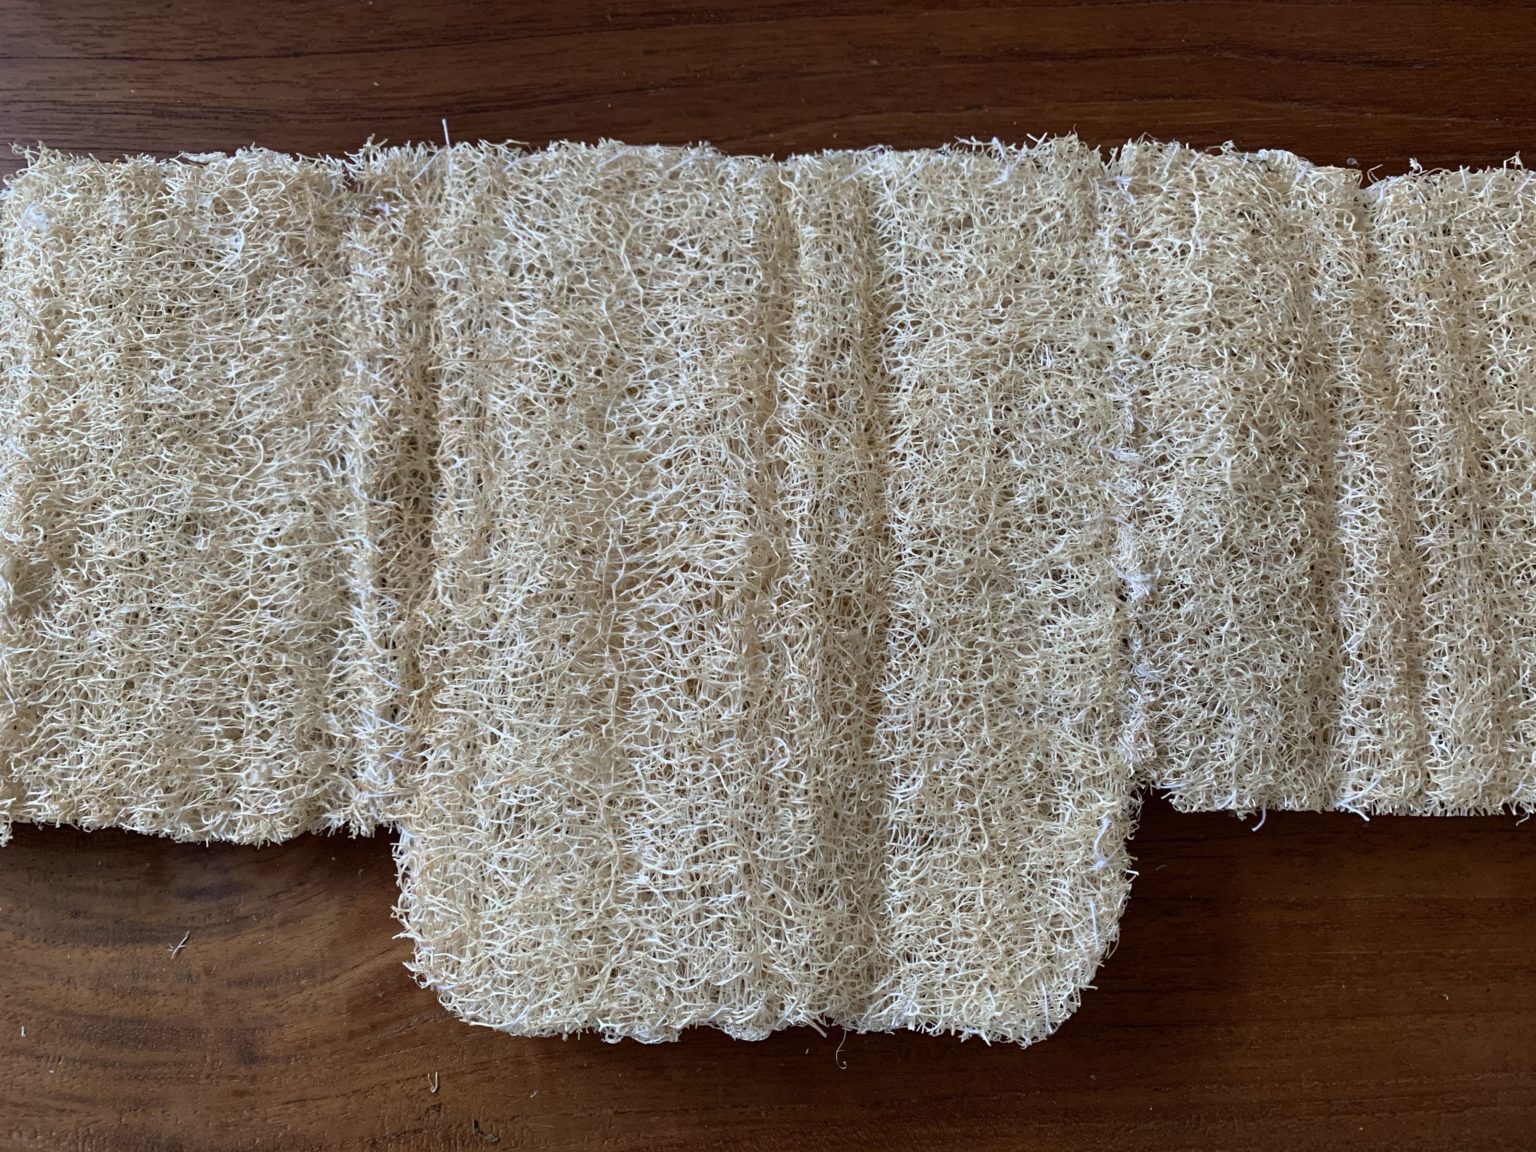
It’s finished!
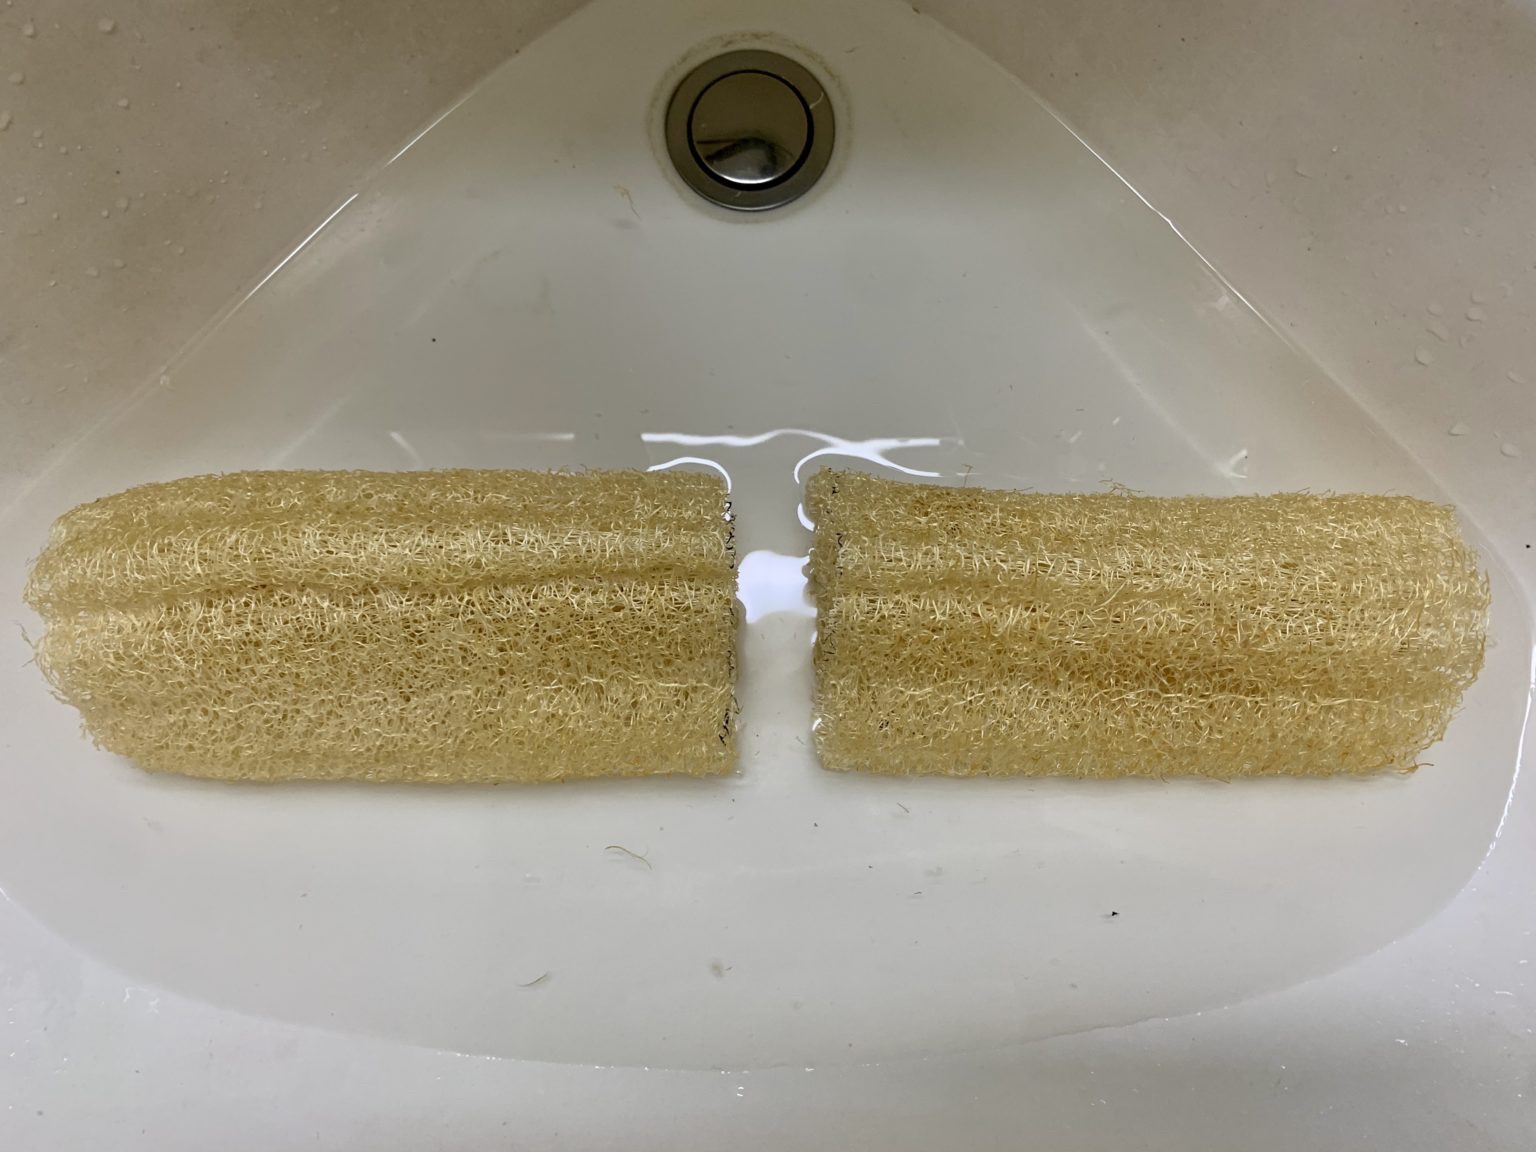
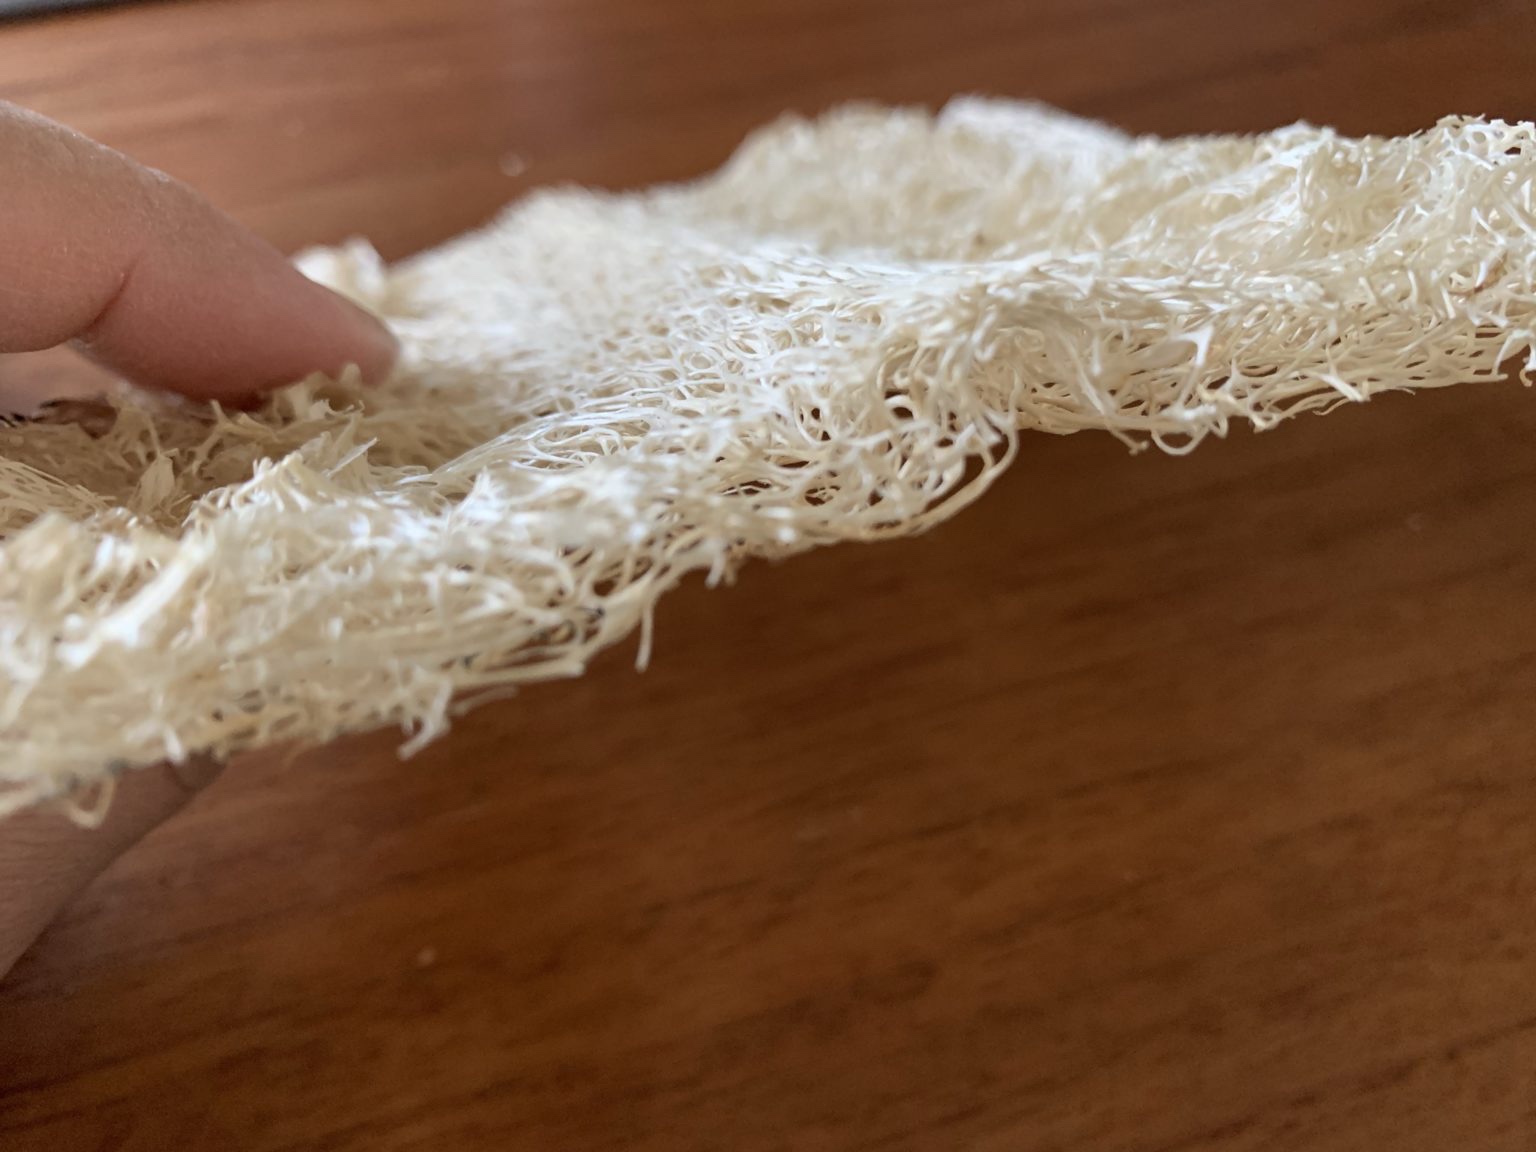
This time, the new loofah was sewn onto the originally used loofah hip pad, so the old loofah is visible when the pad is turned over. (Photo below.)

Loofah thickness
New loofahs are firm and thick.
After repeated wear and washing in water, it will gradually become thinner.
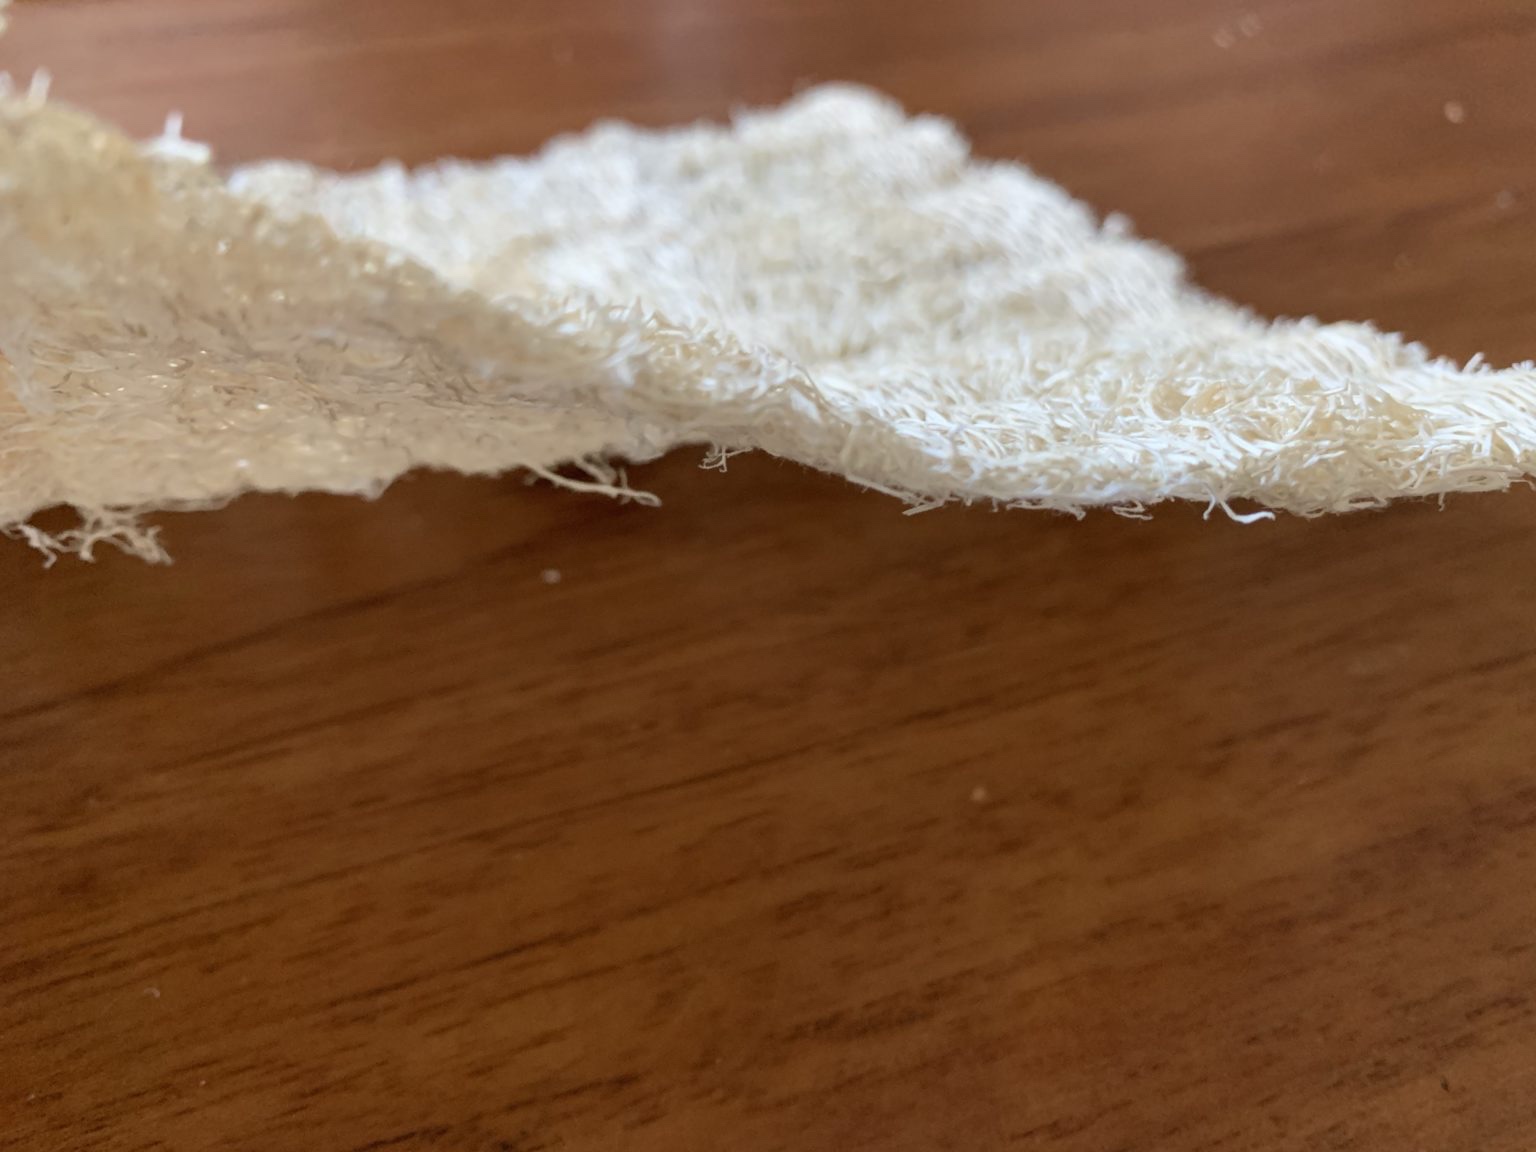
When it starts to lose its thickness, the best way to deal with it is by layering loofahs, but I used thin loofahs for two years. …Oops.
After two years of use, the loofah is quite thin.
It is thin, but the fibers are softer.
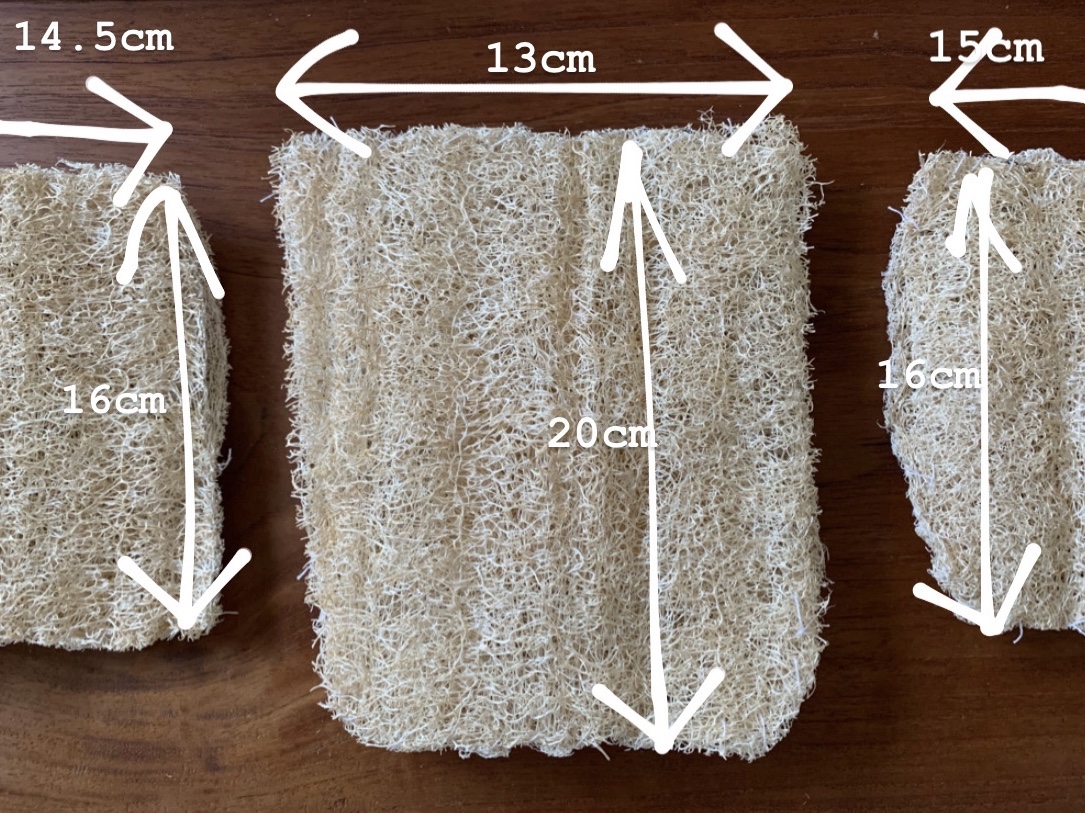
Size of loofah hip pad
The size and amount of hip pad is different for each of us.
Here is the size of mine. For reference only.
Kimono sewing method
-
 Basic sewing method
Basic of hand sewing : Kaeshibari and Itoshigoki
Next to the Unshin, the basics of hand sewing that you should learn are the “Kaeshibari at the first and the l […]-
 M KIMONO
-
-
 Basic sewing method
How to make “chikara-Nuno” for attaching to Kataaki Part 2
In addition to small “mikazuki”, you may also see kimonos with long, thin stay cloth.In this time, I will show […]-
M KIMONO
-
-
 Basic sewing method
HONGUKE – Basic Sewing Techniques
The third basic sewing technique is “Honguke”.When sewing a yukata or a hitoe kimono, “honguke” is done at the […]-
M KIMONO
-
-
 Basic sewing method
How to attach a “Hiki-ito” that can be used in place of a snap button Part 3
This is a method of attaching a thread instead of a snap attached to the Hiro-eri (collar) of a kimono. This t […]-
M KIMONO
-
Let’s have fun sewing kimonos
with M KIMONO!
You can sew kimono anytime, anywhere.
Here is an environment where you can learn kimono sewing wherever you are.
Click here for details >>> https://mkimono.tv/en/