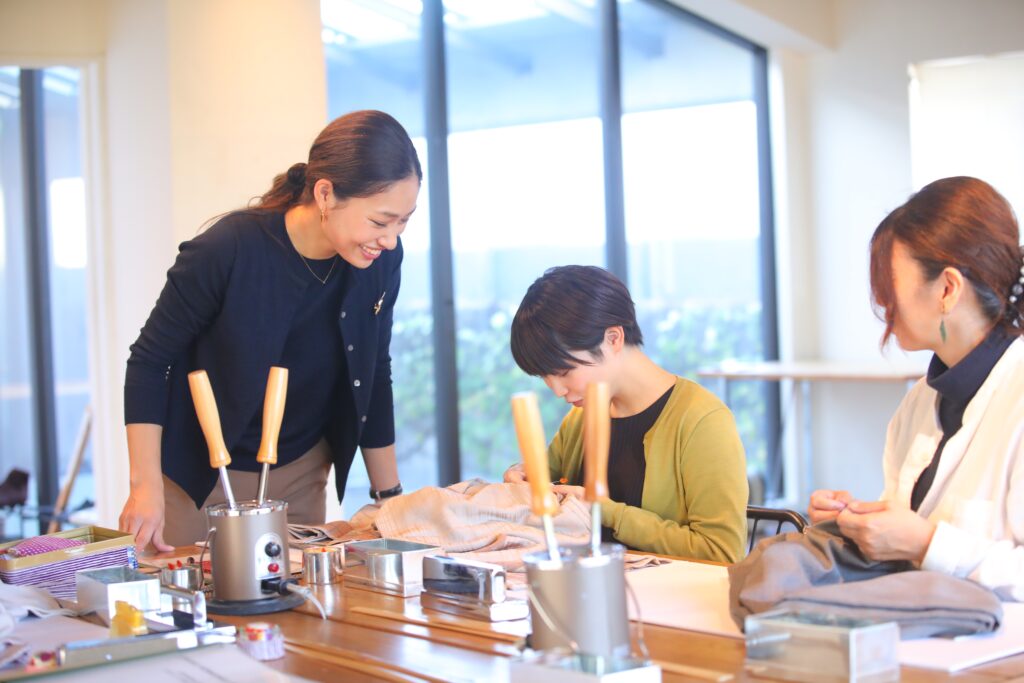
This is how to make a “Mikazuki”, which is used as a stay cloth for hitoe-kimono and yukata.
There are various types, such as shoulder cloth, long and thin ones, and crescent moon shaped.
The most common type is probably the crescent moon shaped, we called “Mikazuki” introduced here.

How to make Mikazuki
Cut out two 3cm x 3cm squares from the leftover fabric.
If you don’t have extra fabric, cut out the part that will be hidden by the seam allowance.

Using origami technique, fold into a triangle and hold tightly with an iron.

Sew around the middle of the height of the triangle.
Use a single thread and back-stitch at the beginning of the stitch.
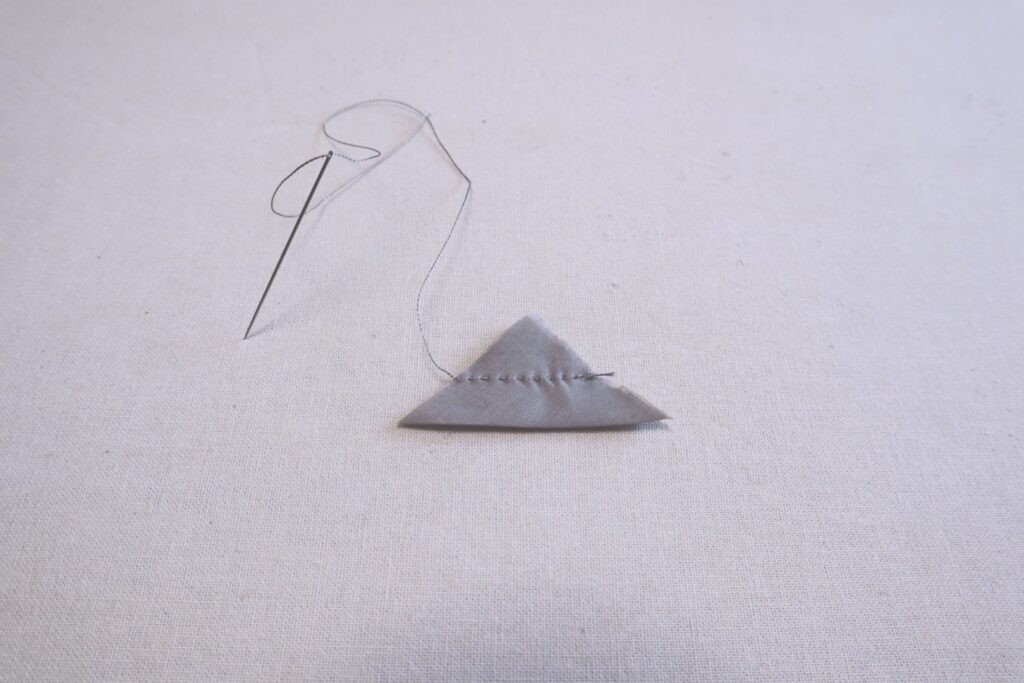
Squeeze the sewing thread tightly and tie a knot while it is squeezed.
You don’t need back-stitch at the end of the stitch.

Use an iron to reduce unevenness.
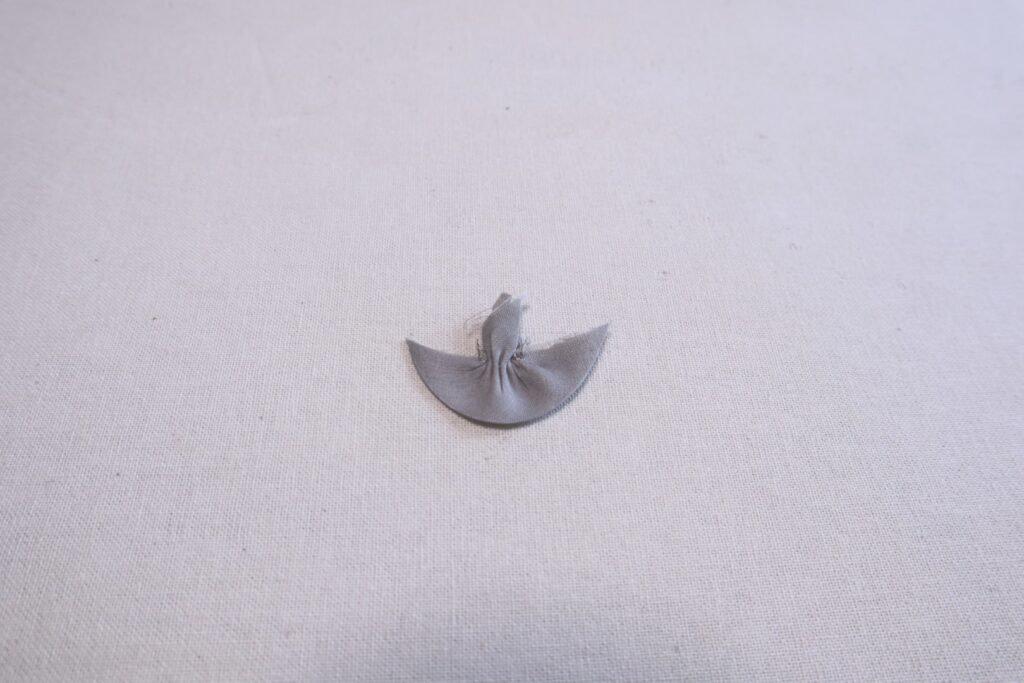
This time, I made a stay cloth with a 3cm square.
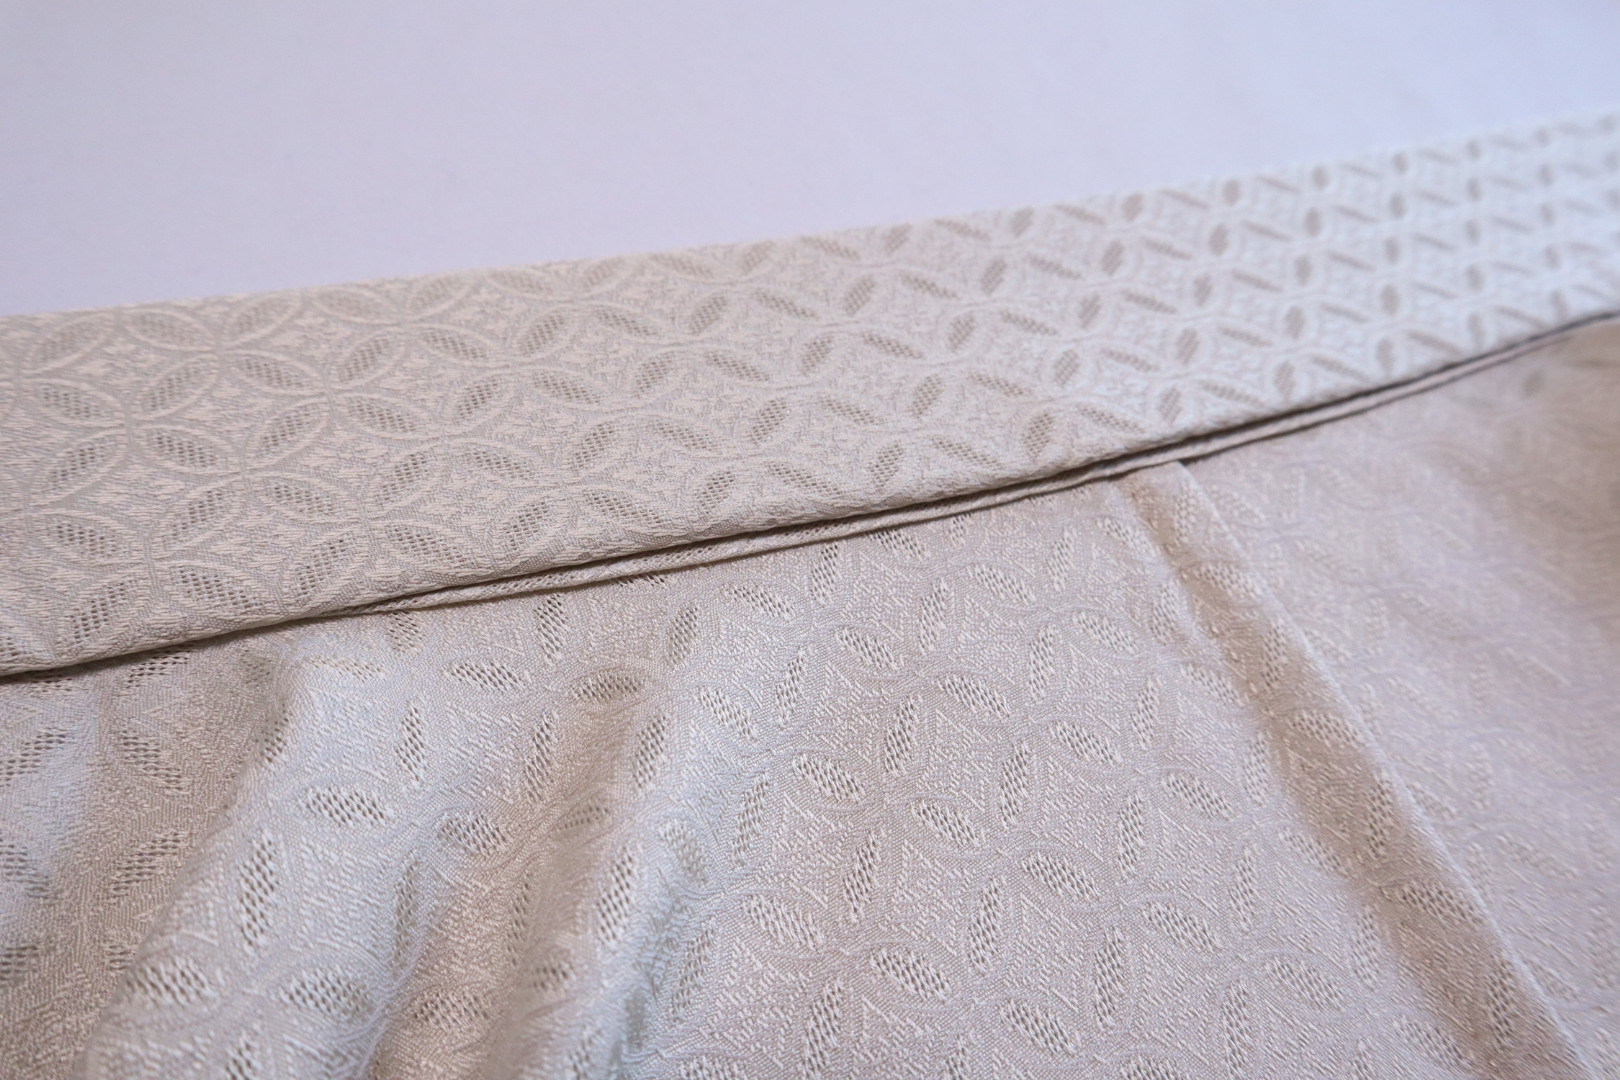
When sewing hitoe-kimono and yukata, be sure to attach “Mikazuki” to the Kataaki(slit).
If there is no extra cloth
If you don’t have any extra cloth, cut off the portion for the stay cloth from the seam allowance for the Okumi, collar, etc.
The basic rule is to use the same cloth as the outer fabric for the stay cloth.
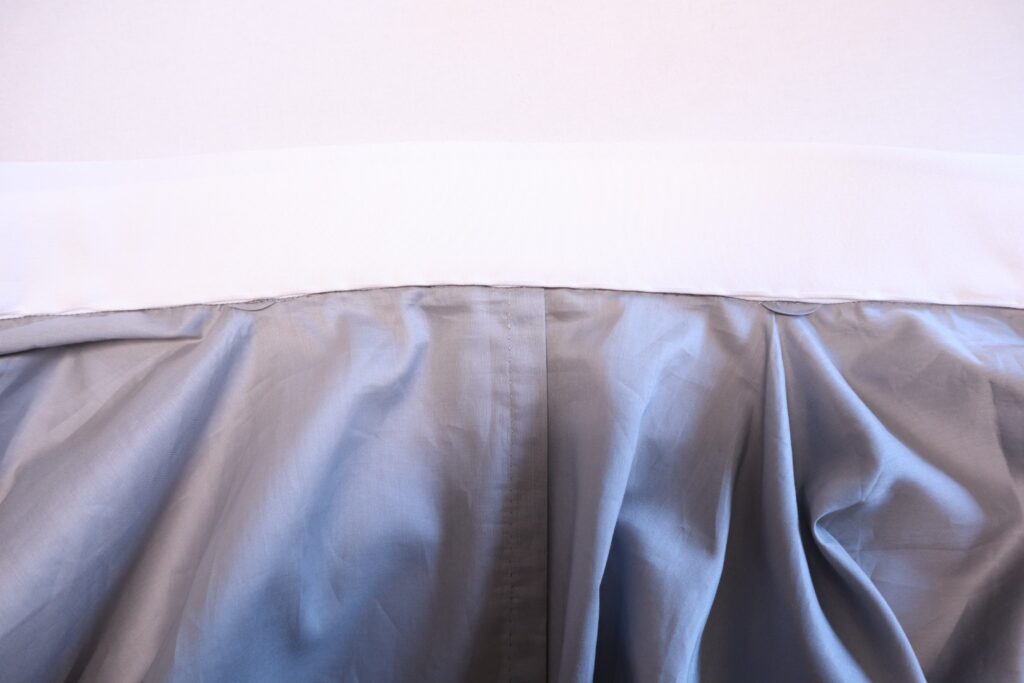
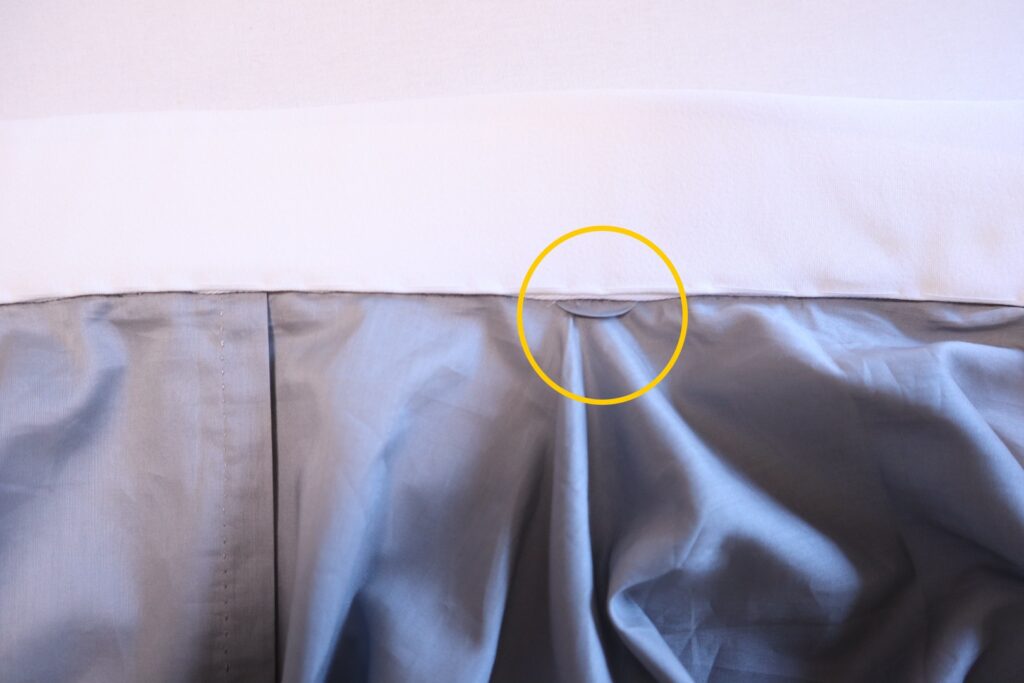
Where to put the Mikazuki
Attach to the end of the Kataaki slit.
At this point, it’s a temporary fix. For the main stitch, fasten tightly when attaching the collar.
Related article
-
 Basic sewing method
Basic of hand sewing : Kaeshibari and Itoshigoki
Next to the Unshin, the basics of hand sewing that you should learn are the “Kaeshibari at the first and the l […]-
 M KIMONO
-
-
 Basic sewing method
How to make “chikara-Nuno” for attaching to Kataaki Part 2
In addition to small “mikazuki”, you may also see kimonos with long, thin stay cloth.In this time, I will show […]-
M KIMONO
-
-
 Basic sewing method
HONGUKE – Basic Sewing Techniques
The third basic sewing technique is “Honguke”.When sewing a yukata or a hitoe kimono, “honguke” is done at the […]-
M KIMONO
-
-
 Basic sewing method
How to attach a “Hiki-ito” that can be used in place of a snap button Part 3
This is a method of attaching a thread instead of a snap attached to the Hiro-eri (collar) of a kimono. This t […]-
M KIMONO
-
-
 Basic sewing method
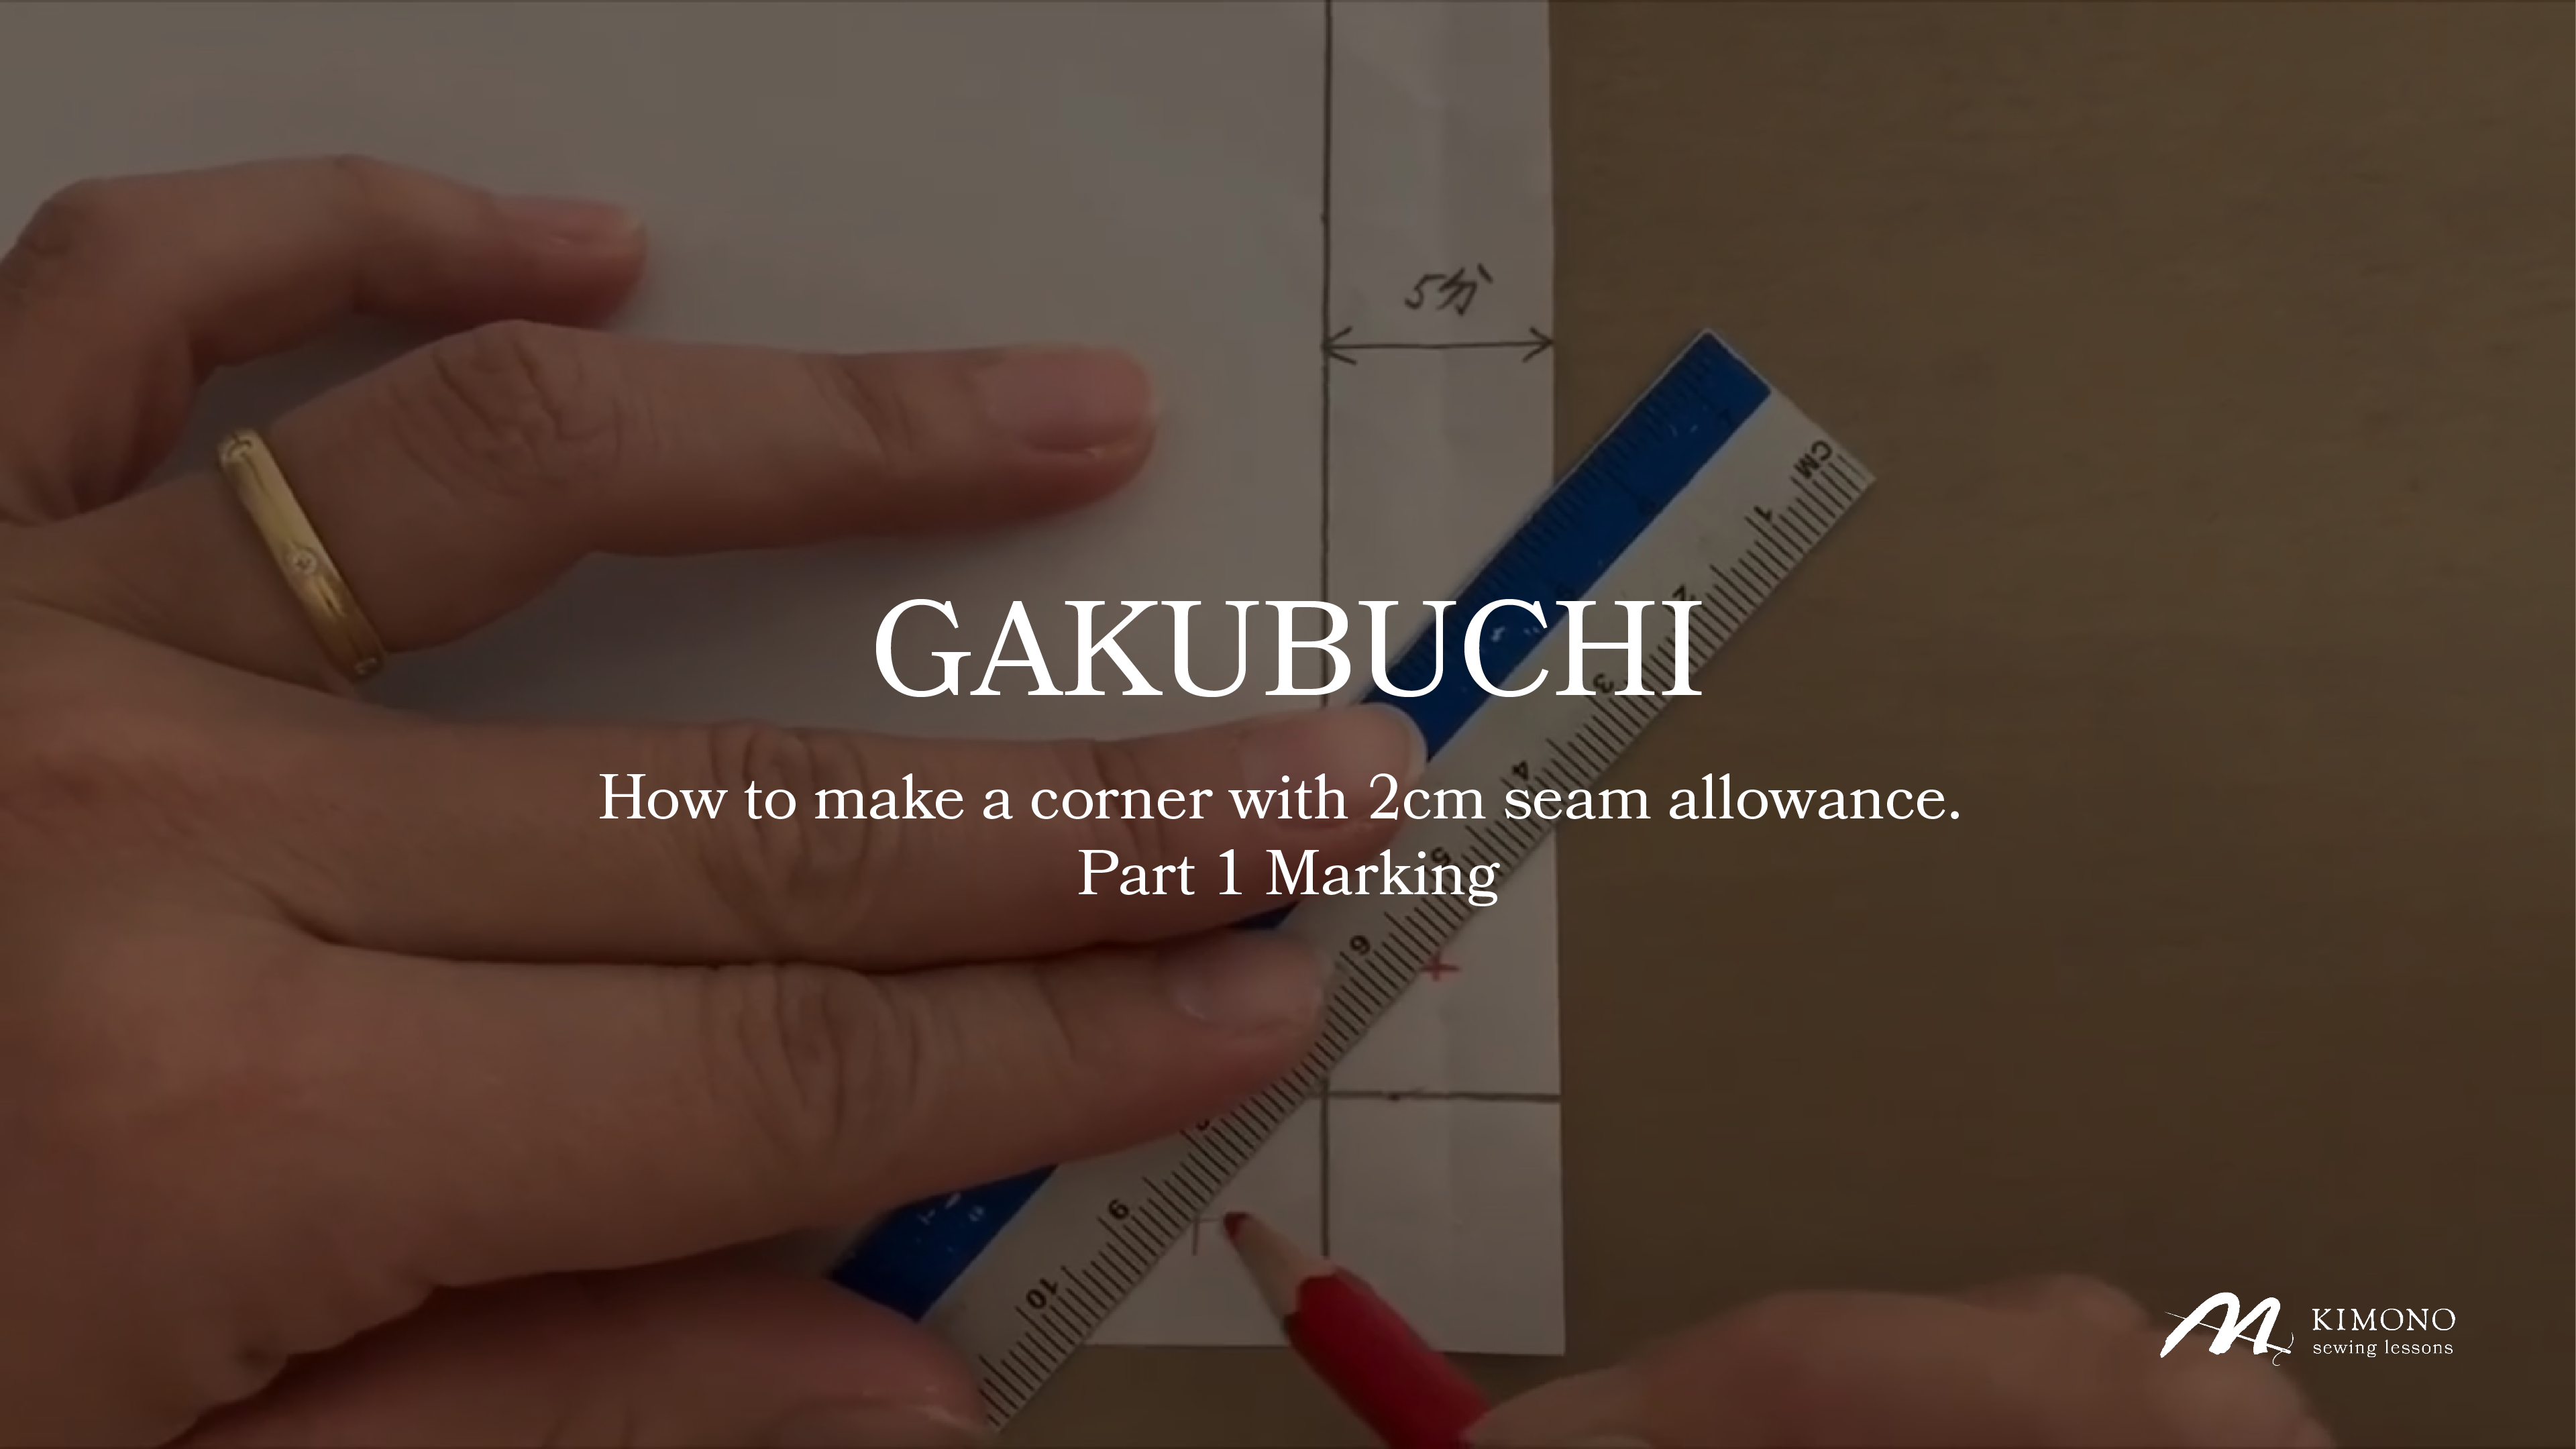
Gakubuchi – How to make a corner. Part 1
This is a sewing method called ” Gakubuchi ” used when sewing hitoe-kimonos and yukata.This is how the seam al […]-
M KIMONO
-
-
 Basic sewing method
How to attach a “Hiki-ito” that can be used in place of a snap button Part 2
This is a method of attaching a thread instead of a snap attached to the Hiro-eri (collar) of a kimono. This t […]-
M KIMONO
-
Let’s have fun sewing kimonos
with M KIMONO!
You can sew kimono anytime, anywhere.
Here is an environment where you can learn kimono sewing wherever you are.
Click here for details >>> https://mkimono.tv/en/